I recently finished some work on a Shiny application which incorporated a Random Forest model. The model was stored in a .rda file and loaded by server.R during initialisation. This worked fine when tested locally but when I tried to deploy the application on shinyapps.io I ran into a problem: evidently you can only upload server.R and ui.R files. Nothing else.
Bummer.
I looked around for alternatives and found that Amazon Elastic Compute Cloud (EC2) was very viable indeed. I just needed to get it suitably configured.
Before embarking on this adventure it might be worthwhile reading some of the material about Getting Started with AWS.
Create an Account
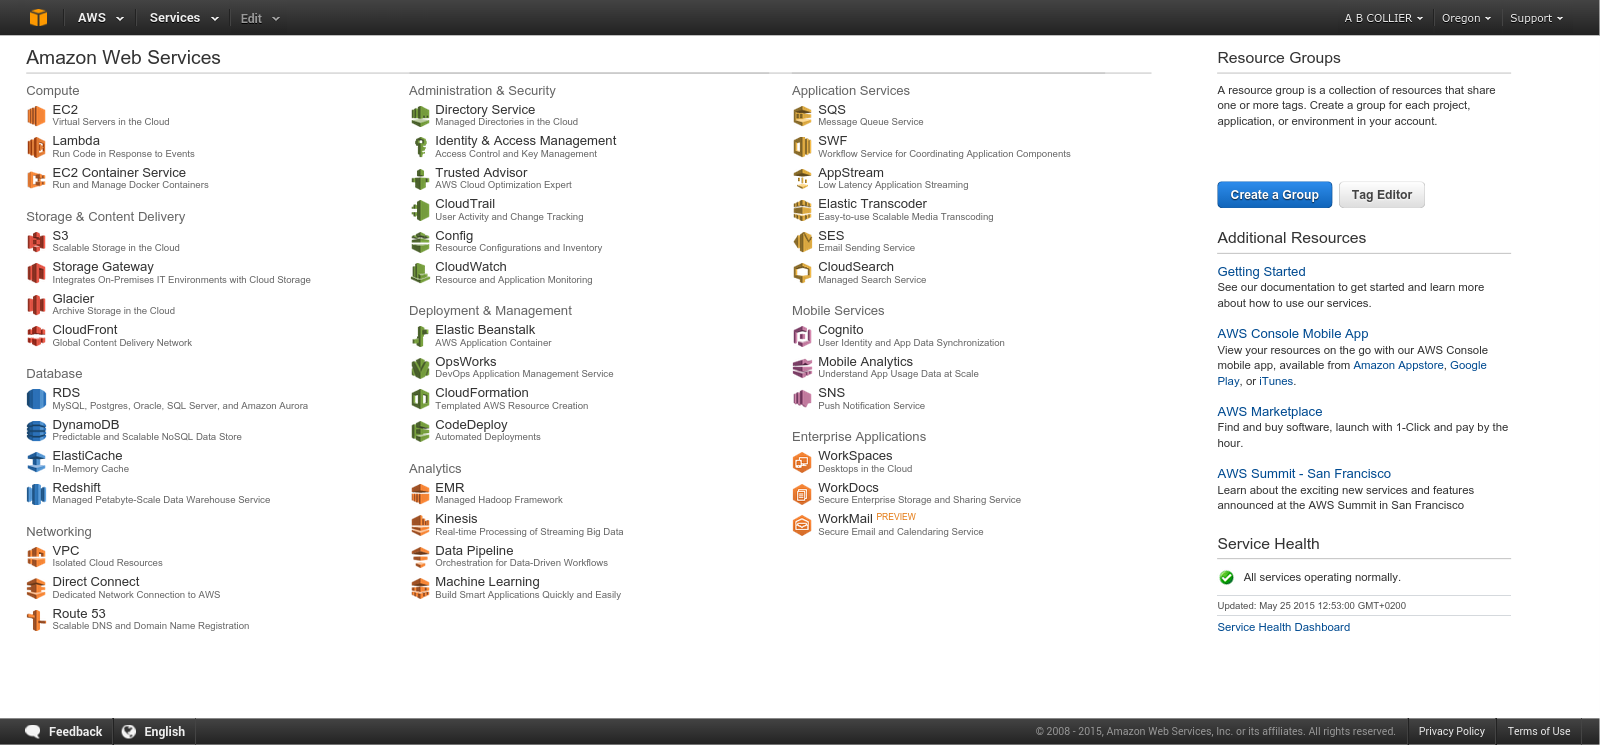
The first step is to create an account at aws.amazon.com. After you’ve logged into your account you should see a console like the one below. Select the EC2 link under Compute.
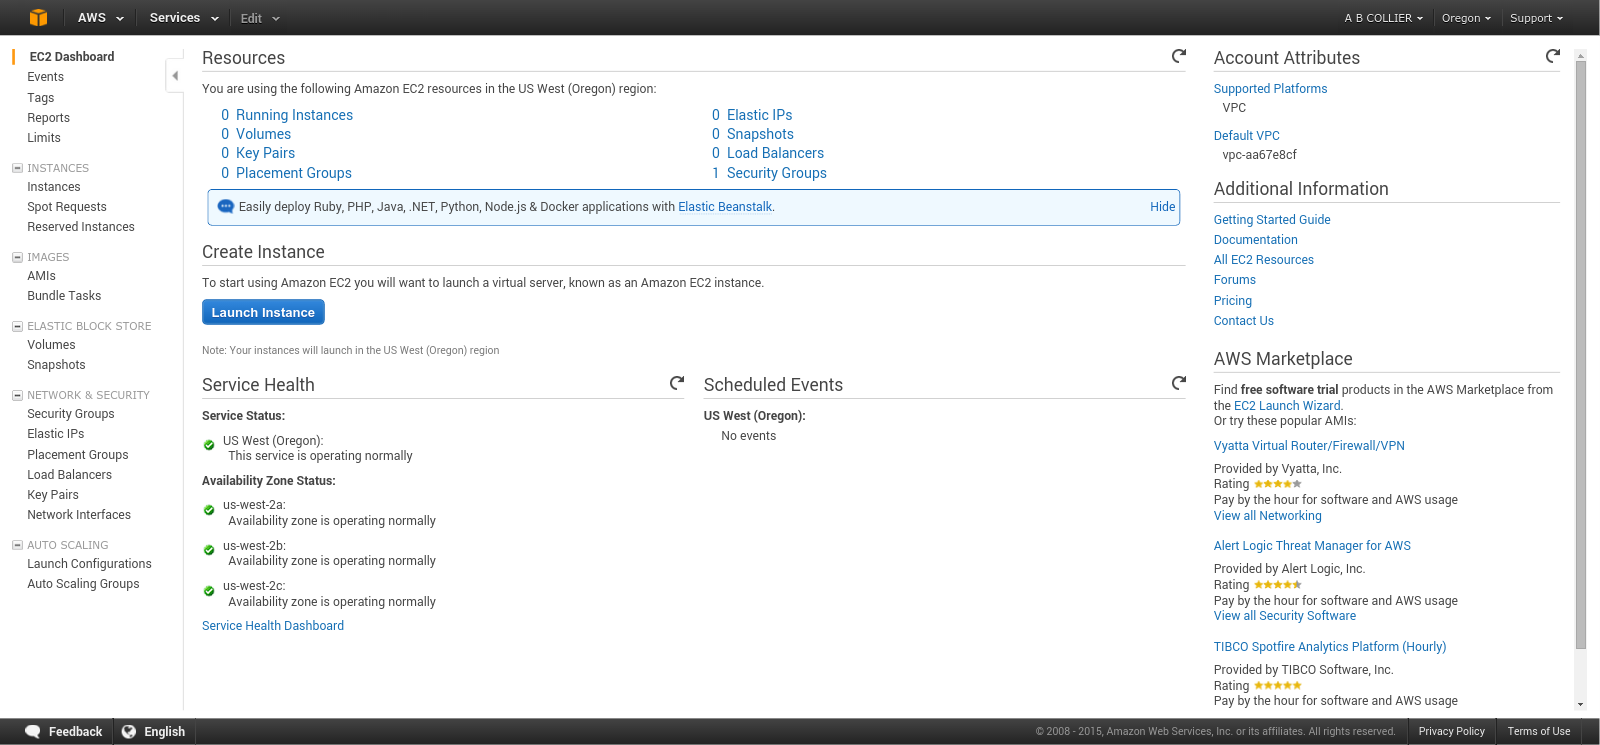
Next, from the EC2 Dashboard select Launch Instance.
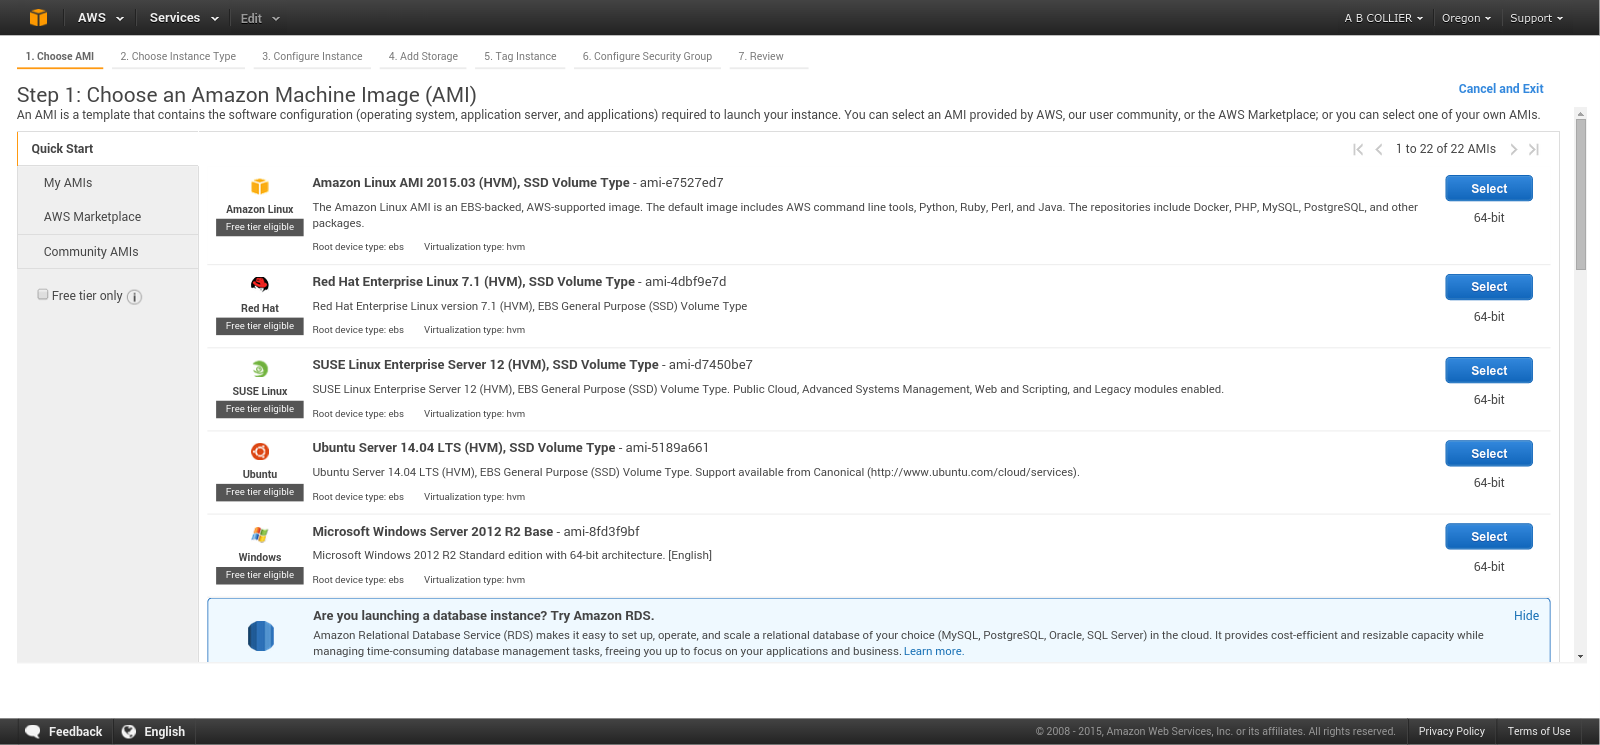
Step 1: From the various machine images we will select the Ubuntu Server.
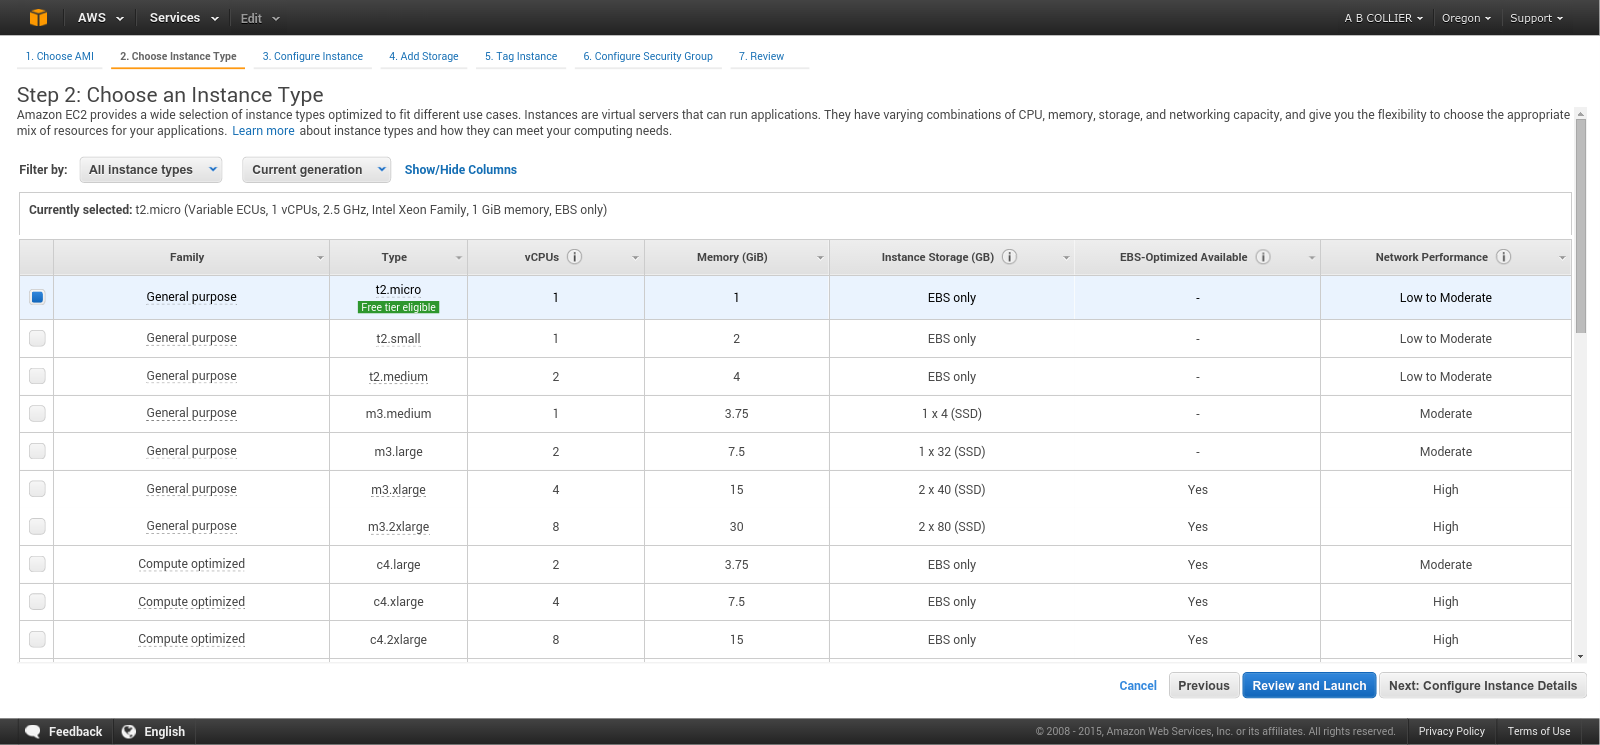
Step 2: Select the default option. Same applies for Step 3, Step 4 and Step 5.
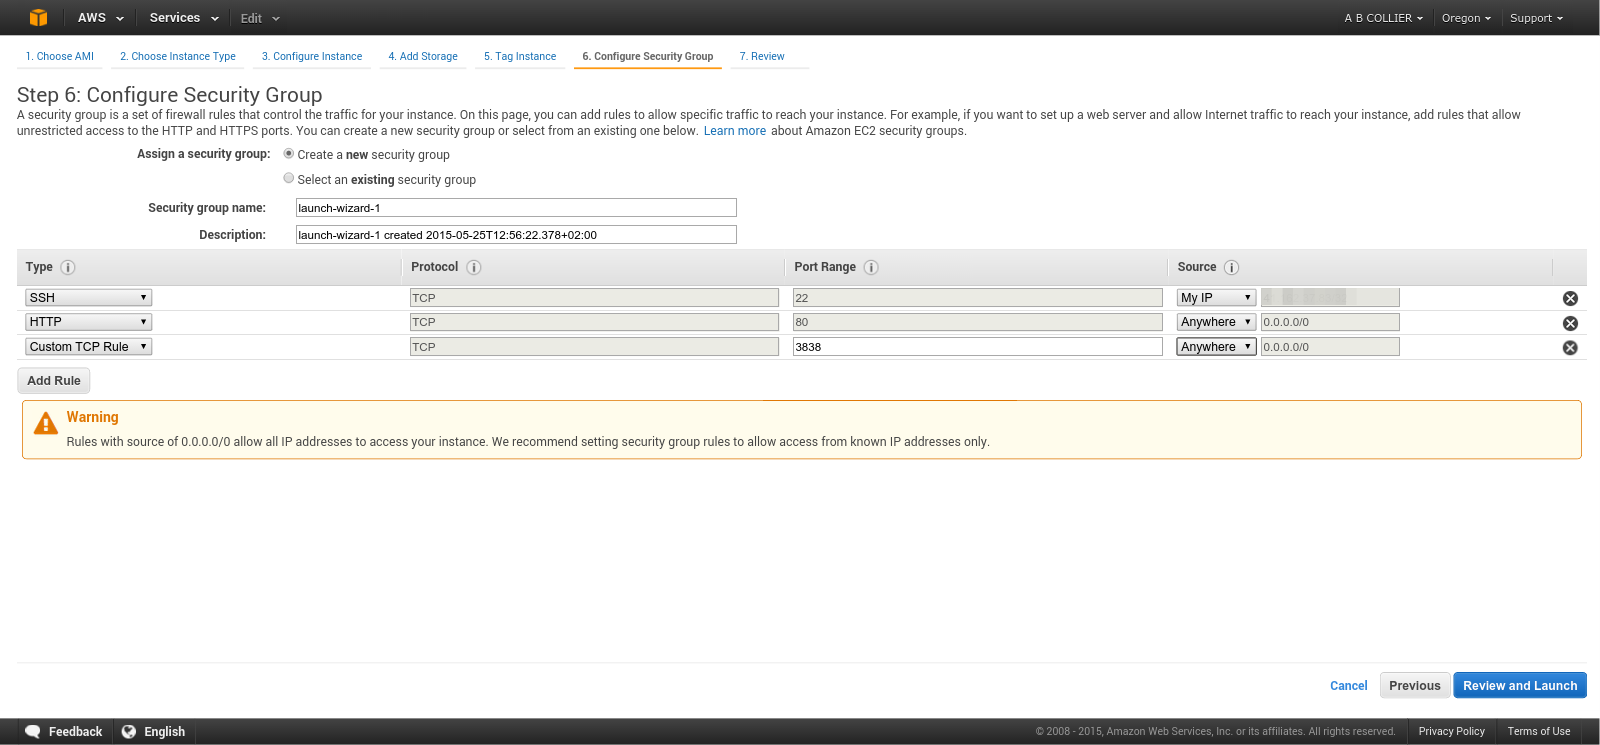
Step 6: Choose the security settings shown below. SSH access should be restricted to your local machine alone. When you are done, select Review & Launch. Further information on access control can be found here.
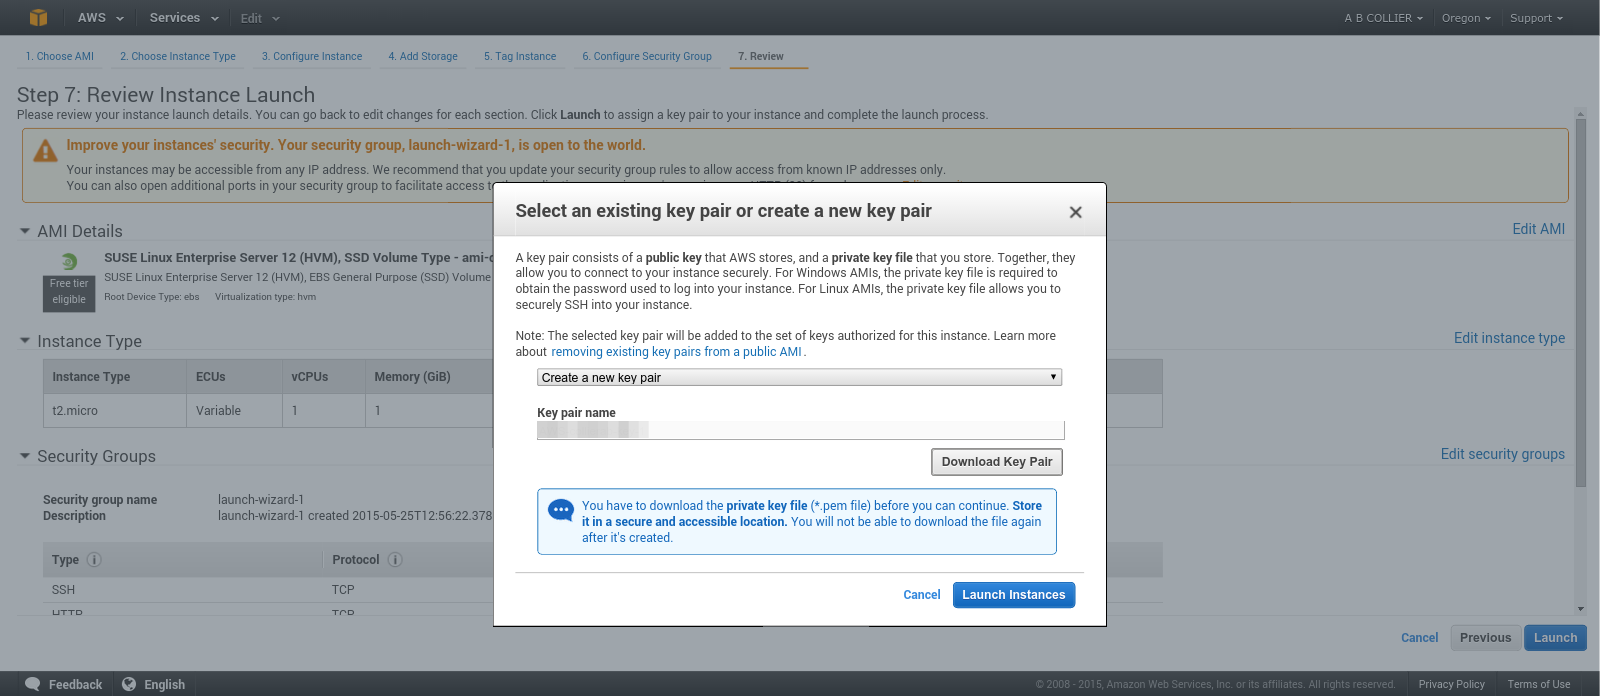
Step 7: Create a new key pair. Download the key and store it somewhere safe! Now press Launch Instances.
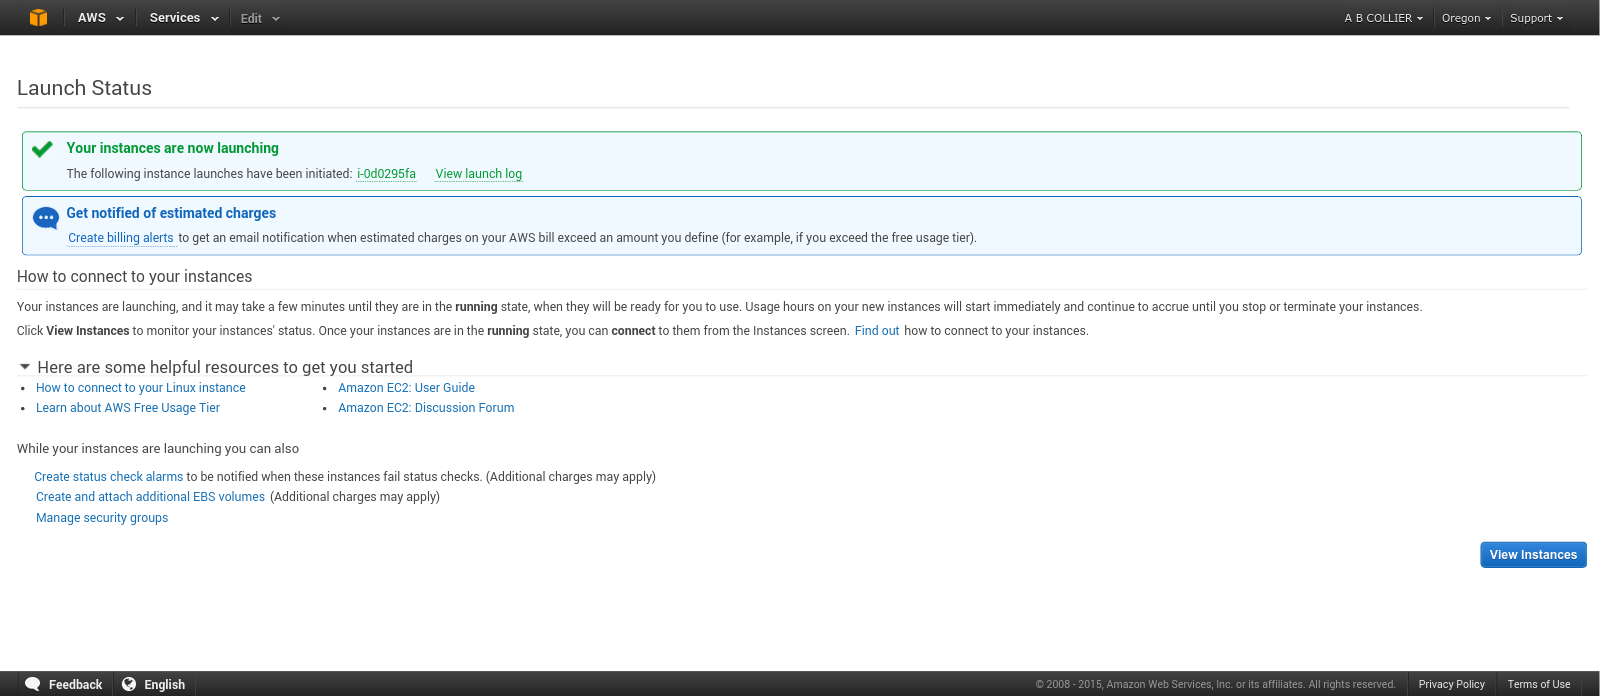
The launch status of your instance will then be confirmed.
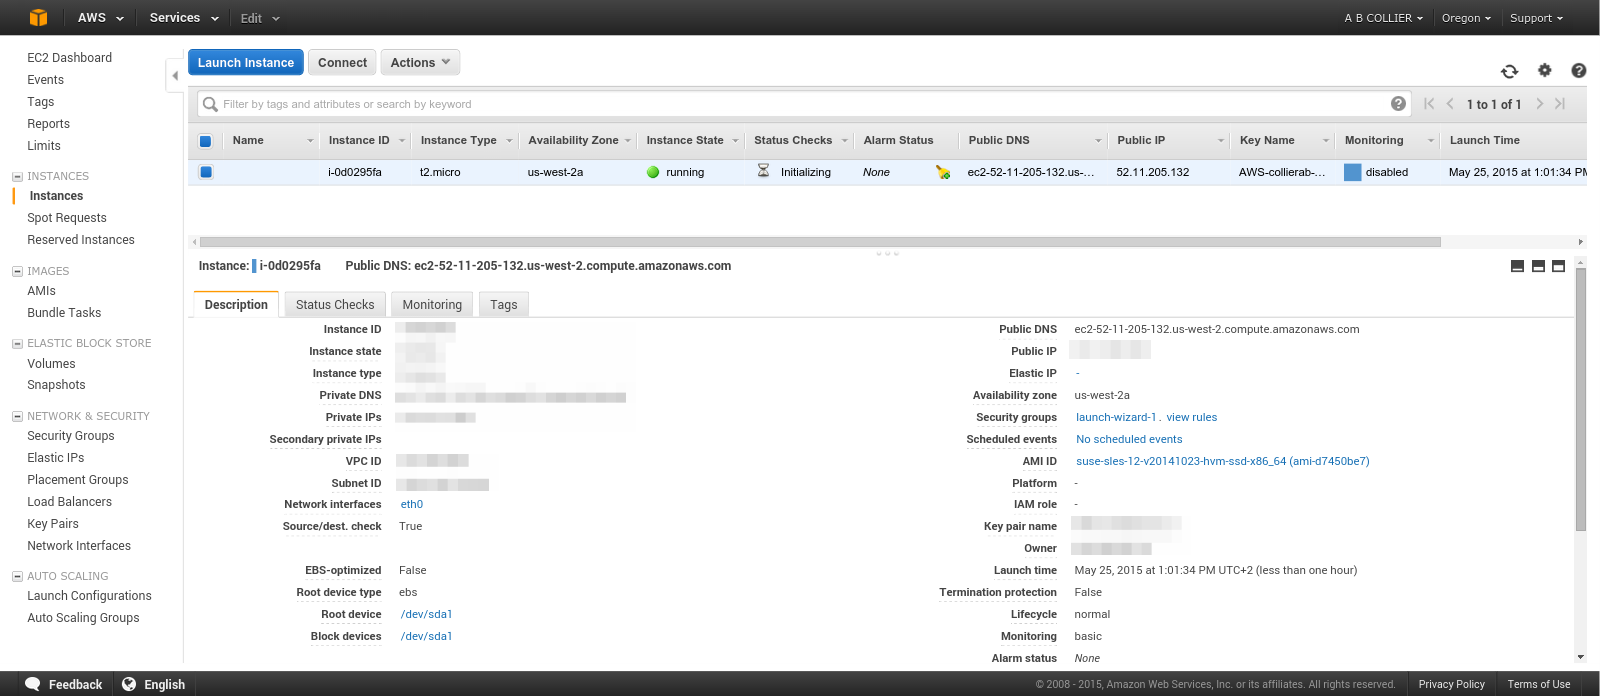
At any later time the status of your running instances can be inspected from the EC2 dashboard.
SSH Connection
Now in order to install R and Shiny we need to login to our instance via SSH. In the command below you would need to substitute the name of your key file and also the Public DNS of your instance as the host name (the latter is available from the EC2 Dashboard).
$ ssh -i AWS-key.pem ubuntu@ec2-57-29-93-35.us-west-2.compute.amazonaws.comMore detailed information on SSH access can be found here.
Installing R
Once you have the SSH connection up and running, execute the following on your remote instance:
$ sudo apt-get update
$ sudo apt-get install r-base
$ sudo apt-get install r-base-dev
More in depth information on running R on AWS can be found here.
Installing Shiny
To install the Shiny R package, execute the following on your remote instance:
$ sudo su - -c "R -e \"install.packages('shiny', repos = 'http://cran.rstudio.com/')\""Next you need to install the Shiny server. Take a look at the Shiny Server download page to get the URL for the latest version of the package.
$ wget https://download3.rstudio.org/ubuntu-12.04/x86_64/shiny-server-1.5.6.875-amd64.deb
$ sudo dpkg -i shiny-server-1.5.6.875-amd64.deb
During the installation a directory /srv/shiny-server/ will have been created, where your applications will be stored. Configuration options are given in /etc/shiny-server/shiny-server.conf.
Further information about configuring and running the Shiny server can be found in the Shiny Server Administrator’s Guide.
Installing and Testing your Applications
Transfer your applications across to the remote instance using sftp or scp. Then move them to a location under /srv/shiny-server/. You should now be ready to roll. You access the Shiny server on port 3838. Assuming for example, your application resides in a sub-folder called medal-predictions, then you would browse to http://ec2-52-24-93-52.us-west-2.compute.amazonaws.com:3838/medal-predictions/.
The structure of the /srv/shiny-server/ should be something like this:
$ tree /srv/shiny-server/
.
├── index.html -> /opt/shiny-server/samples/welcome.html
├── medal-predictions
│   └── app.R
└── sample-apps -> /opt/shiny-server/samples/sample-apps
Every application folder should have a app.R file.
Logs
If you are lucky then your app will work immediately after installing it on your Shiny server. If you are like me then you’ll probably have to tweak a few things to get it working. The error messages that you’ll get in your browser will probably not be very helpful. But there will be a log in /var/log/shiny-server for each time that the app is run.
Azure
A similar procedure can be followed to install on an Azure instance. However you will also need to allow network access on port 3838. To do this simply add an inbound TCP rule to the networking options for the instance.