The recipe below works for Light Table v. 0.7.2 and Julia v. 0.4.0. It might work for other versions too, but these are the ones I can vouch for.
Grab the distribution from the Light Table homepage. Unpack it and move the resulting folder somewhere suitable.
tar -zxvf LightTableLinux64.tar.gz
sudo mv LightTable /opt/
Go ahead and fire it up.
/opt/LightTable/LightTable
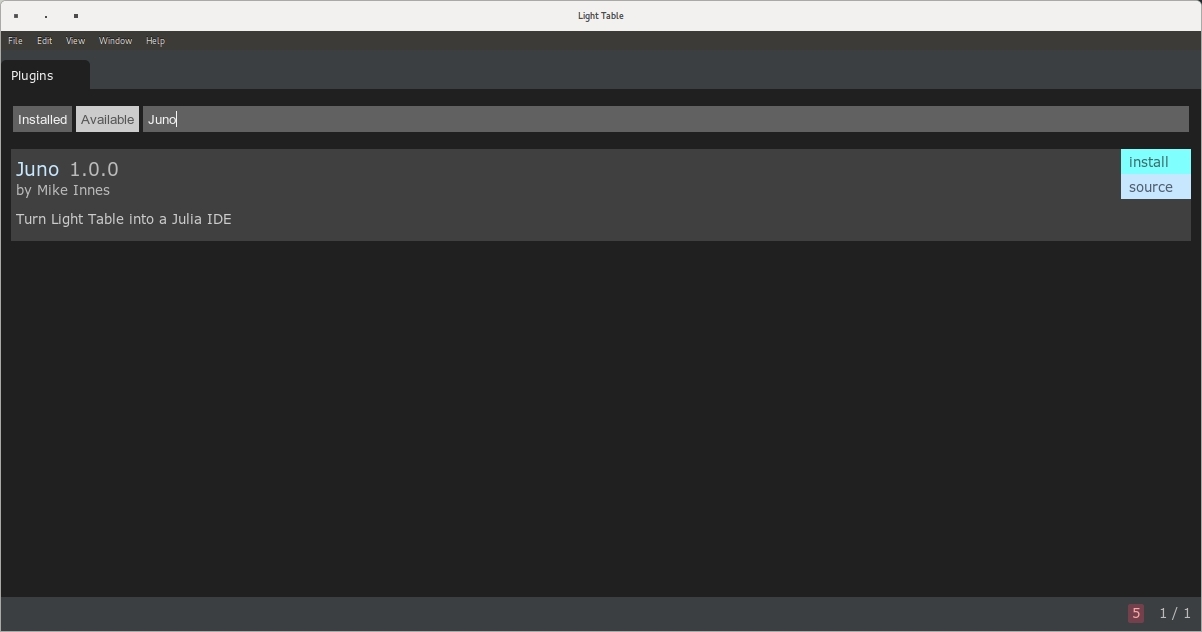
At this stage Light Table is just a generic editor: it doesn’t know anything about Julia or Juno. We’ll need to install a plugin to make that connection. In the Light Table IDE type Ctrl-Space, which will open the Commands dialog. Type show plugin manager into the search field and then click on the resulting entry.

Search for Juno among the list of available plugins and select Install.
Open the Commands dialog again using Ctrl-Space. Type settings into the search field.
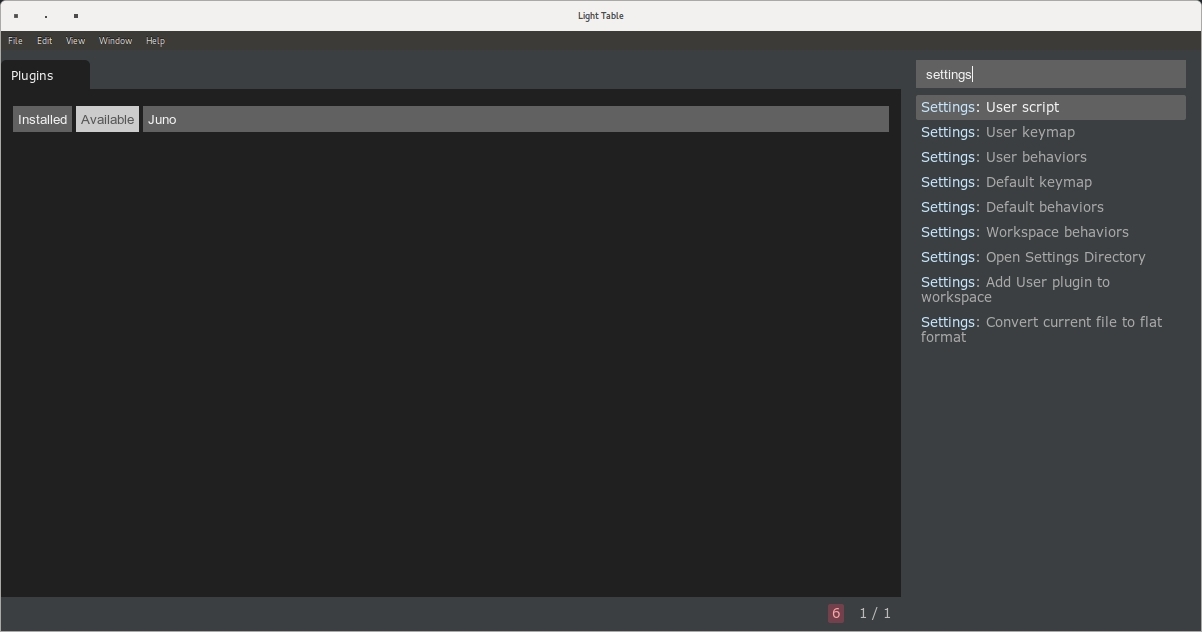
Click on the User behaviors entry.
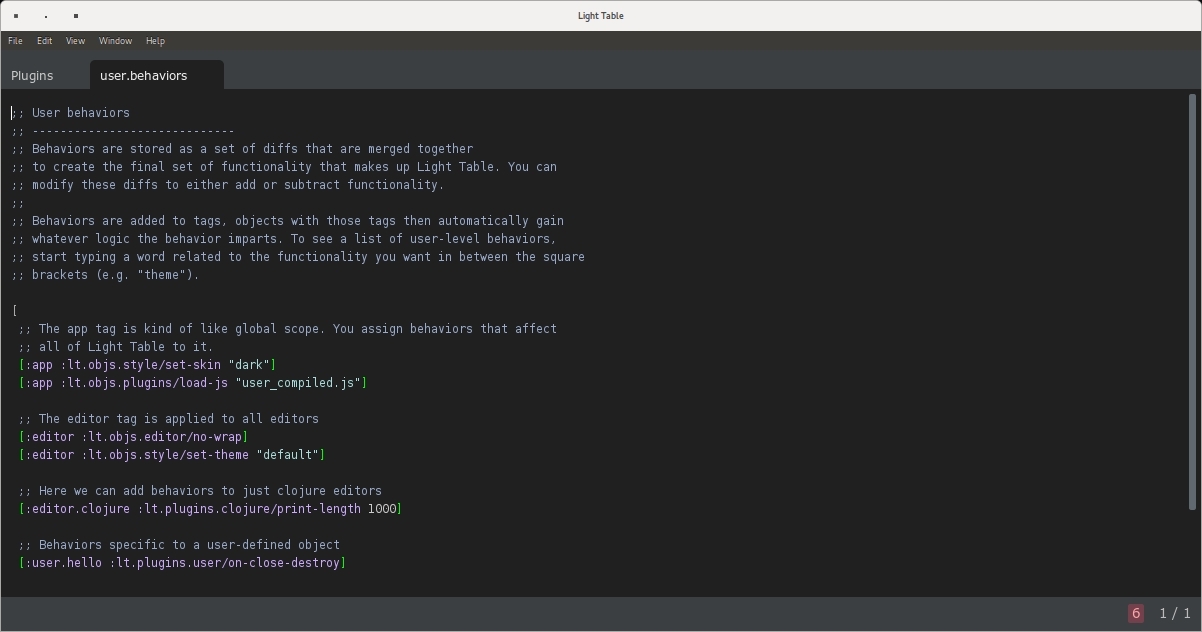
Add the following line to the configuration file:
[:app :lt.objs.langs.julia/julia-path "julia"]
At this point you should start up Julia in a terminal and install the Jewel package.
Pkg.add("Jewel")
I ran into some issues with the configuration file for the Julia plugin, so I replaced the contents of ~/.config/LightTable/plugins/Julia/jl/init.jl with the following:
using Jewel
Jewel.server(map(parseint, ARGS)..., true)
That strips out a lot of error checking, but as long as you have a recent installation of Julia and you have installed the Jewel package, you’re all good.
Time to restart Light Table.
/opt/LightTable/LightTable
You should find that it starts in Juno mode.
Finally, to make things easier we can define a shell macro for Juno.
alias juno='/opt/LightTable/LightTable'
juno
Enjoy.