It’s not my personal choice, but I have to spend a lot of my time working under Windows. Installing MongoDB under Ubuntu is a snap. Getting it going under Windows seems to require jumping through a few more hoops. Here are my notes. I hope that somebody will find them useful.
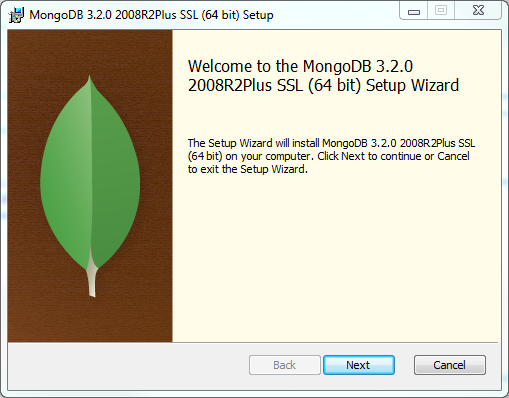
- Download the installation. This will be an MSI installer package with a name like
mongodb-win32-x86_64-2008plus-ssl-3.2.0-signed.msi. - Run the installer with a deft double-click.
- Accept the License Agreement.
- Select the Complete installation type and click Install.
- Briefly browse YouTube (you won’t have time to make a cup of coffee).
- When the installation is complete press Finish.
- Reboot your machine. This might not be entirely necessary, but my Windows experience tells me that it is never a bad idea.
- Create a folder for the data files. By default this will be
C:\data\db. - Create a folder for the log files. By default this will be
C:\data\log. - Open a command prompt, change the working directory to
C:\Program Files\MongoDB\Server\3.2\binand start the database server,mongod.exe.
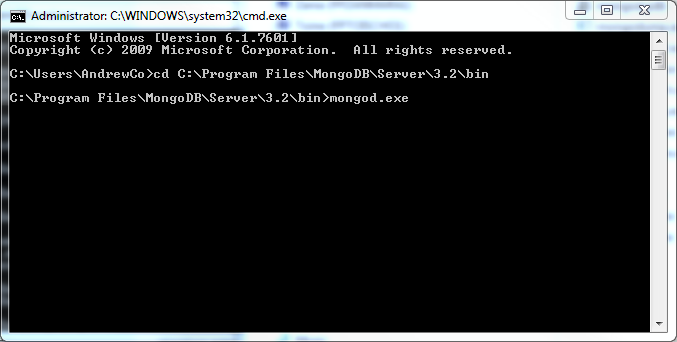
At this stage you should be ready to roll. Open another command prompt and start the database client, mongo.exe which you’ll find in the same folder as mongod.exe.
To make your installation a little more robust, you can also do the following:
- Create a configuration file at
C:\Program Files\MongoDB\Server\3.2\mongod.cfg. For starters you could enter the following configuration directives:systemLog: destination: file path: c:\data\log\mongod.log storage: dbPath: c:\data\db - Install MongoDB as a service by running
mongod.exe -config "C:\Program Files\MongoDB\Server\3.2\mongod.cfg" -install - The service can then be launched with
And stopping the service is as simple asnet start MongoDBnet stop MongoDB