I’ll be running a training course in a few weeks which will use RStudio as the main computational tool. Since it’s a short course I don’t want to spend a lot of time sorting out technical issues. And with multiple operating systems (and versions) these issues can be numerous and pervasive. Setting up a RStudio server which everyone can access (and that requires no individual configuration!) makes a lot of sense.

These are some notes about how I got this all set up using a Docker container on DigitalOcean. This idea was inspired by this article. I provide some additional details about the process.
Local Setup
I began by trying things out on my local machine. The first step was to install Docker. On my Linux machine this was a simple procedure. I added my user to the docker group and I was ready to roll.
Validate Docker
Being my first serious foray into the world of Docker I spent some time getting familiar with the tools. First it makes sense to validate that Docker is correctly configured and operational. Check the version.
docker -v
Docker version 17.06.0-ce, build 02c1d87
Check the current status of the Docker service. This should indicate that Docker is loaded, running and active.
systemctl status docker
To see further system information about Docker:
docker info
Finally run a quick test to ensure that Docker is able to download and launch images.
docker run hello-world
Hello from Docker!
This message shows that your installation appears to be working correctly.

To generate this message, Docker took the following steps:
 1. The Docker client contacted the Docker daemon.
 2. The Docker daemon pulled the "hello-world" image from the Docker Hub.
 3. The Docker daemon created a new container from that image which runs the
    executable that produces the output you are currently reading.
 4. The Docker daemon streamed that output to the Docker client, which sent it
    to your terminal.

To try something more ambitious, you can run an Ubuntu container with:
 $ docker run -it ubuntu bash

Share images, automate workflows, and more with a free Docker ID:
 https://cloud.docker.com/

For more examples and ideas, visit:
 https://docs.docker.com/engine/userguide/
RStudio Container
A selection of RStudio Docker containers are hosted by the Rocker project. We’ll install the verse container which contains base R, RStudio, {tidyverse}, {devtools} and some packages related to publishing.
docker pull rocker/verse
That will download a load of content. Depending on the speed of your connection it might take a couple of minutes. Once the downloads are complete we can spin it up.
docker run -d -p 80:8787 rocker/verse
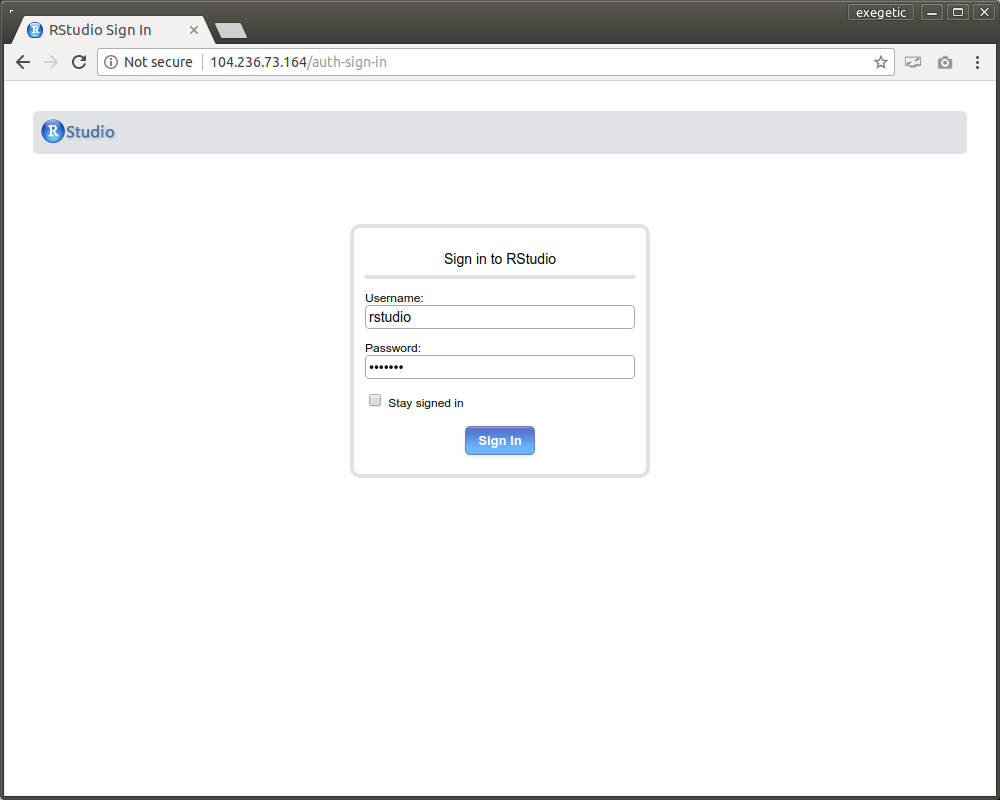
Now point your browser at localhost:80. You should see a login dialog. Login with username rstudio and password rstudio.
Once you’ve satisfied yourself that the RStudio server is working properly, we’ll shut it down. Check on the running Docker containers.
docker ps
The ID in the output from the previous command is used to stop the container.
docker stop 487487fc346d
Creating a New Container Image
We’re now going to create a custom Docker image based on the rocker/verse image we used above. We do this by creating a Dockerfile. It adds a few minor features to the rocker/verse image:
- a small shell script for generating new user profiles;
- the
whoispackage for theapgcommand (although I am currently usingopensslfor password generation); and - a few extra R packages.
Check out the best practices for creating a Dockerfile.
Building
We need to build the image before we can launch it. Navigate to the folder which contains the Dockerfile and then do the following:
docker build -t rstudio:latest .
That will step through the instructions in the Dockerfile, building up the new image as a series of layers. We can get an idea of which components contributed the most to the resulting image.
docker history rstudio:latest
IMAGE               CREATED              CREATED BY                                      SIZE
1206300d01f8        About a minute ago   /bin/sh -c R -e 'install.packages("RSeleni...   11.6MB
4f0daf5ee744        4 hours ago          /bin/sh -c R -e 'install.packages(c("binma...   3.4MB
60e254d31a5a        4 hours ago          /bin/sh -c apt-get install whois                2.31MB
5107e33b5c77        4 hours ago          /bin/sh -c apt-get update                       15.5MB
a720b73666a2        4 hours ago          /bin/sh -c #(nop)  MAINTAINER Andrew Colli...   0B
8232739f906d        7 hours ago          /bin/sh -c apt-get update   && apt-get ins...   763MB
<missing>           7 hours ago          /bin/sh -c apt-get update -qq && apt-get -...   720MB
<missing>           10 hours ago         /bin/sh -c #(nop)  CMD ["/init"]                0B
<missing>           10 hours ago         /bin/sh -c #(nop)  VOLUME [/home/rstudio/k...   0B
<missing>           10 hours ago         /bin/sh -c #(nop)  EXPOSE 8787/tcp              0B
<missing>           10 hours ago         /bin/sh -c #(nop) COPY file:b221a73265993c...   1.17kB
<missing>           10 hours ago         /bin/sh -c #(nop) COPY file:3012c80f63f800...   2.36kB
<missing>           10 hours ago         /bin/sh -c apt-get update   && apt-get ins...   486MB
<missing>           10 hours ago         /bin/sh -c #(nop)  ENV PANDOC_TEMPLATES_VE...   0B
<missing>           10 hours ago         /bin/sh -c #(nop)  ARG PANDOC_TEMPLATES_VE...   0B
<missing>           10 hours ago         /bin/sh -c #(nop)  ARG RSTUDIO_VERSION          0B
<missing>           10 hours ago         /bin/sh -c #(nop)  CMD ["R"]                    0B
<missing>           10 hours ago         /bin/sh -c sed -i "s/deb.debian.org/cloudf...   477MB
<missing>           10 hours ago         /bin/sh -c #(nop)  ENV R_VERSION=3.4.1 LC_...   0B
<missing>           10 hours ago         /bin/sh -c #(nop)  ARG BUILD_DATE               0B
<missing>           10 hours ago         /bin/sh -c #(nop)  ARG R_VERSION                0B
<missing>           10 hours ago         /bin/sh -c #(nop)  LABEL org.label-schema....   0B
<missing>           2 weeks ago          /bin/sh -c #(nop)  CMD ["bash"]                 0B
<missing>           2 weeks ago          /bin/sh -c #(nop) ADD file:93a0dbb6973bc13...   100MB
We can now test the new container.
docker run -d -p 80:8787 --name rstudio rstudio:latest
Once you are satisfied that it works, stop the container.
Deploy on DigitalOcean
We’re now in a position to deploy the image on DigitalOcean. If you don’t already have an account, go ahead and create one now,
Create a Droplet
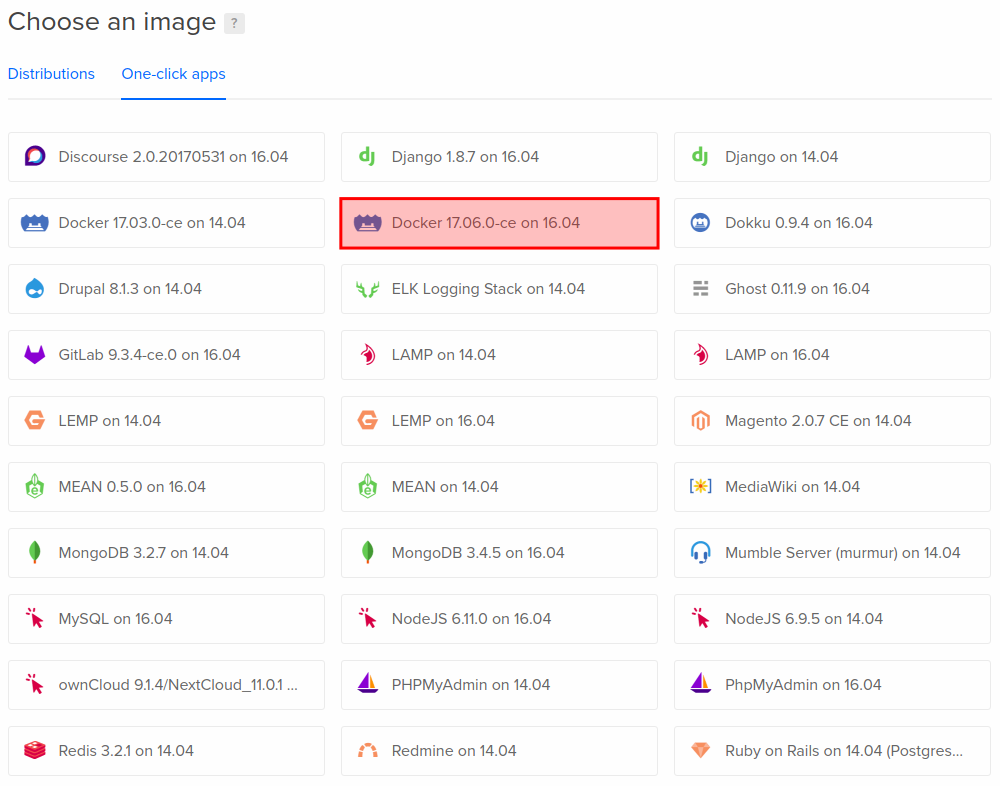
Once you’ve logged in to your DigitalOcean account, create a new Droplet and choose the Docker one-click app (I chose Docker 17.06.0-ce on 16.04). Make sure that you provide your SSH public key.

Connect as root
Once the Droplet is live (give it a moment or two, even after it claims to be “Good to go!”), use the IP address from the DigitalOcean dashboard to make a SSH connection. You’ll connect initially as the root user.
ssh -l root 104.236.93.95
Swap Space
Docker containers use the kernel, memory and swap from the host. If you’ve created a relatively small Droplet then you might want to add swap space.
Create a docker User
Create a docker user and add it to the docker group.
sudo useradd -g users -G docker -m -s /bin/bash docker
Add your SSH public key to .ssh/authorized_keys for the docker user. Terminate your root connection and reconnect as the docker user.
ssh docker@104.236.73.164
groups
users docker
Build the Container
Navigate to the folder which contains the RStudio Dockerfile. Now build the image on the Droplet.
docker build -t rstudio:latest .
And then launch a container.
docker run -d -p 80:8787 --name rstudio rstudio:latest
Connect to the Droplet using the IP address from the DigitalOcean dashboard.

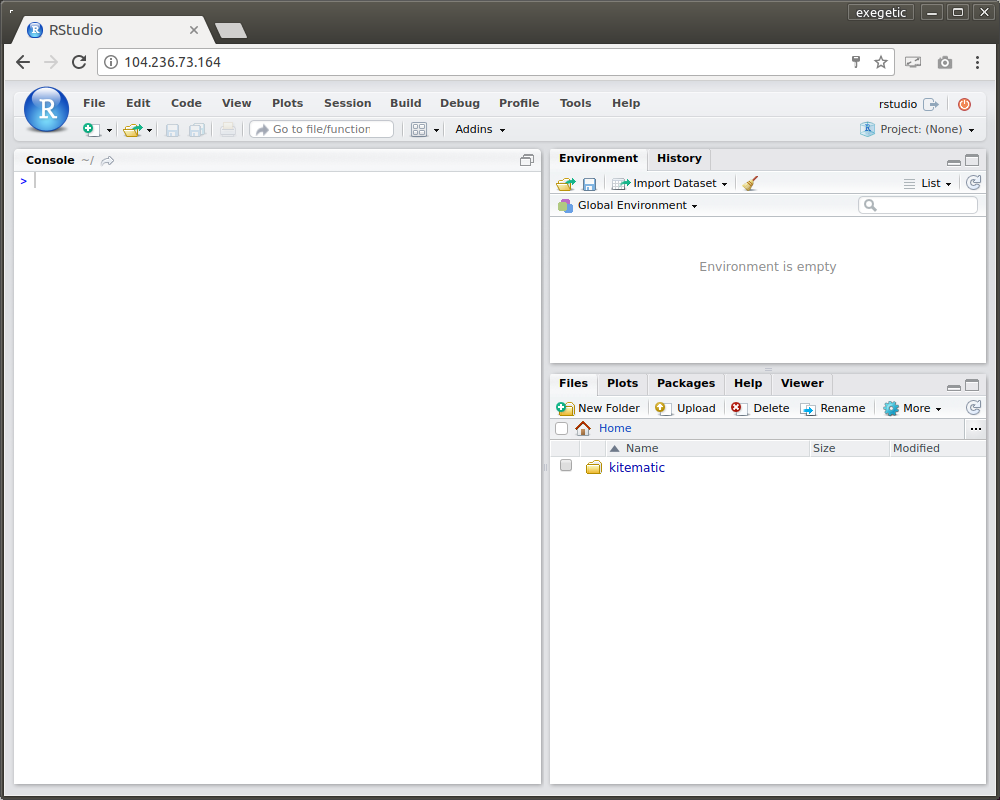
Sign in using the same credentials as before. Sweet: you’re connected to an instance of RStudio running somewhere out in the cloud.

Accessing Usernames and Passwords
Obviously the default credentials we’ve been using are a security hole. We’ll need to fix that. We’ll also need to create a brace of new accounts which we can give to the course delegates. These new accounts need to be created on the container not the host!
To accomplish all of this we’ll need to connect to the running Docker container. Again use docker ps to find the ID of the running container. Then connect a bash shell using docker exec, providing the container ID as the -i argument.
docker exec -t -i df3a7a5af57e /bin/bash
Delete the rstudio user.
sudo userdel rstudio
Now create some new users using the generate-users.sh scripts packaged with the image. For example, to generate five new users:
sudo /usr/sbin/generate-users.sh 5
U001,/kK160rx
U002,hhNk7FJl
U003,RaH4EJYP
U004,YBpMcl6n
U005,9Rcl8gye
This will create the user profiles and home folders. The usernames and passwords are dumped to the terminal in CSV format. Record these and then assign a pair to each of the course delegates.
Persisting User Data
You’ll probably want to use a mechanism for persisting user data. There are a couple of options for doing this. A simple technique which I have found helpful is documented here.