Some quick notes on adding a storage volume to an EC2 instance.
A short while ago I put together a m4.2xlarge EC2 instance. My initial thoughts were that the CPU (8 virtual CPUs), RAM (32 GiB) and storage space (16 GiB) would be more than enough for my requirements. I was correct about the first two, but ran out of storage pretty quickly. I had two options: rebuild from scratch with more storage space or simply add another volume. In light of all the provisioning that I’d done, the latter option was definitely more appealing.
Adding a New Volume
- In the EC2 Management Console click on Volumes in menu at left.
- Press the Create Volume button.
- Choose the size of the volume and the Availability Zone. The latter must be the same as that of the EC2 instance to which the volume will be attached.
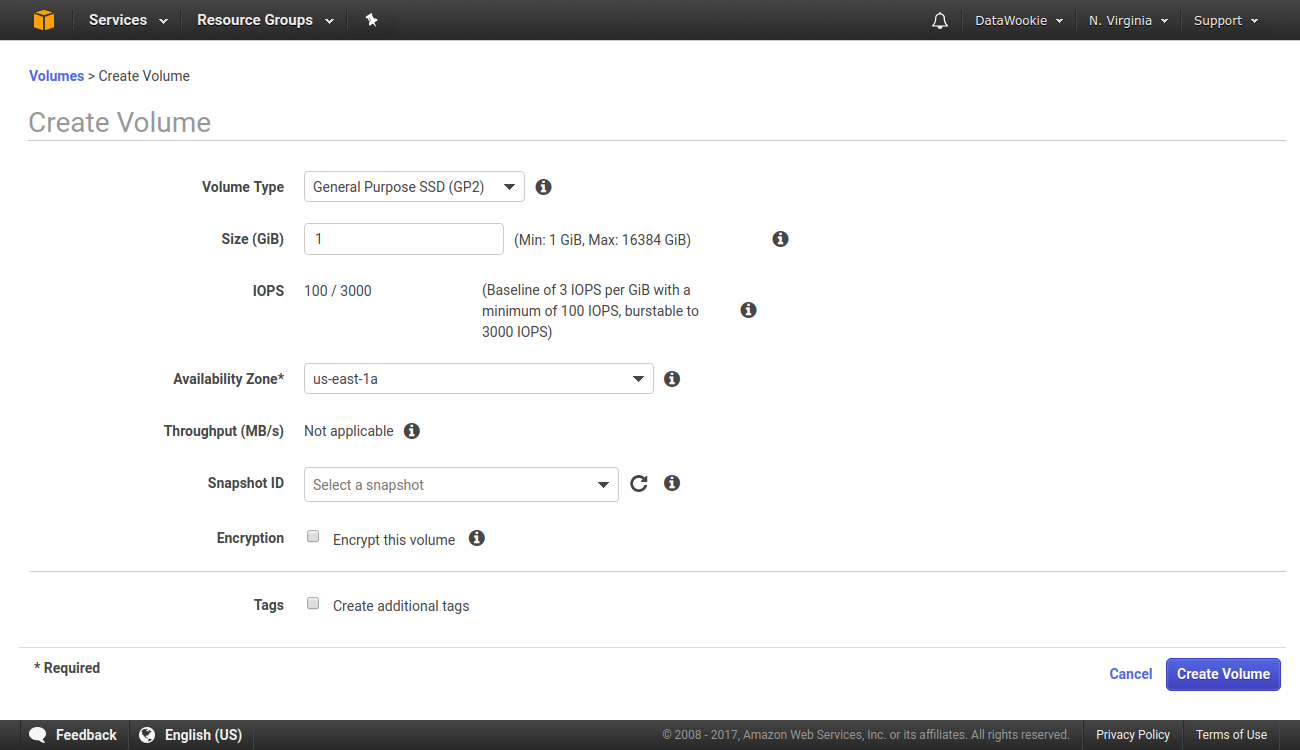
- Press the Create button.
- After a short delay the new volume will appear in the list of available volumes. (I have found that I occasionally need to refresh the page to get the new volume to show up!)
- Select the newly created volume and press the Actions button. Choose Attach Volume.
- Click the Instance field. It should present you with a list of running instances, from which you can select the appropriate option. If not, manually fill in the ID of the EC2 instance you want. Also specify a location in
/dev/where you want it to appear (something in the range/dev/sdfto/dev/sdpshould work), although this will probably be filled with a default value, which is perfectly good!
Mounting the New Volume
- Connect to the EC2 instance using SSH.
- Check for the new volume. Note that it will probably have a different device name from what you specified above.
sudo lsblkSuppose that the new volume shows up at /dev/xvdf.
What you do next depends on how you want to use the partition.
Swap Partition
First set up a swap area on the new partition.
sudo mkswap /dev/xvdfThen enable the partition for swapping.
sudo swapon /dev/xvdfFile Partition
Create a file system on the raw device.
sudo mkfs -t ext4 /dev/xvdfGo ahead and mount /dev/xvdf at a suitable location in your file hierarchy.