If you’re going to be exposing noVNC on the (public) internet, then it’s vital that you take some security measures. You should install a suitable SSL certificate and serve noVNC via HTTPS rather than HTTP. Getting that all up and running can be moderately tricky. Here’s a quick recipe to get a minimal setup working.
Launch VNC & noVNC
Configure VNC as described in this previous post. Start the VNC server.
vncserver \
  -localhost no \
  -geometry 1024x768 \
  -SecurityTypes None \
  --I-KNOW-THIS-IS-INSECURE \
  :0
The VNC server should be listening on port 5900. Now fire up Websockify.
websockify \
  --verbose \
  --web /usr/share/novnc/ \
  6080 \
  localhost:5900
That will launch Websockify listening on port 6080, acting as an interface to the VNC server running on port 5900. You can include the -D flag to run this process as a daemon.
Create a DNS Name
We don’t strictly need this just yet, but it’s useful to set up a DNS name for the server now. You’ll most likely need to create A type DNS entry mapped to the IP address for the server. For the purpose of this post I assigned the DNS name novnc.datawookie.dev.
Configure NGINX
Now we’ll set up NGINX as a reverse HTTP proxy. Copy the configuration below to /etc/nginx/nginx.conf. Replace the DNS name with the one you’ve just created. You can also leave out the server_name entry at this stage.
user www-data;
worker_processes auto;

http {
    gzip on;

    access_log  /var/log/nginx/access.log;
    error_log   /var/log/nginx/error.log debug;

    server {
        listen 80;
        server_name novnc.datawookie.dev;

        location /vnc/ {
            proxy_pass http://127.0.0.1:6080/;
        }
        location /websockify {
            proxy_pass http://127.0.0.1:6080/;
            proxy_http_version 1.1;
            proxy_set_header Upgrade $http_upgrade;
            proxy_set_header Connection "Upgrade";
            # Don't disconnect if inactive.
            proxy_read_timeout 600s;
            # Disable caching of VNC stream.
            proxy_buffering off;
        }
    }
}
Restart (or start!) NGINX.
systemctl restart nginx
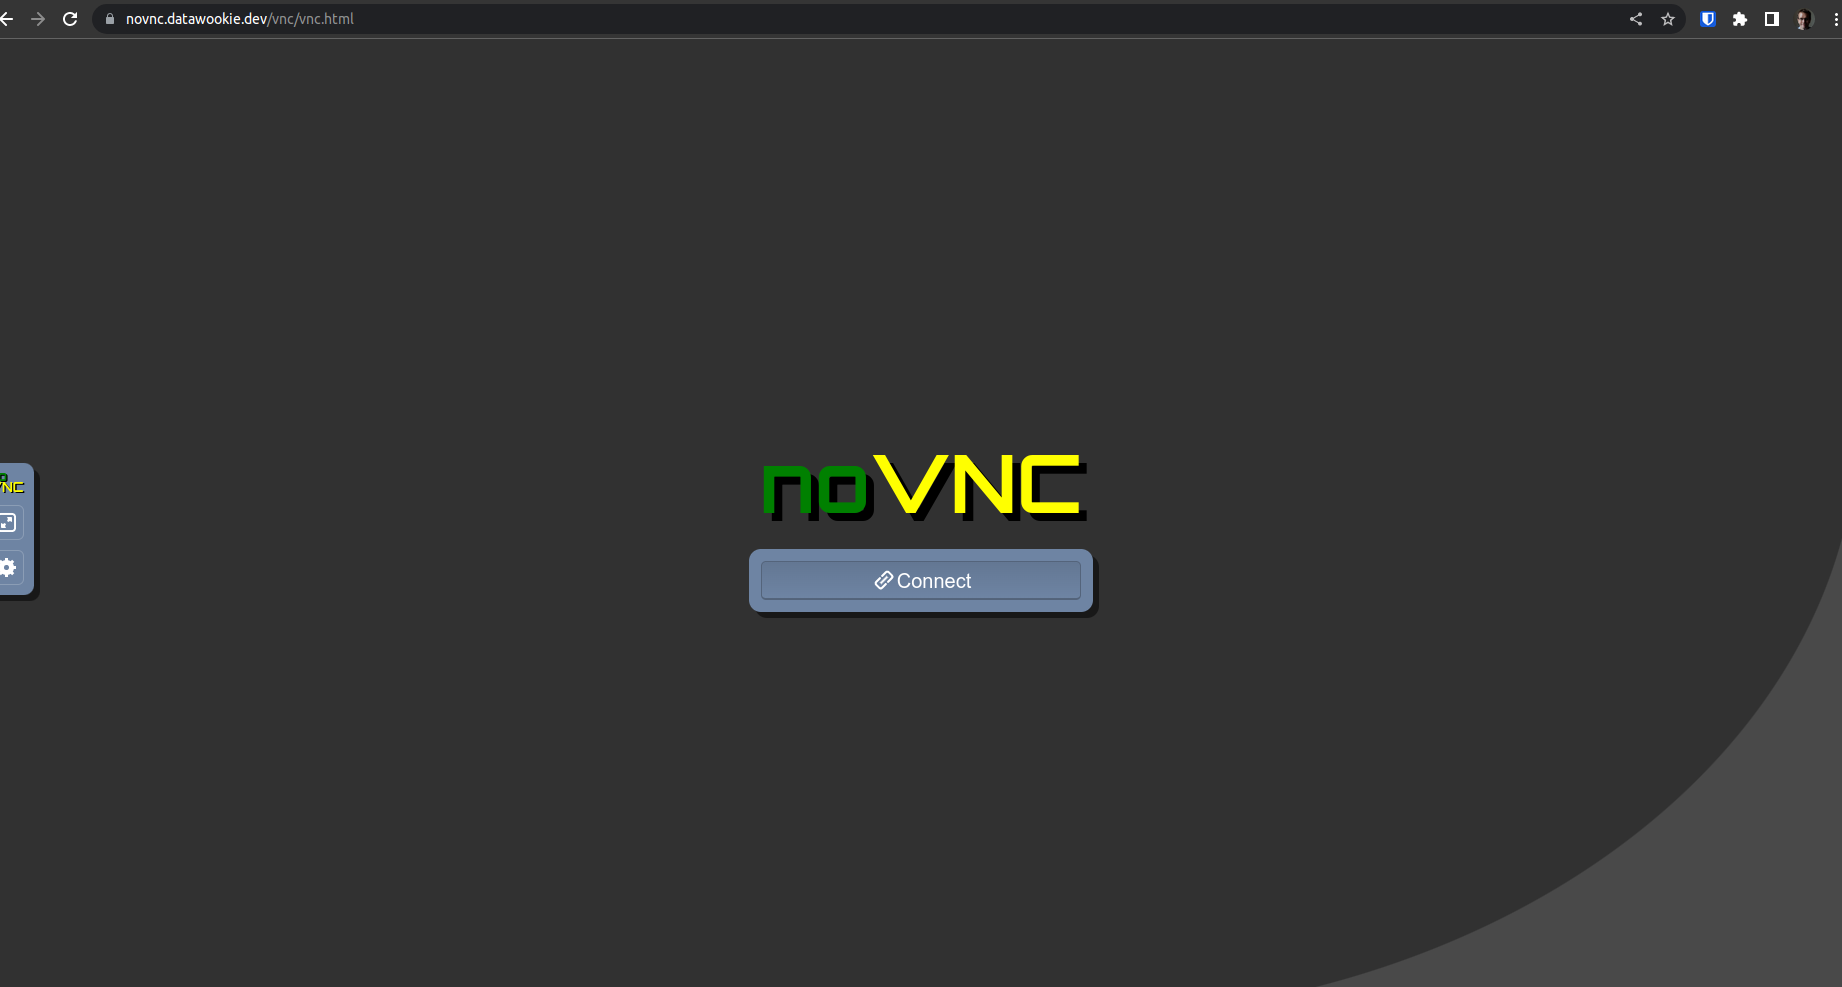
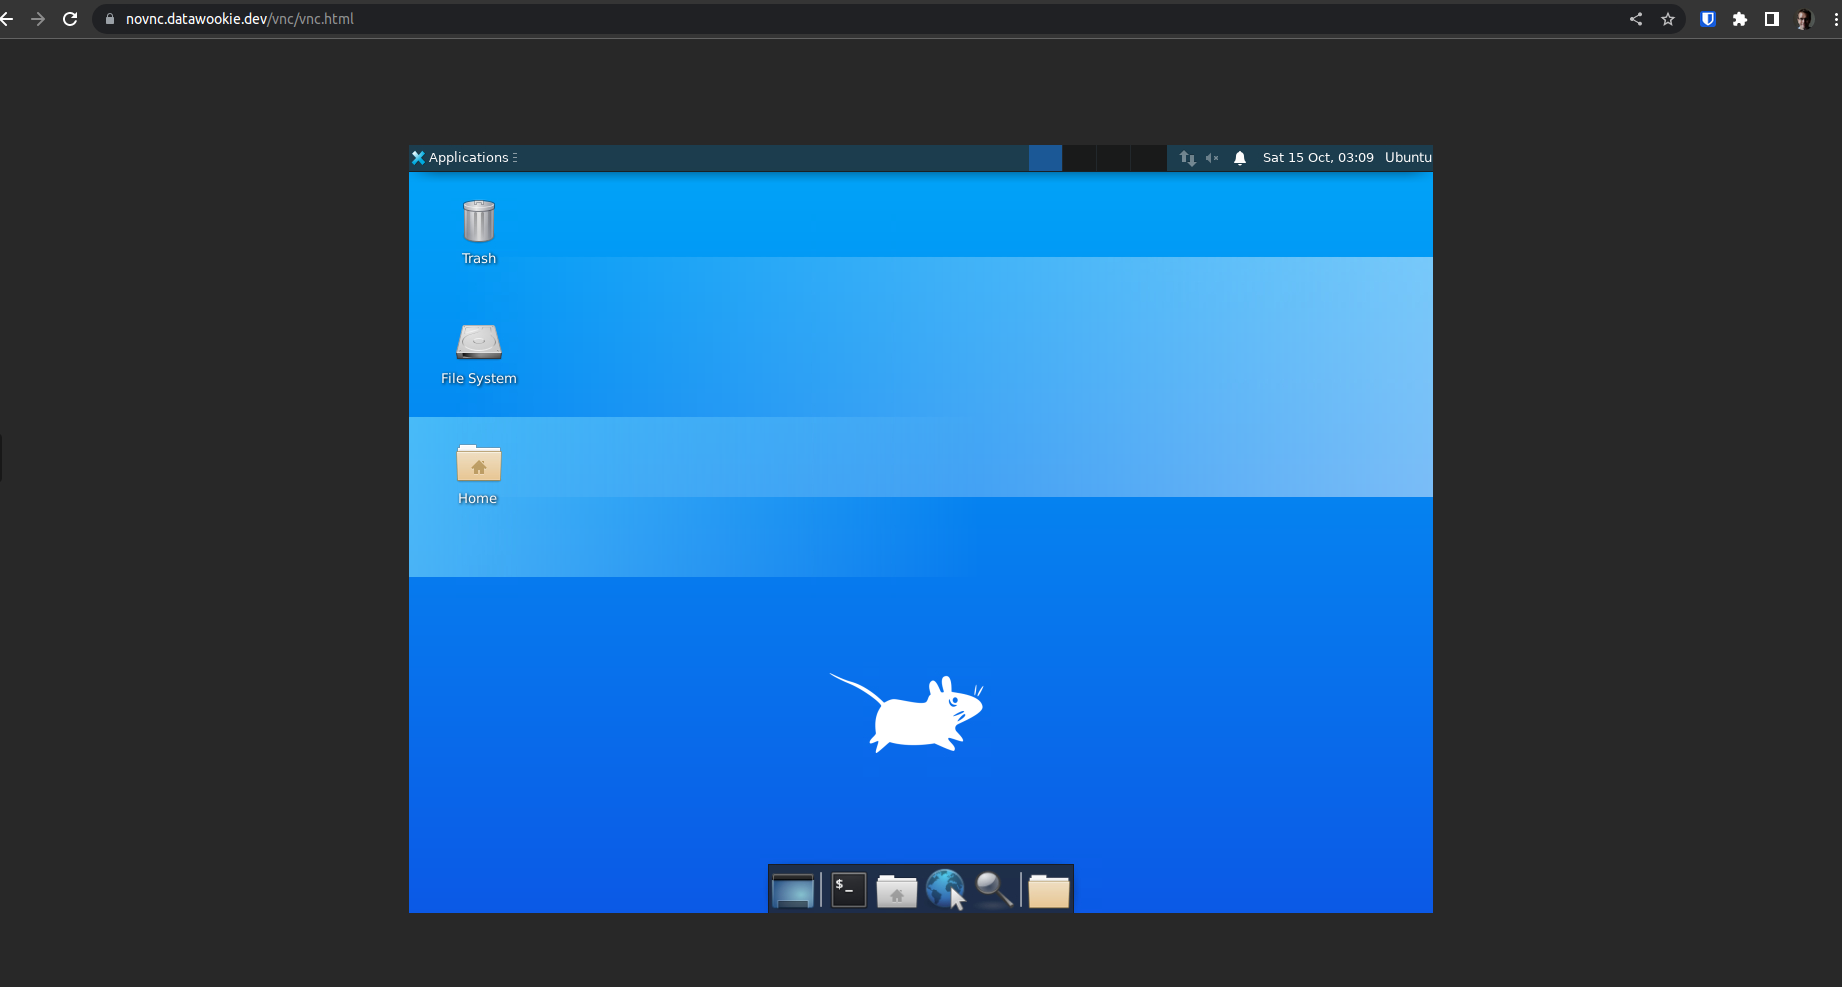
At this point you should be able to access noVNC in your browser via HTTP at the path /vnc/vnc.html. You will probably need to use the server’s IP address rather than the domain name to ensure that your browser doesn’t try to use HTTPS rather than HTTP.
It’s important that you get this step working. If HTTP access doesn’t work then the likelihood that you’ll success with HTTPS is slim.
Add an SSL Certificate
We’ll get an SSL certificate from Letsencrypt. To do this you’ll need to have allocated a DNS name to your server. Update /etc/nginx/nginx.conf to reflect the server name.
Install certbot.
sudo apt-get install certbot python3-certbot-nginx
Now run certbot and follow the instructions to install an SSL certificate. This will update /etc/nginx/nginx.conf accordingly.
sudo certbot --nginx
When that’s done you’ll just need to restart NGINX once again and subsequent requests to noVNC will go via HTTPS.
Debugging
If you have trouble connecting, check the Console in your browser for clues.