Deploying a Gatsby site can feel like a daunting task, especially with the array of potential hosting platforms. Among them, Netlify is a strong contender due to its seamless integration and deployment process. Netlify is actively engaged in improving support for Gatsby on their platform. This post will show how to get your Gatsby site live on Netlify.
As your Gatsby site matures you’ll naturally start to think about where and how it will be deployed. There are a lot of options including
- GitHub Pages
- GitLab Pages
- Vercel
- Heroku (⛔ but no free tier!) and
- Netlify.
In this post we’ll focus on Netlify.
🚀 TL;DR Show me the code. Look at the 2-asciidoc branch. This site is deployed here.
Add Package
Add the gatsby-adapter-netlify package to package.json. This package enables a zero-configuration deployment, which certainly sounds like a labour-saving feature.
Update the site packages with npm or yarn.
npm install🚨 The gatsby-adapter-netlify package should be used for all new Gatsby sites. If you have a site which uses an older version of Gatsby then you might have to use gatsby-plugin-netlify instead.
Configure Package
Just add gatsby-adapter-netlify to the list of plugins in gatsby-config.js.
Deploying on Netlify
Over on Netlify you kick off the deployment process.
- Click on the button.
- Select the “Import an existing project” option.
- Choose where you’ll be deploying from. The options are:
- GitHub
- GitLab
- Bitbucket and
- Azure DevOps.
- Choose the appropriate project and branch.
- Scroll down and press the button.
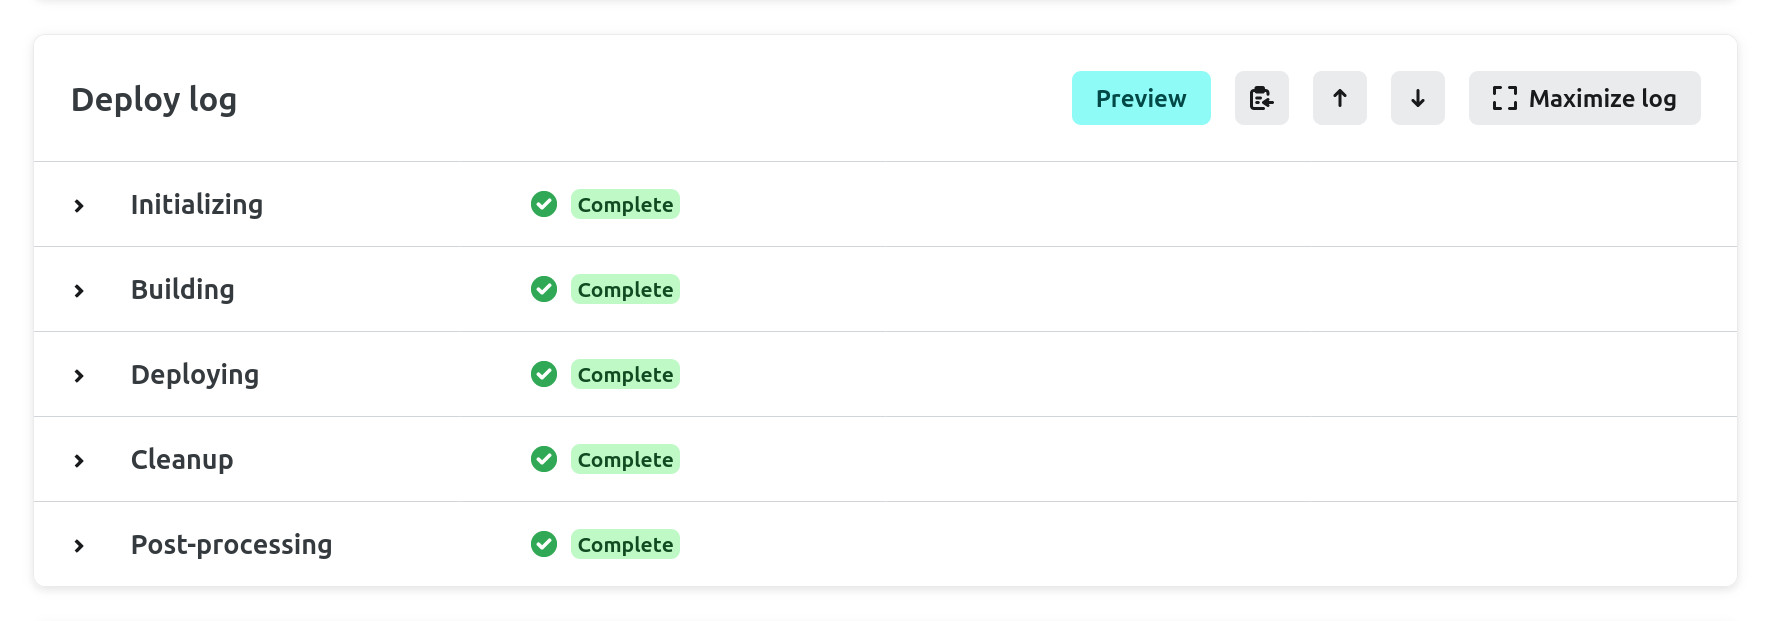
All being well the deploy process will churn for a short while before your site becomes available.
Netlify will assign a randomised URL to your site. You can change the site name via the site configuration.
Netlify CLI
You can simulate the Netlify build process locally with the Netlify CLI.
First login to Netlify (this will open a browser tab).
# Login.
netlify login
# Switch from one Netlify account to another.
netlify switch
Now link your local project to the site that you’ve just deployed on Netlify.
netlify linkThere are a few options for how this link can be created. These are the ones that I find most useful:
- search by full or partial site name;
- choose from a list of your recently updated sites; or
- enter a site ID. 👈 Get the site ID from the site configuration on Netlify.
That will create a .netlify directory containing a file, state.json, that stores the site ID.
And finally build the site.
netlify buildYou can also use a Docker image. You’ll need to first generate a personal access token. Pass this to Docker as the NETLIFY_AUTH_TOKEN environment variable.
docker run -it -v $PWD:/site \
  -e NETLIFY_AUTH_TOKEN=3xhsAv6QovEGu0LCDFXOLkFercZ9wQieiLK0bpGB8CX \
  datawookie/netlify-cli:latest build
Troubleshooting
Your Netlify deploy is likely to go very smoothly. Here are some notes from a few of the minor wrinkles I’ve encountered.
Running out of Heap Space
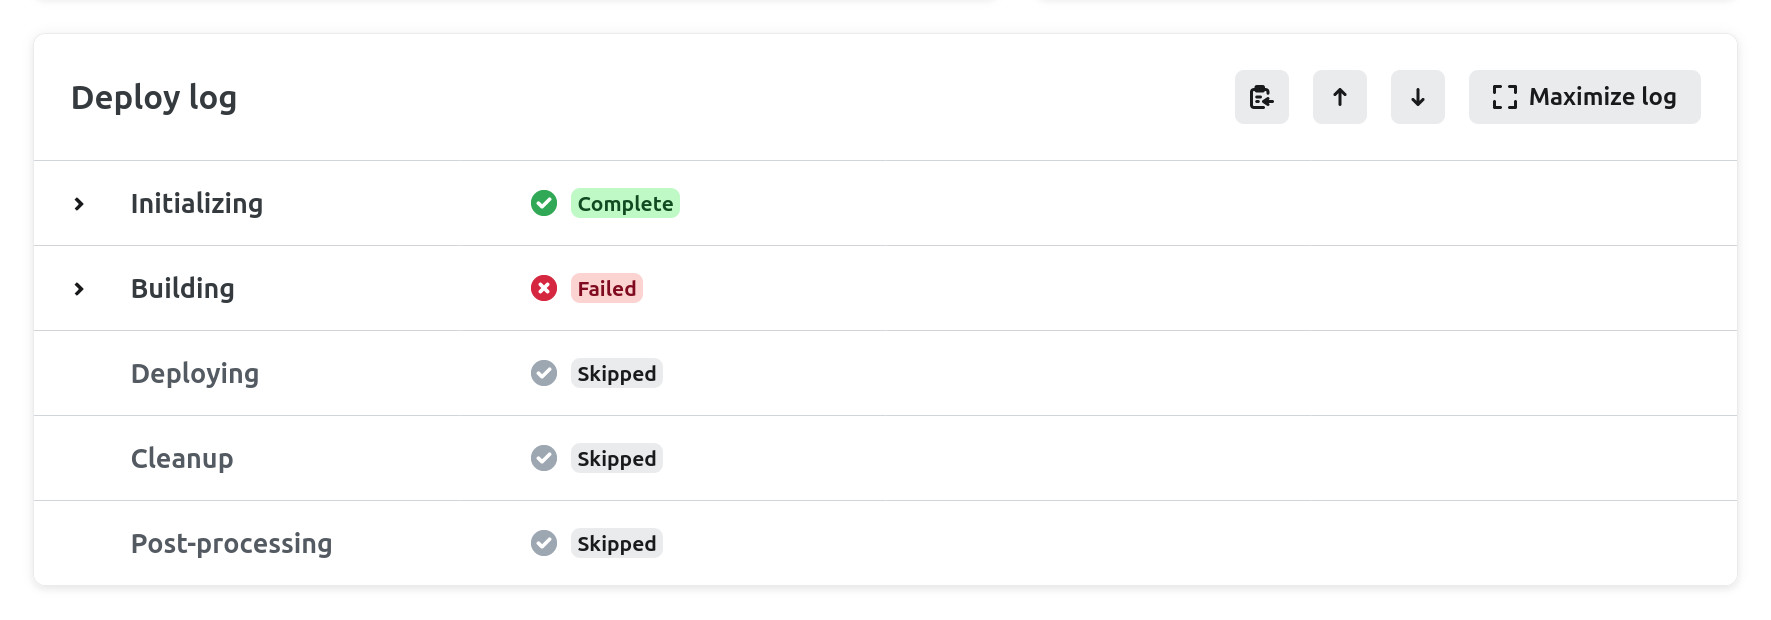
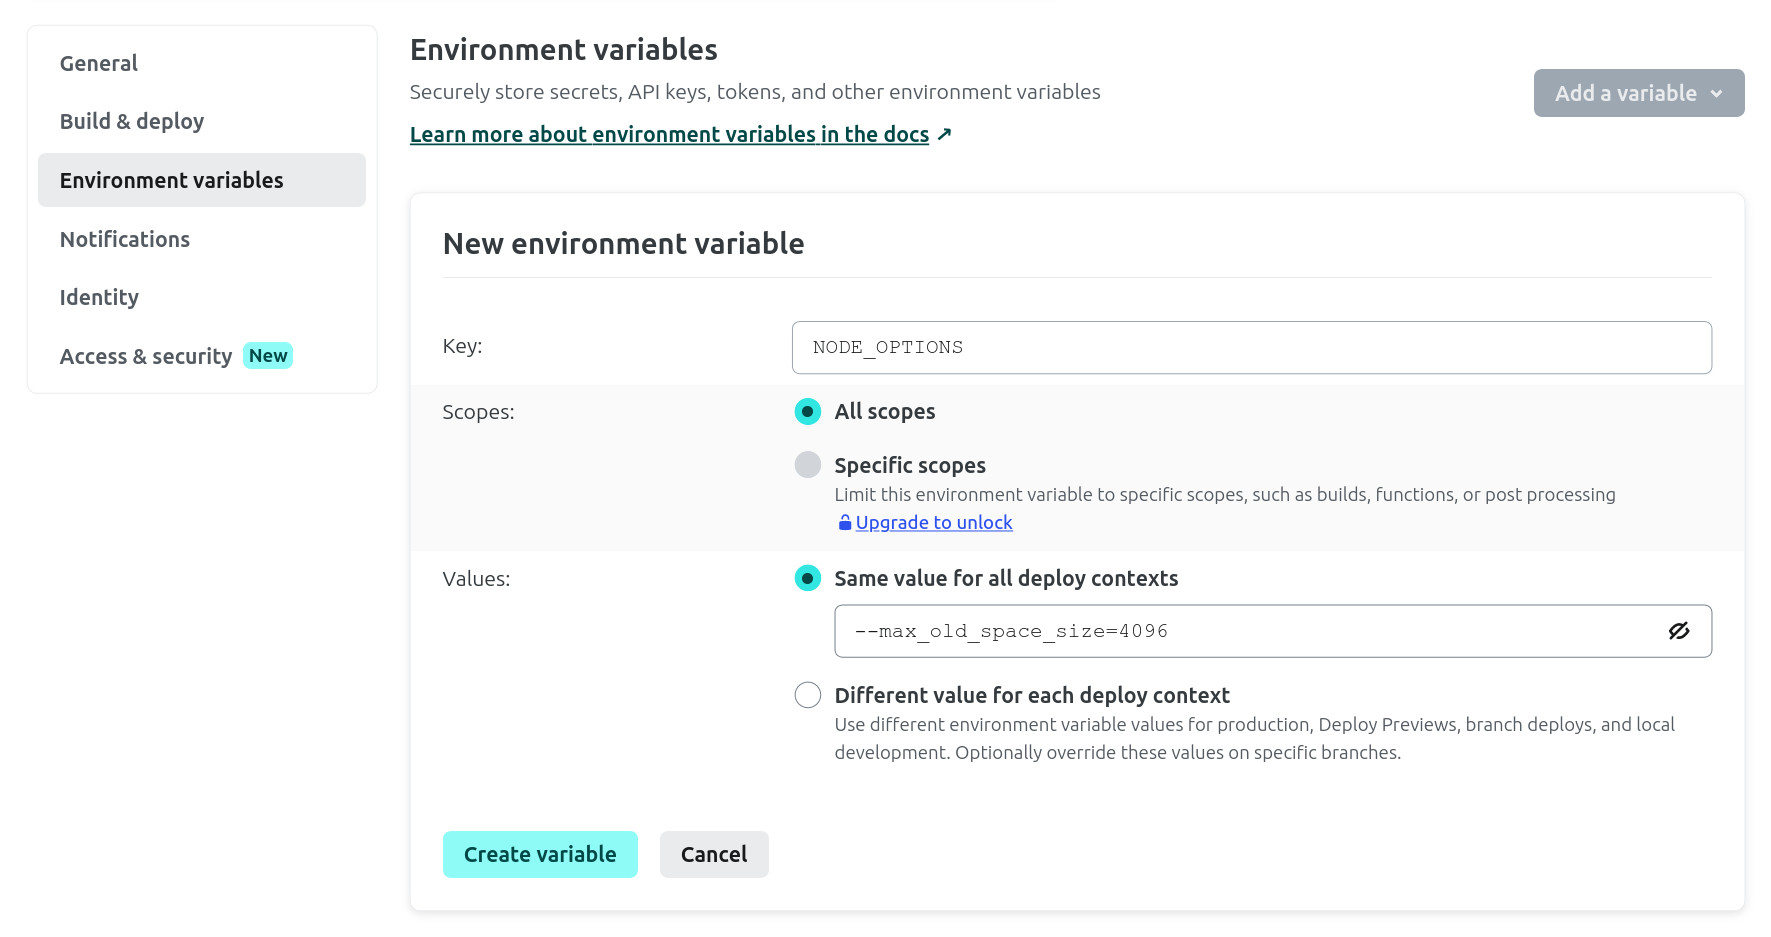
I addressed this issue in another post. If you’re watching the build progress on Netlify then you might think that it’s been successful… until it fails at the last instant. You can set an environment variable to increase the available heap space. You can set environment variables under site configuration, where you’ll find an environment variables section.
Try setting the NODE_OPTIONS environment variable to --max_old_space_size=4096. If that doesn’t solve the problem then try a larger value like 8192 or 16384.
Another symptom of this problem is an error about not being able to find a temporary query result or not being able to write page-data.
Build Killed
You might find that your build is being killed with an exit code of 137 (more information on that here). This might be because the build is taking more than 15 minutes, which is the maximum for a free deploy. Check the timestamps on the build log. If the build has taken around 15 minutes then this is likely to be the problem. Add a credit card on your account to get extra minutes of build time. Or take advantage of the free trial of a Pro membership (credit card still required).
Other things to try:
- Change the build command to
npm run build. 👈 Not sure why this seems to be preferable toyarn run build. Could be due to different dependency resolutions? - Set environment variable
CI=falseto disable Continuous Integration mode. - Set environment variable
GATSBY_CPU_COUNT=2. OrGATSBY_CPU_COUNT=4. - Try changing the Node version. This can be set via the
.nvmrc(check the build logs).
Path Does Not Exist
You might get a build error like “The path passed to gatsby-source-filesystem does not exist on your file system”. Check your gatsby-config.js and make sure that you are using ${__dirname} to specify paths in the configuration blocks for gatsby-source-filesystem. This is necessary to ensure that the site is portable.
This is good:
{
  "resolve": "gatsby-source-filesystem",
  "options": {
    "name": "pages",
    path: `${__dirname}/src`,
  }
}
This is not good:
{
  "resolve": "gatsby-source-filesystem",
  "options": {
    "name": "pages",
    path: `/site/src`,
  }
}