
In a previous post we deployed our Gatsby site on Netlify. Now let’s take a look at another platform: Vercel.
🚀 TL;DR
Show me the code. Look at the 18-vercel branch. This site is deployed here.
Don’t Add Package
There’s a Gatsby plugin, @vercel/gatsby-plugin-vercel-builder, that’s specifically for working with Vercel. However, it will be automatically injected into the project, so you should not add it explicitly.
Deploy on Vercel
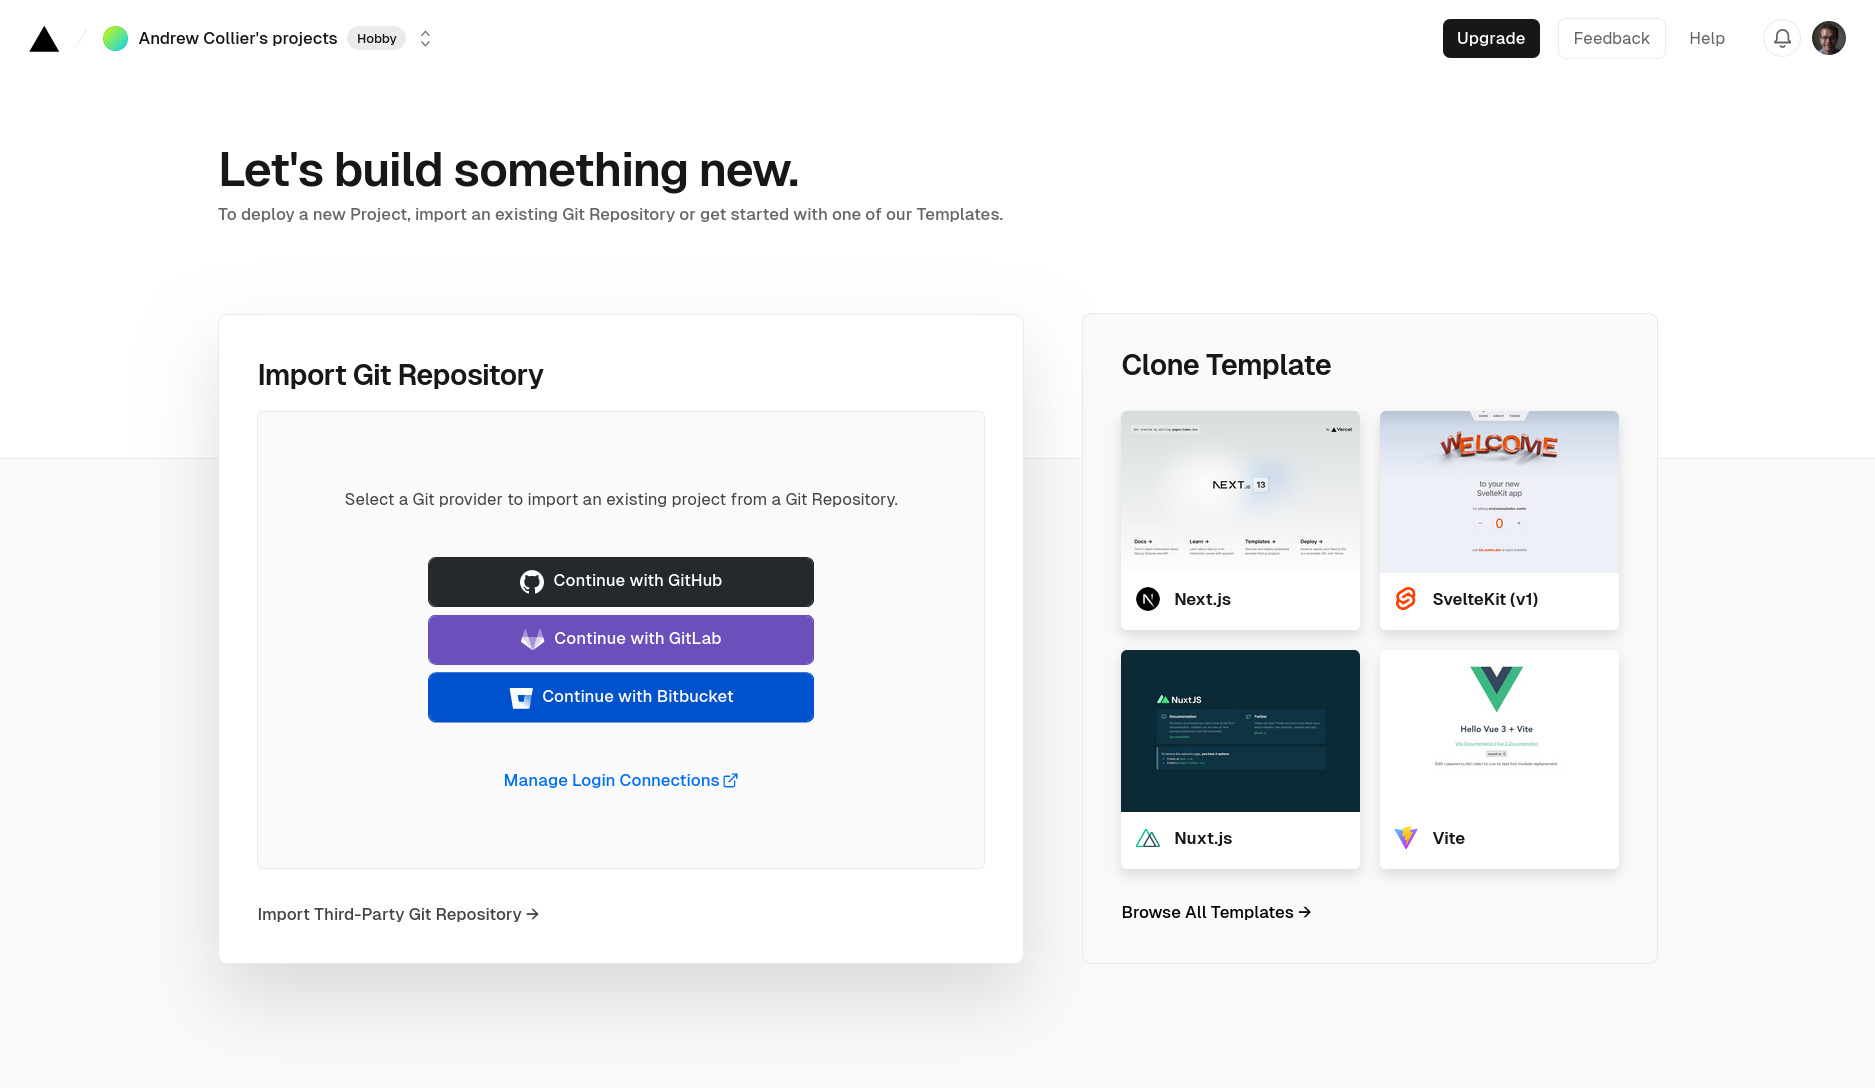
If you don’t already have an account on Vercel, then create one now. When you login to your new account you’ll have the option to connect to a Git provider.
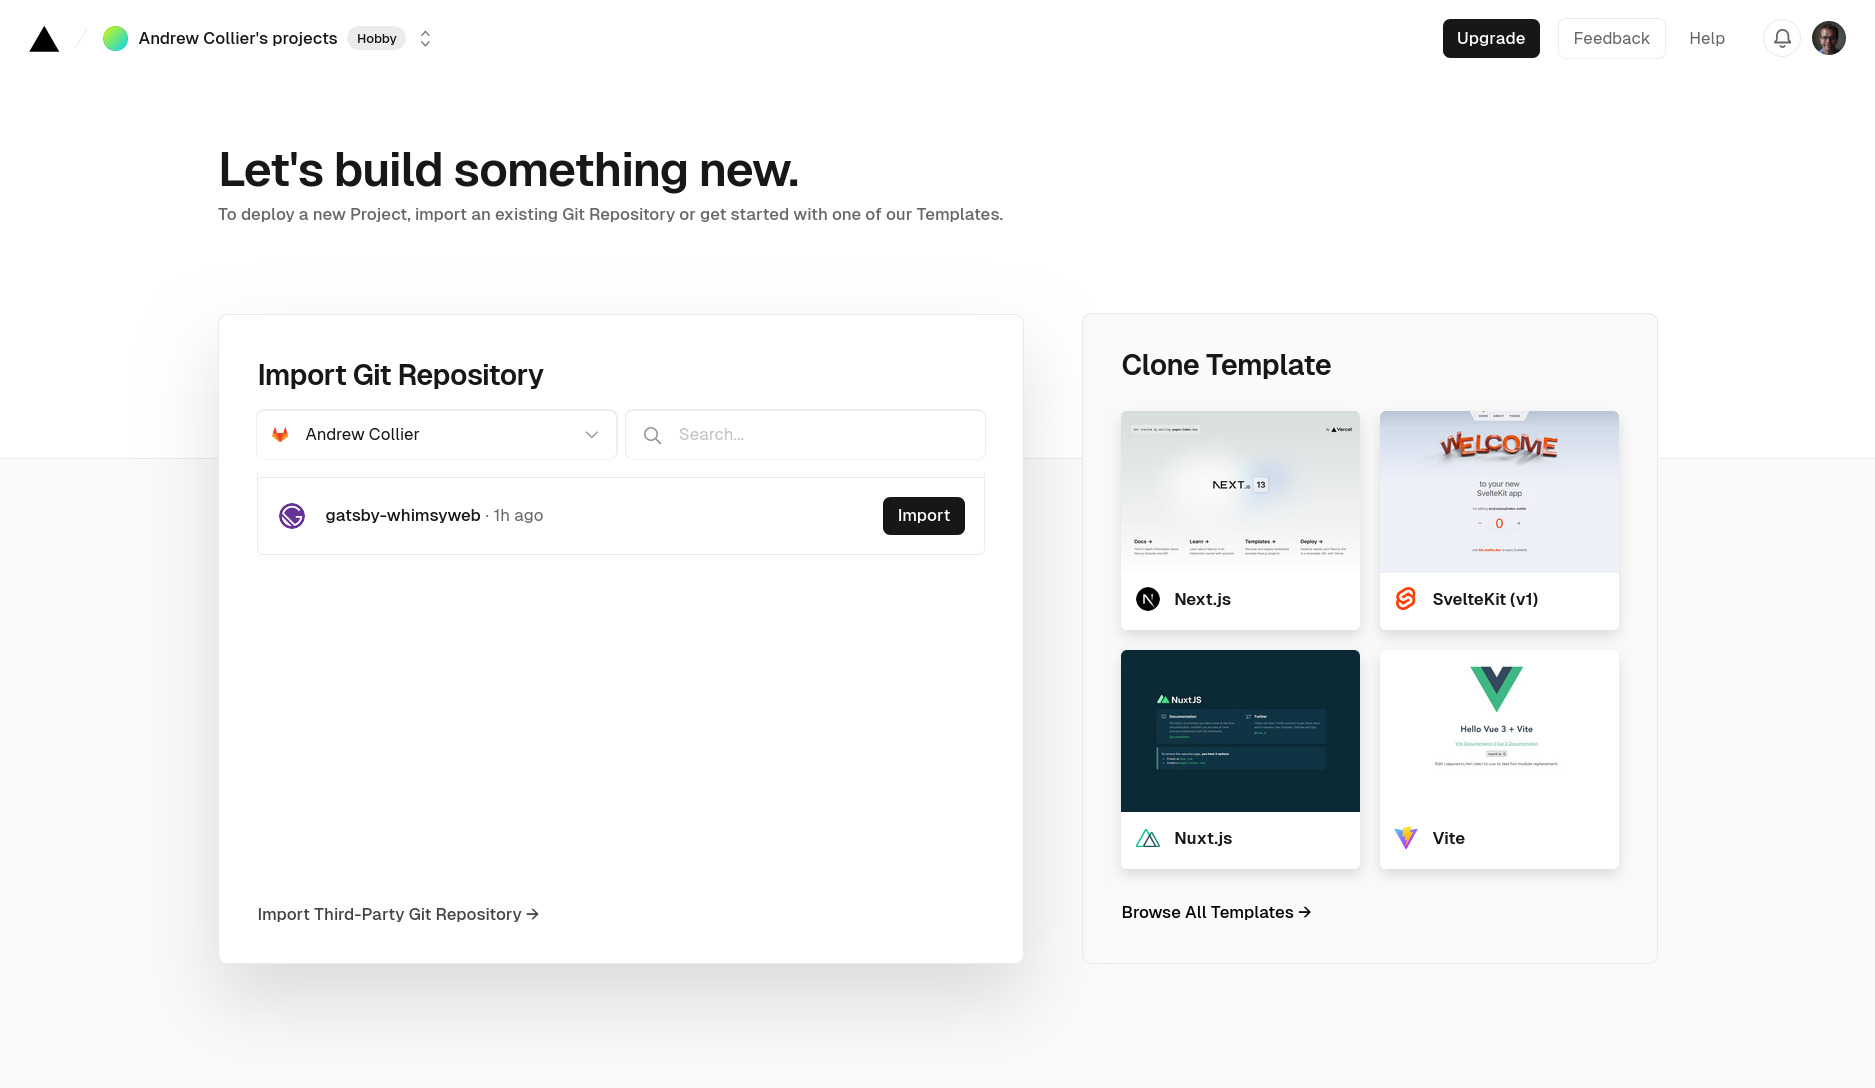
You’ll be presented with a list of eligible projects. Select the one that you want to deploy on Vercel.
You can tweak the project configuration, but you’ll probably find that the defaults suffice.
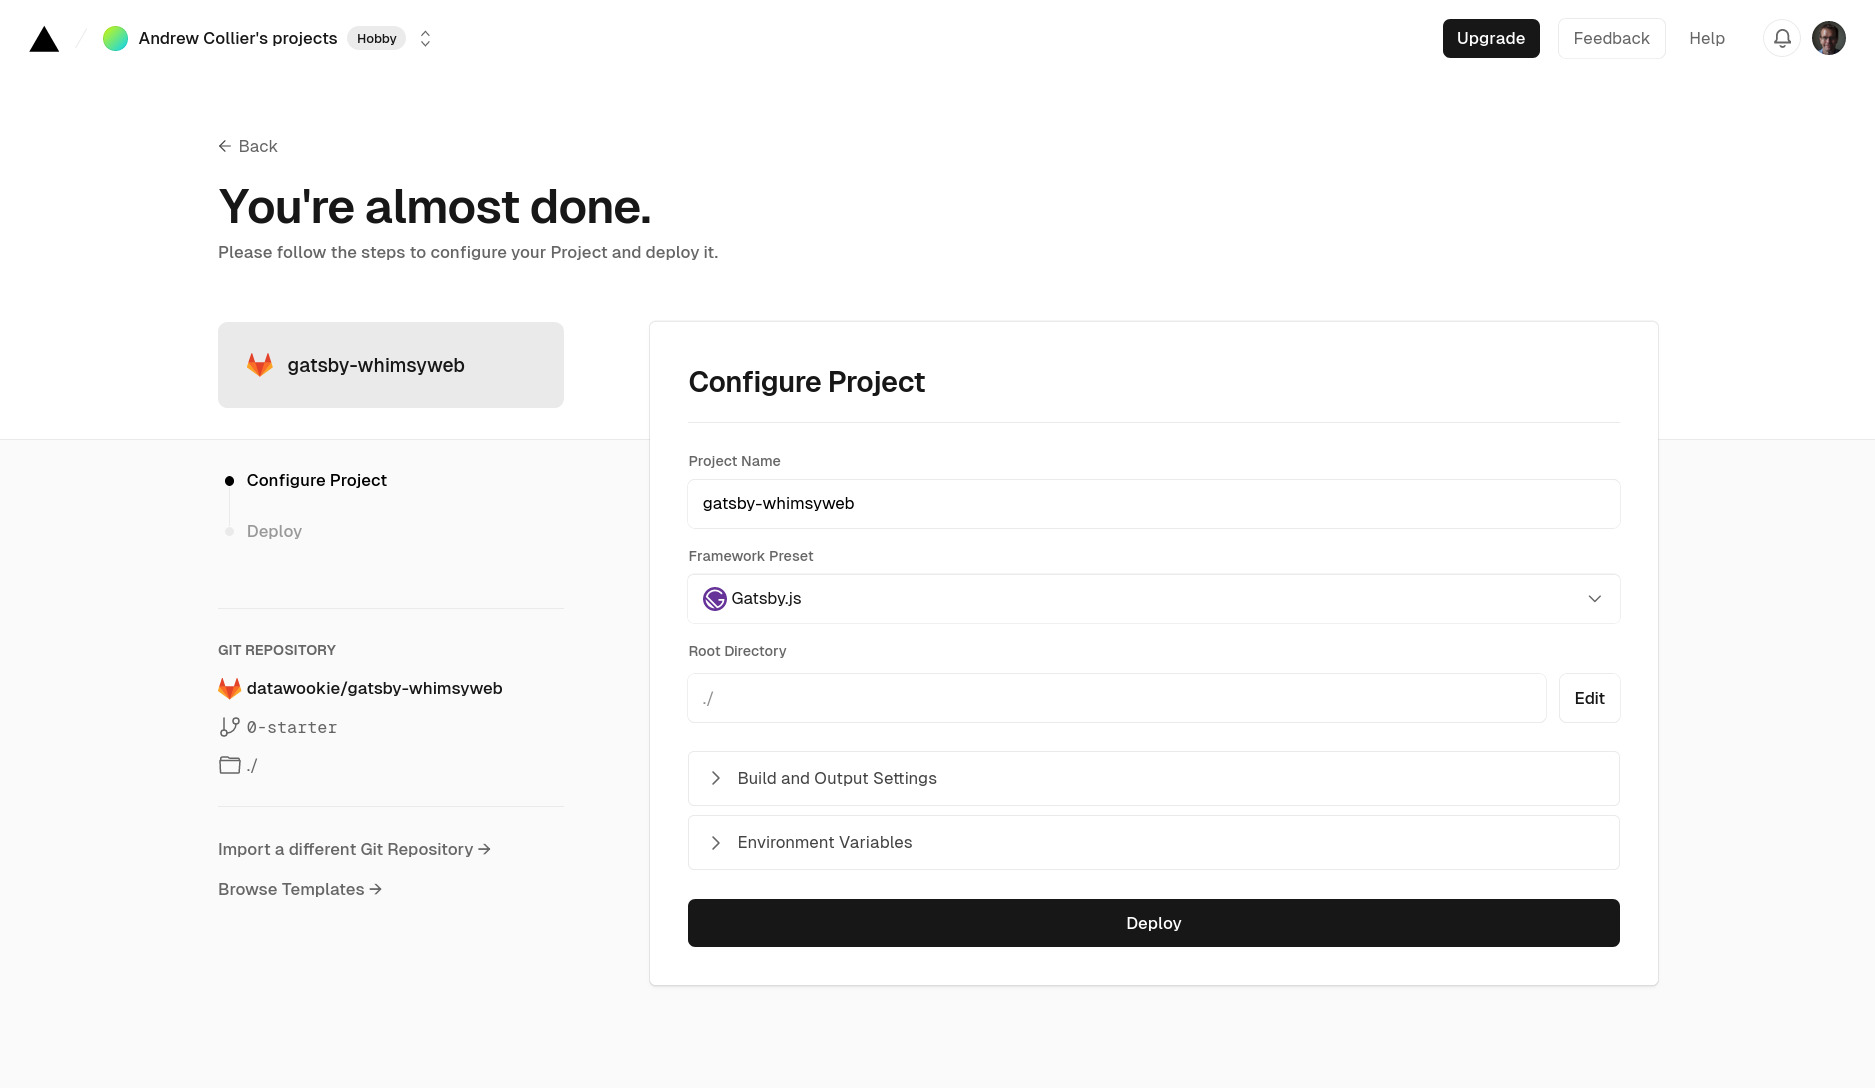
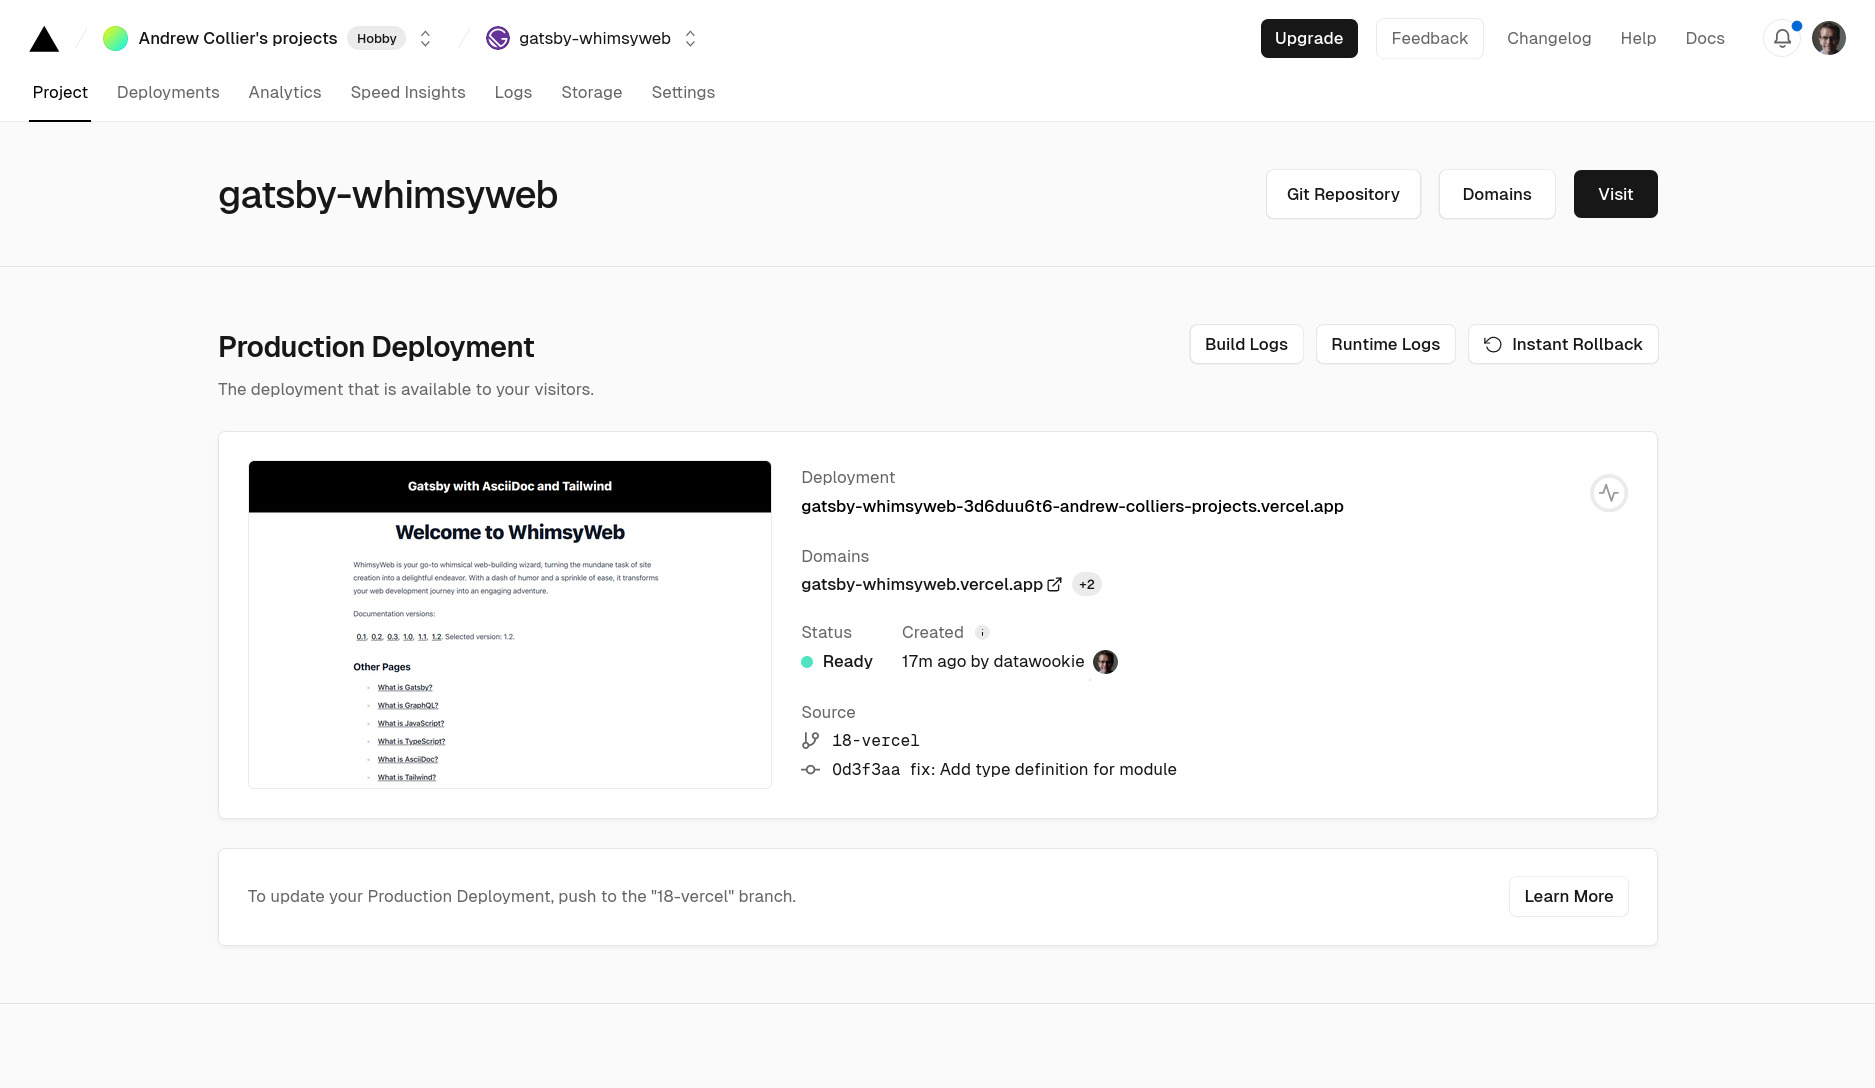
Press the big button. The project will then be queued for deployment. If you’re patient then you can monitor the deployment process. Otherwise I’d suggest getting with something else while your site gets deployed. It won’t take long though.
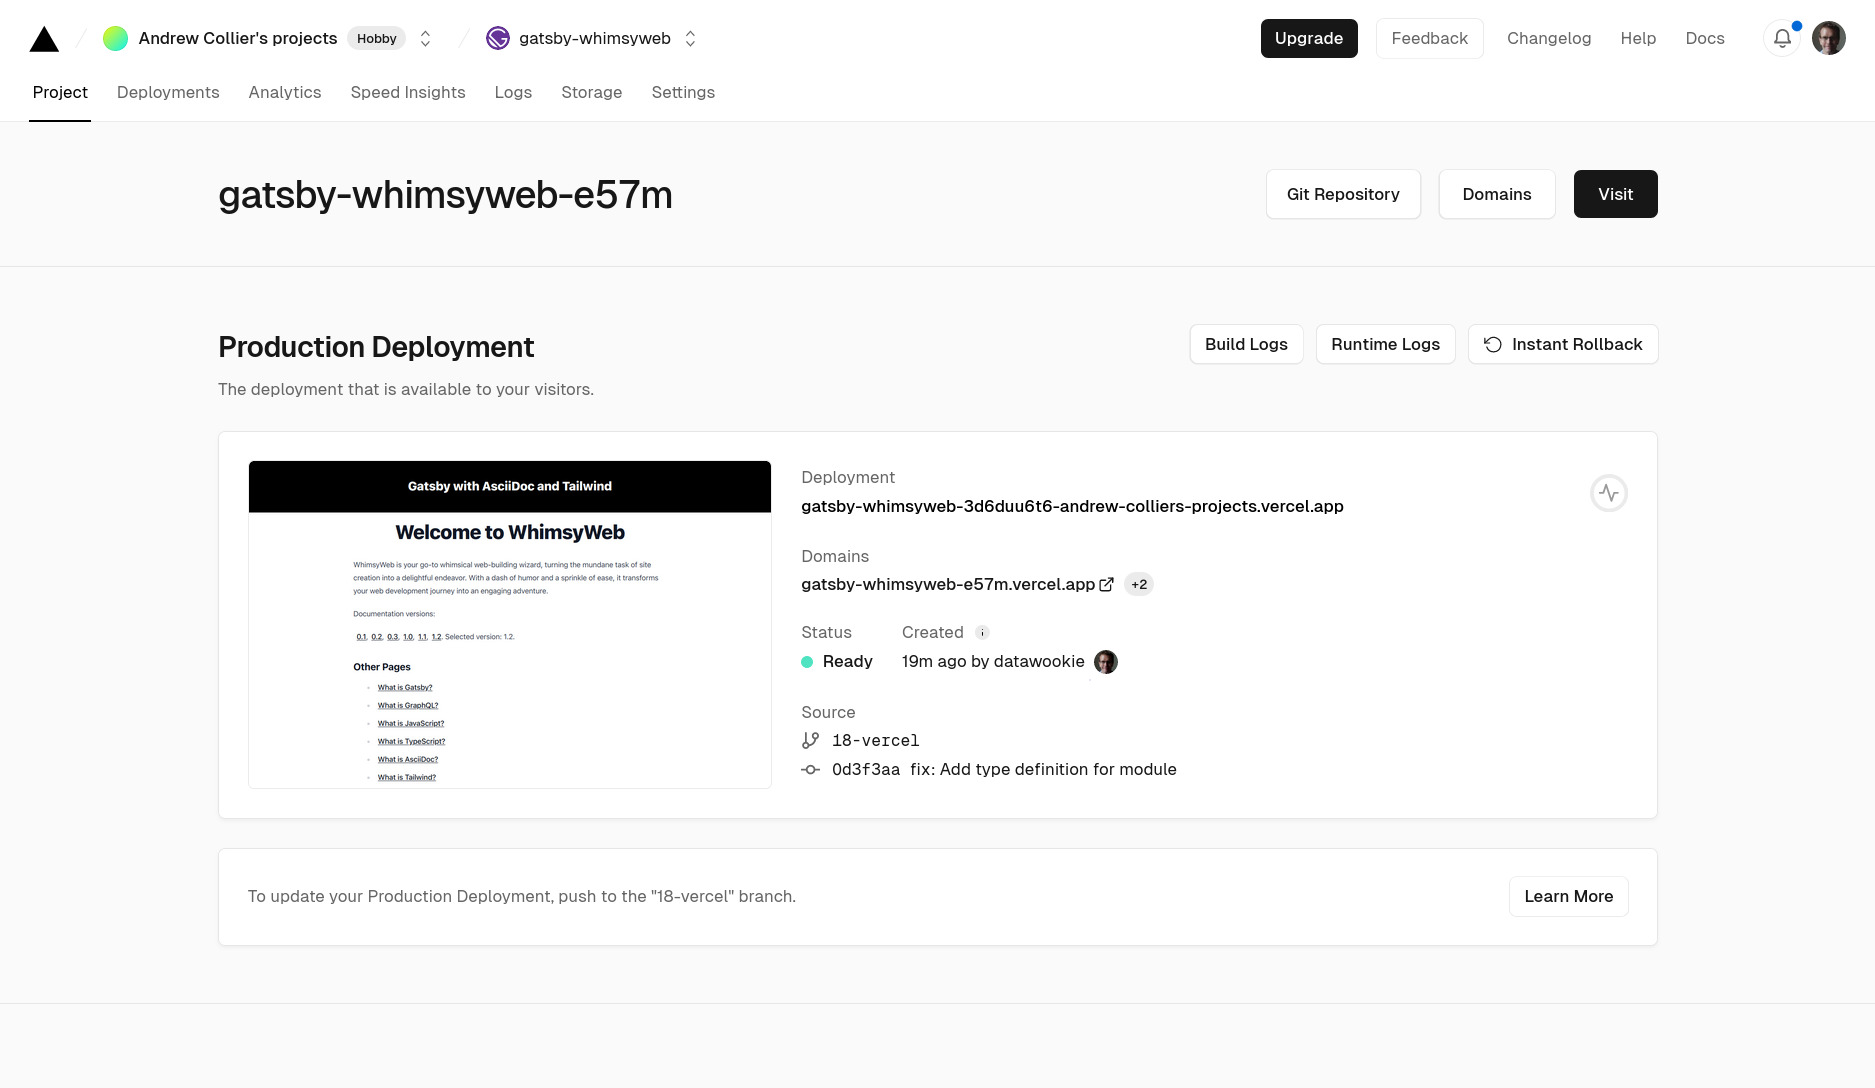
Your patience will soon be rewarded.
Gatsby Vercel Plugin
There is a plugin, @vercel/gatsby-plugin-vercel-builder, which handles some of the mechanics of deploying a Gatsby site on Vercel. The Vercel documentation indicates that you should not explicitly include this plugin in your site because it will be injected automatically during the build process. The build logs will contain the following:
Injecting Gatsby.js plugin "@vercel/gatsby-plugin-vercel-builder"
The source for the plugin can be found here.
Project Settings
There are extensive options for customising the project settings. These are access via the Settings tab. You probably don’t need to change too much immediately. Here are a few things that you might want to look at.
Project Name
The project will be assigned a semi-randomised name. You will probably want to impose a deterministic alternative. The project name can be configured in the General section.
Production Branch
If you have multiple branches in the repository then you can select one as the production branch. By default this will be the repository’s default branch (most likely master or main). All other branches will result in preview builds. The production branch can be configured in the Git section.
Domain
Your site will be deployed at a Vercel sub-domain. You can customise the sub-domain name (provided that the selected name is available!). You can also assigned any other domain that you own. The domain can be configured in the Domains section.
Vercel CLI
There’s a CLI interface to Vercel too, which can be handy for development and testing. The CLI allows you to
- emulate the Vercel build environment and
- interact with your project on https://vercel.com/.
Before you can tap into those good things you’ll need to install the package.
npm i -g vercel
A .vercel folder will be automatically created when you link a Vercel project to a local directory. It contains a project.json file that specifies the project and team ID. This folder should not be added to the Git repository (and will be spontaneously added to .gitignore).
Fire up a development server.
vercel dev
This will immediately ask you how you want to login to Vercel. Select whichever option you normally use. It will then provide you with an URL which you will need to open in a browser. That will give you a token that you’ll then need to enter at the CLI prompt.
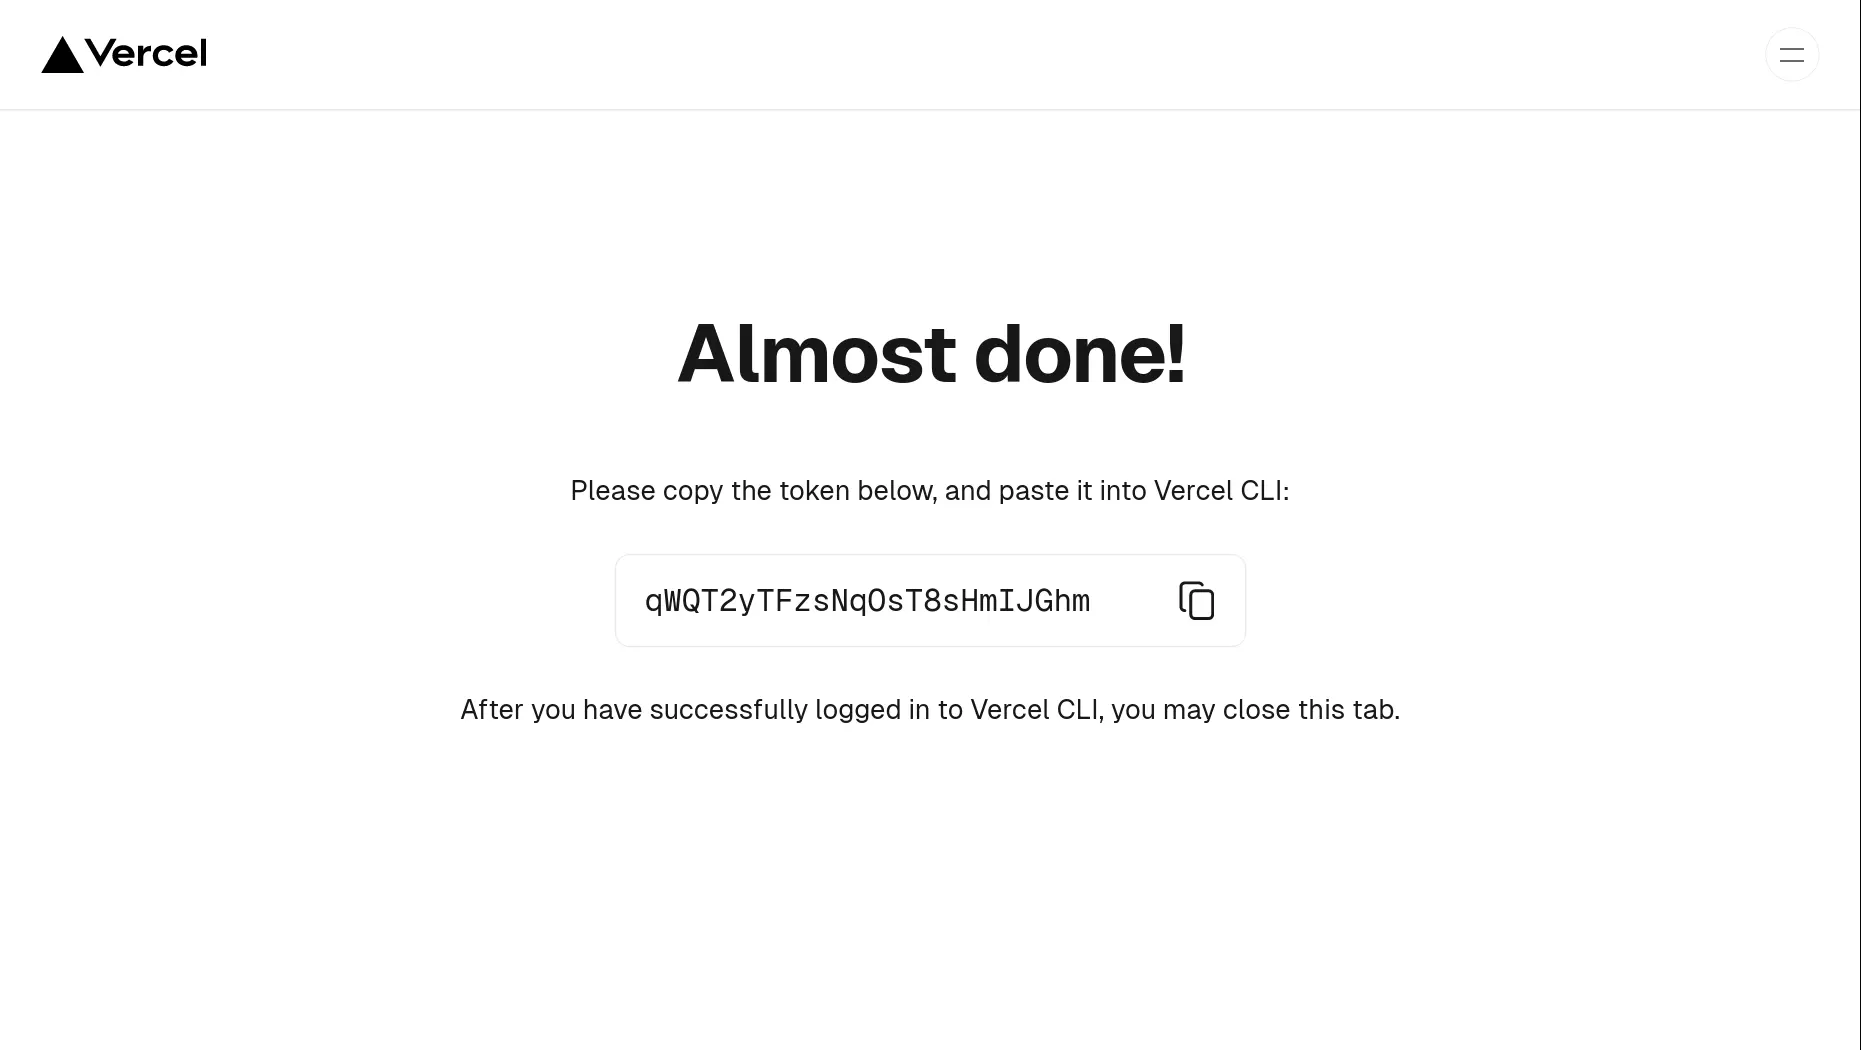
For the remained of the CLI prompts you can just accept the default values. When the build is complete you can open http://127.0.0.1:3000 in your browser.
To create a local production build using the Vercel environment, use the build action.
# Build with preview environment variables.
vercel build
# Build with production environment variables.
vercel build --prod
To deploy the current branch, use the deploy action (although not strictly necessary because this is the default action). That will initiate a remote build on https://vercel.com/.
# Deploy using explicit action.
vercel deploy
# Deploy using default action.
vercel
Troubleshooting
TS7016: Missing Declaration File
If you have a TypeScript gatsby-node.ts then you might run into error TS7016, which will complain about not being able to find a declaration file for @vercel/gatsby-plugin-vercel-builder/gatsby-node.js. To get around this you can create a index.d.ts file in the project root with the following content:
declare module '@vercel/gatsby-plugin-vercel-builder/gatsby-node.js';
Add that file to the include list in tsconfig.json.
Conclusion
Vercel is another platform where you can quickly and easily deploy a Gatsby site. And, like Netlify, you can do it for free 💵 (which is a hard price to beat!).
See also:
🚀 TL;DR
Show me the code. Look at the 18-vercel branch. This site is deployed here.