In the previous post we set up a Minecraft server on Ubuntu. Now we’re going to install the Minecraft client and connect to that server.
⚠️ I’m focusing on the Java edition of Minecraft.
Download
Download the client software from https://www.minecraft.net/en-us/download.
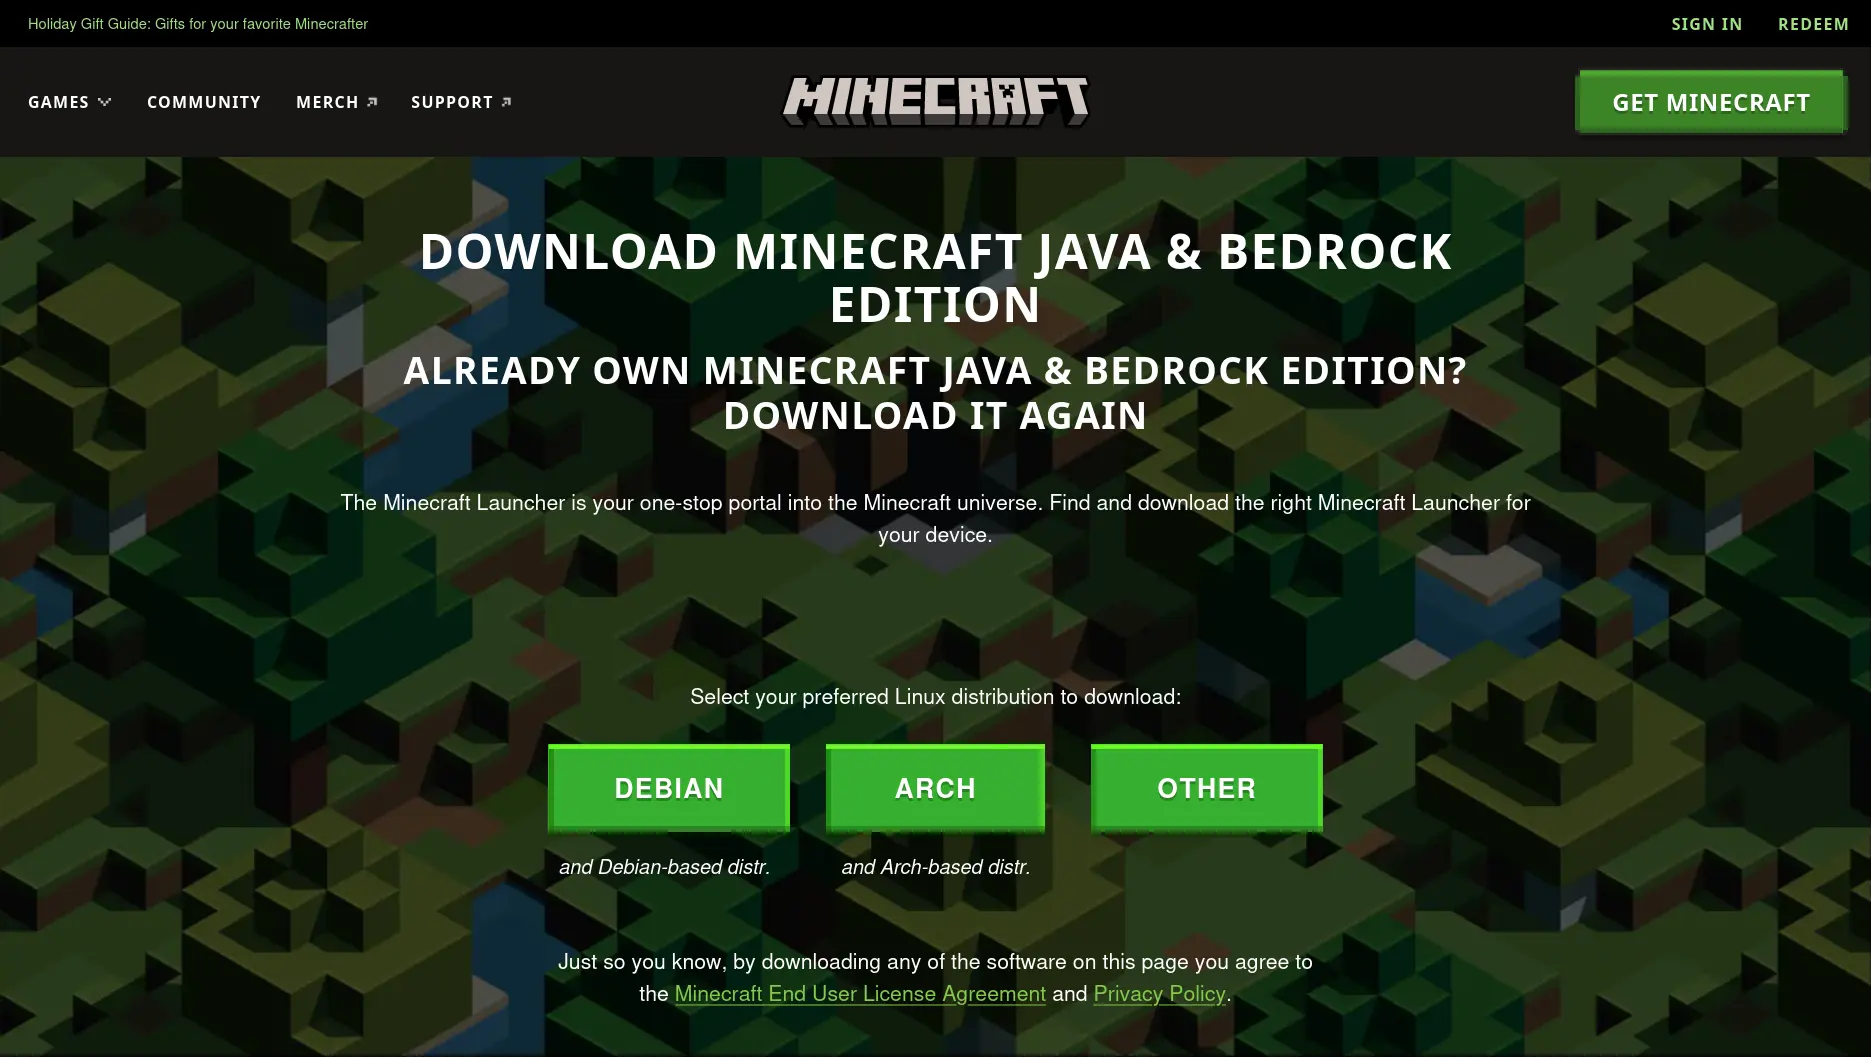
Click the link to download the Debian installer. You can also download using the command line.
wget https://launcher.mojang.com/download/Minecraft.debInstall
sudo dpkg -i Minecraft.debIf there are errors about dependencies then fix them.
sudo apt --fix-broken install -yRun
Now, all things being well, you should be able to launch Minecraft.
minecraft-launcherThe first time that you run this it will take a little while to start because it will first need to download updates.
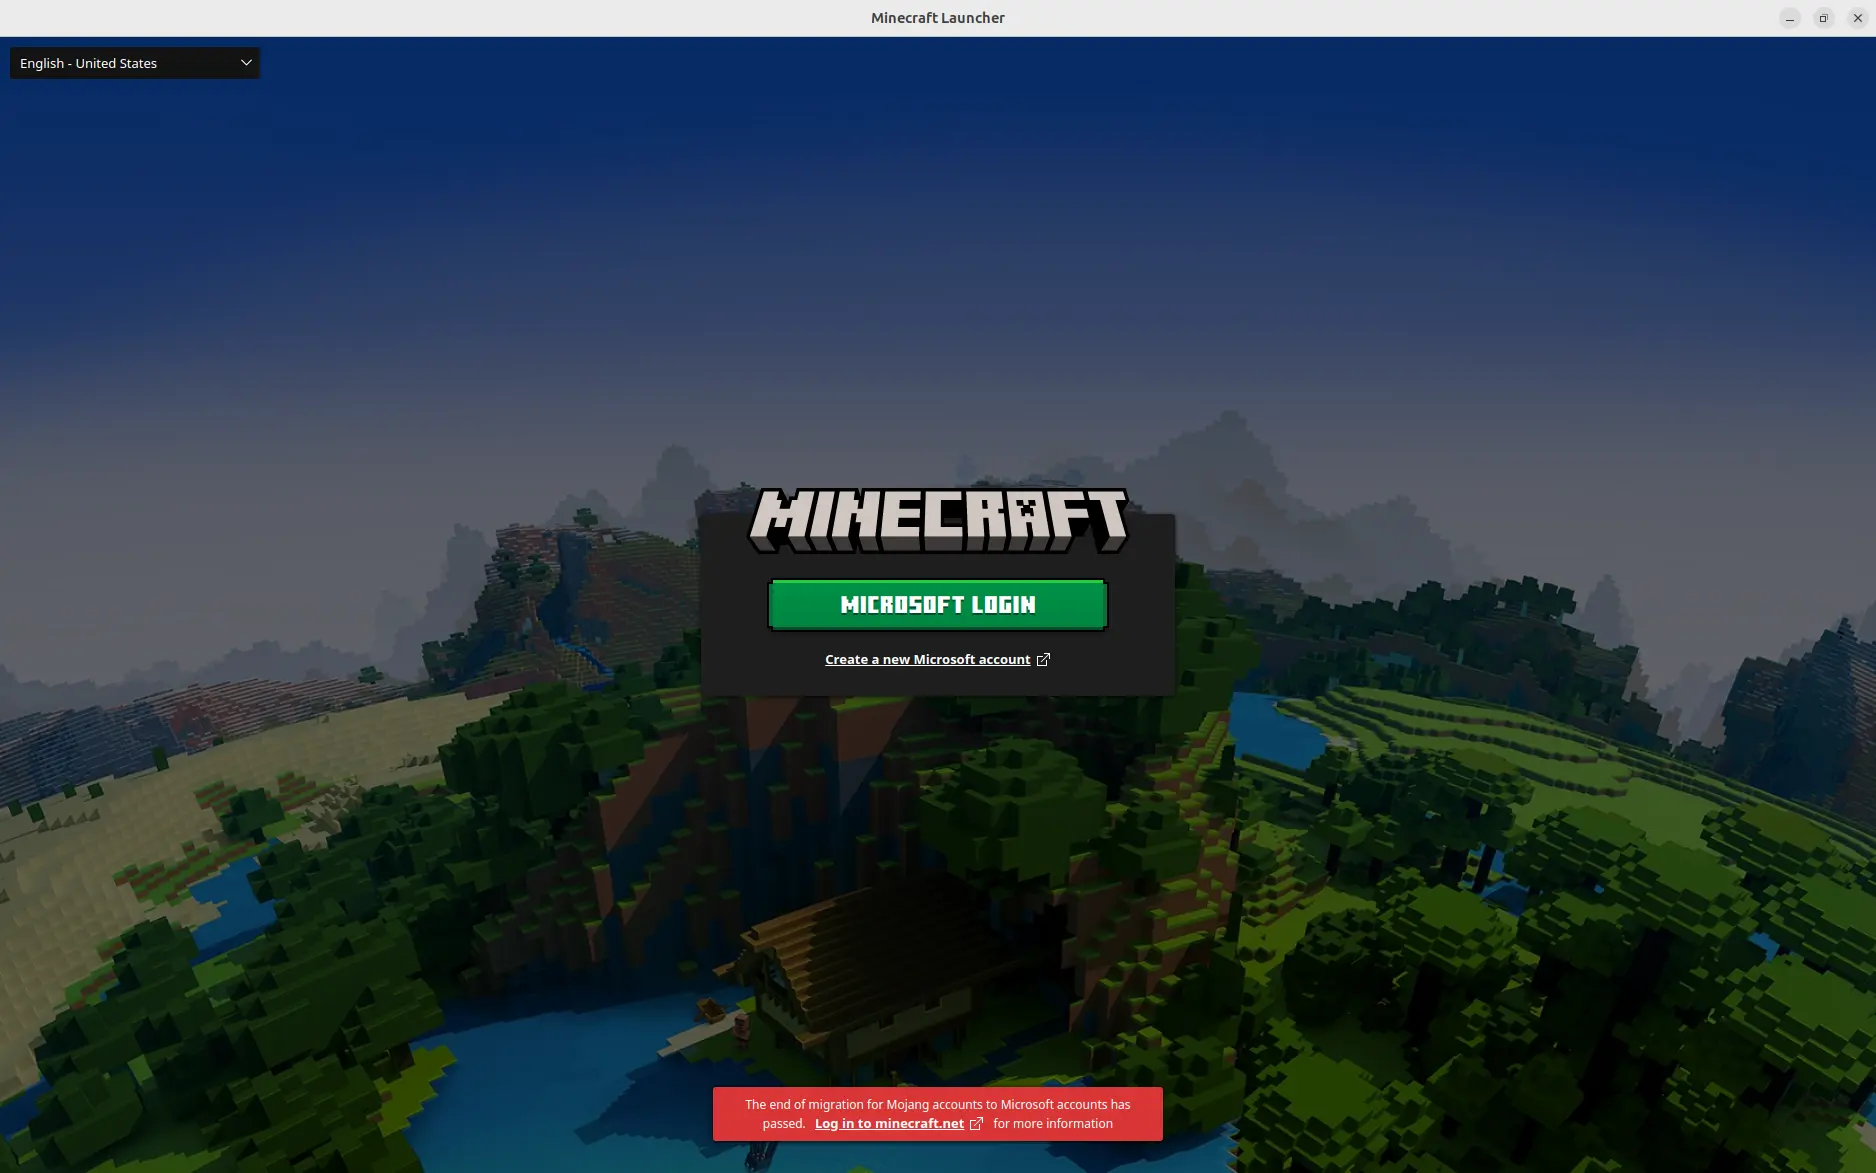
Click the login button then login to your Microsoft account.

Click the play button.
Click the button.
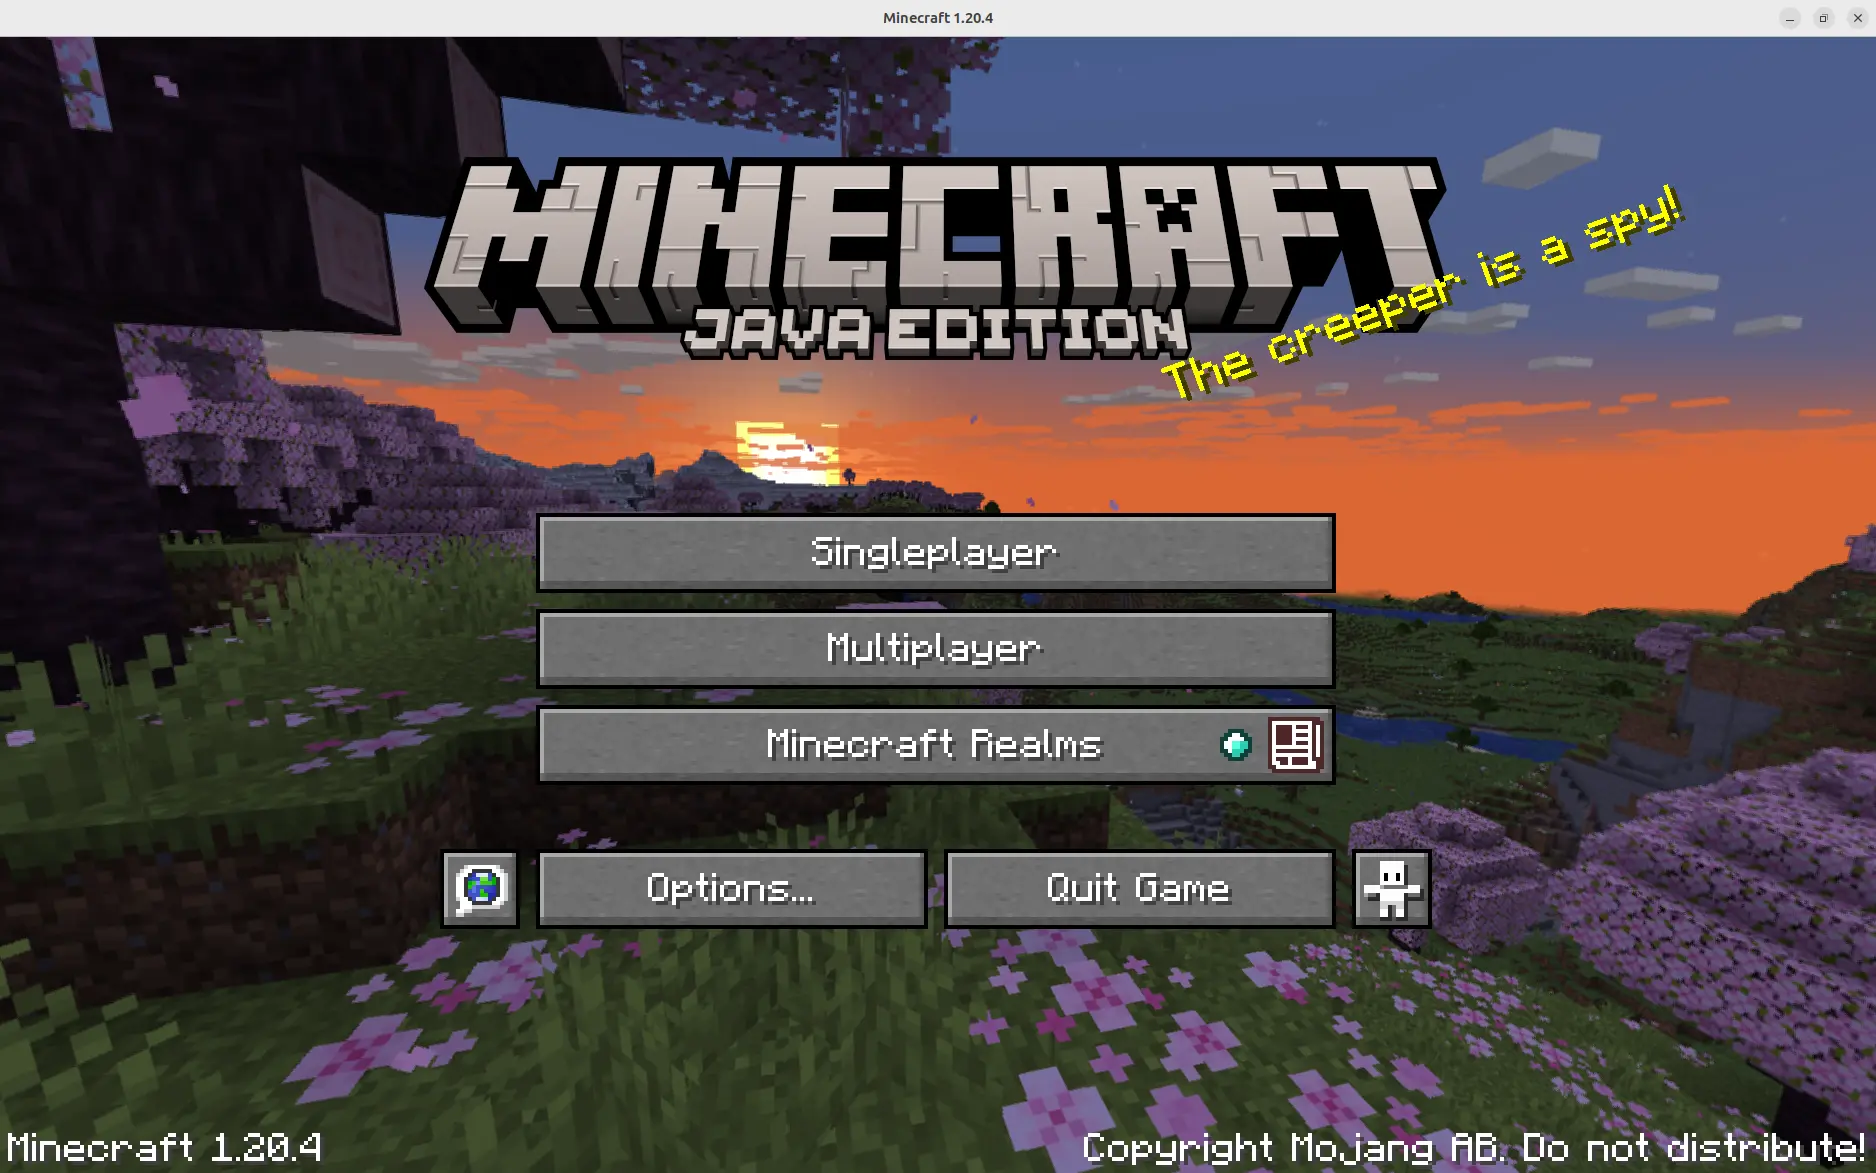
Select the multiplayer game mode.

Click the button.

Specify the IP address for the Minecraft server, for example, 3.8.194.40. If the server is running on a non-standard port then you’ll need to provide the port as well, for example, 3.8.194.40:30100.
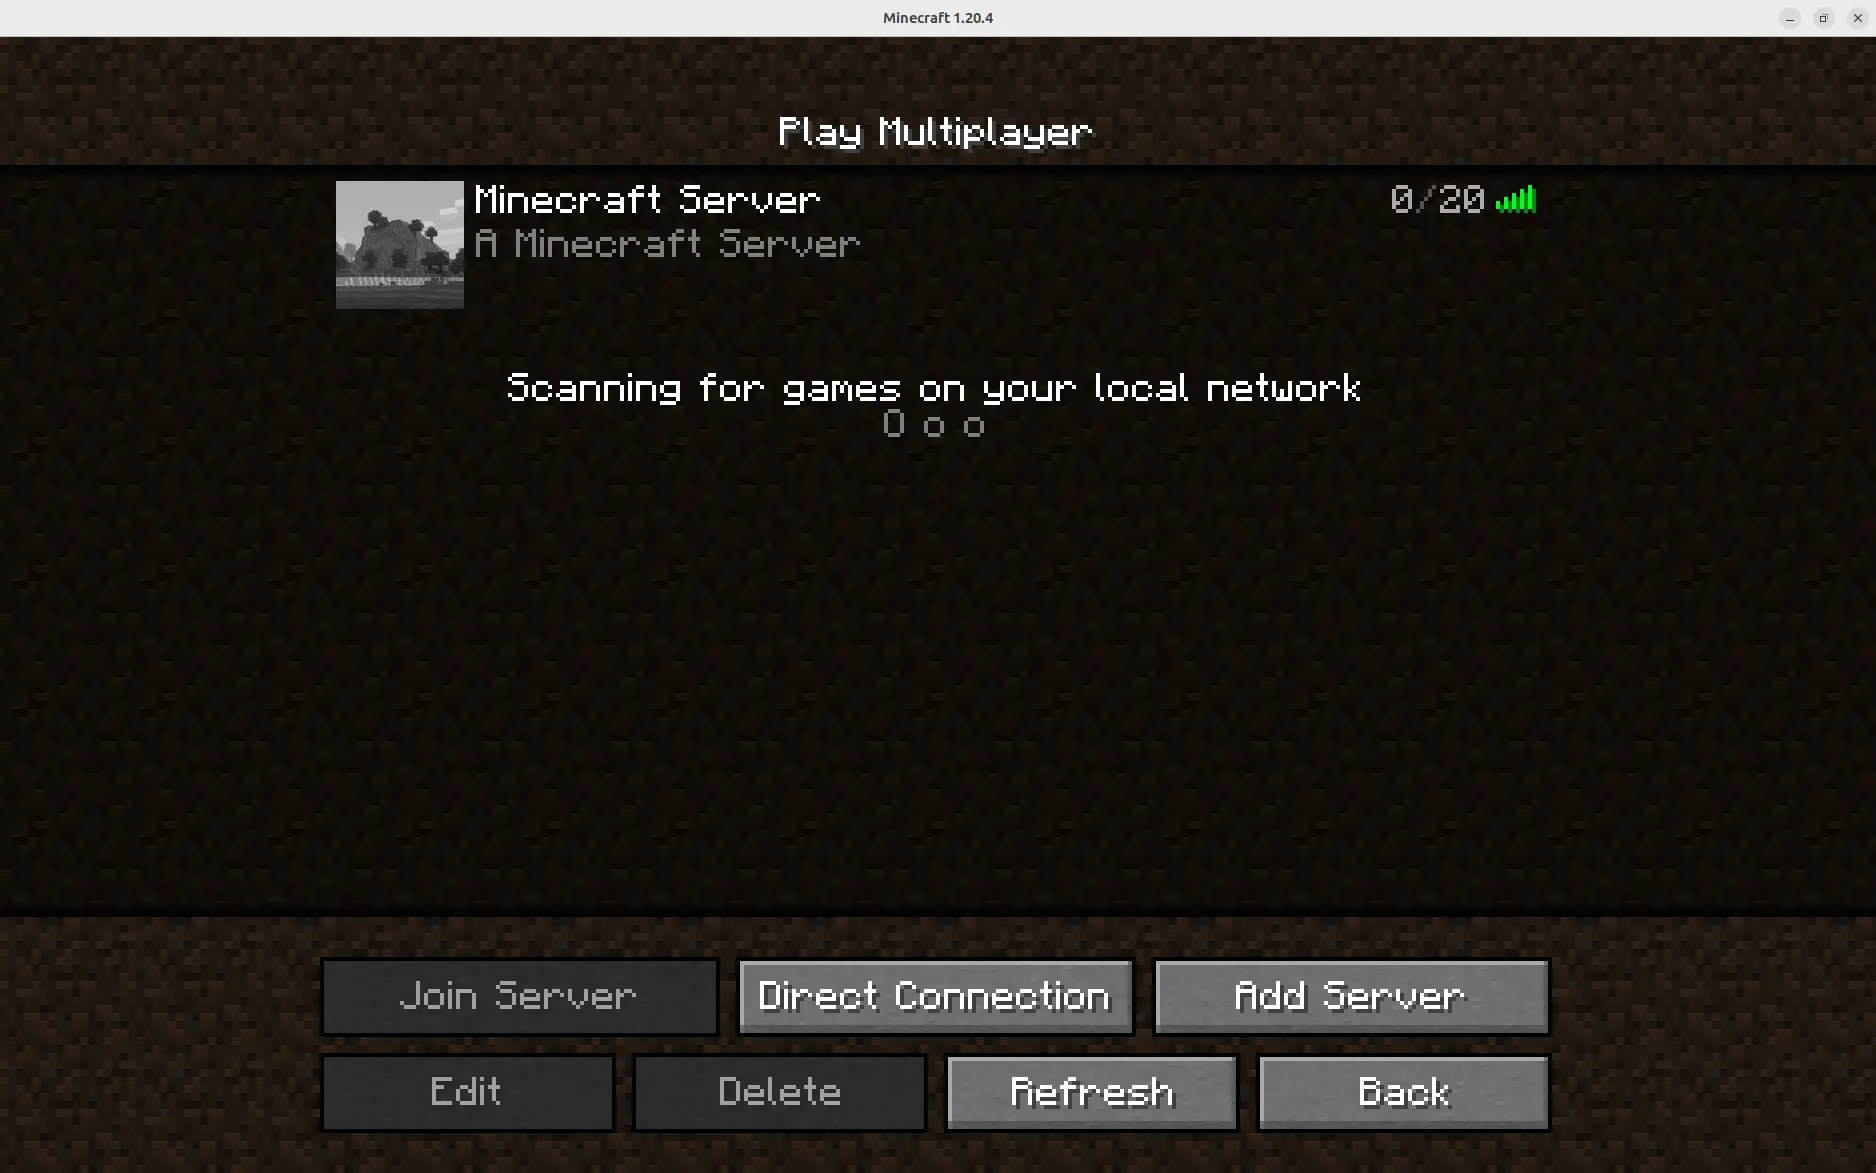
Select the server that you just added and then click the button. You should then be connected to the server.
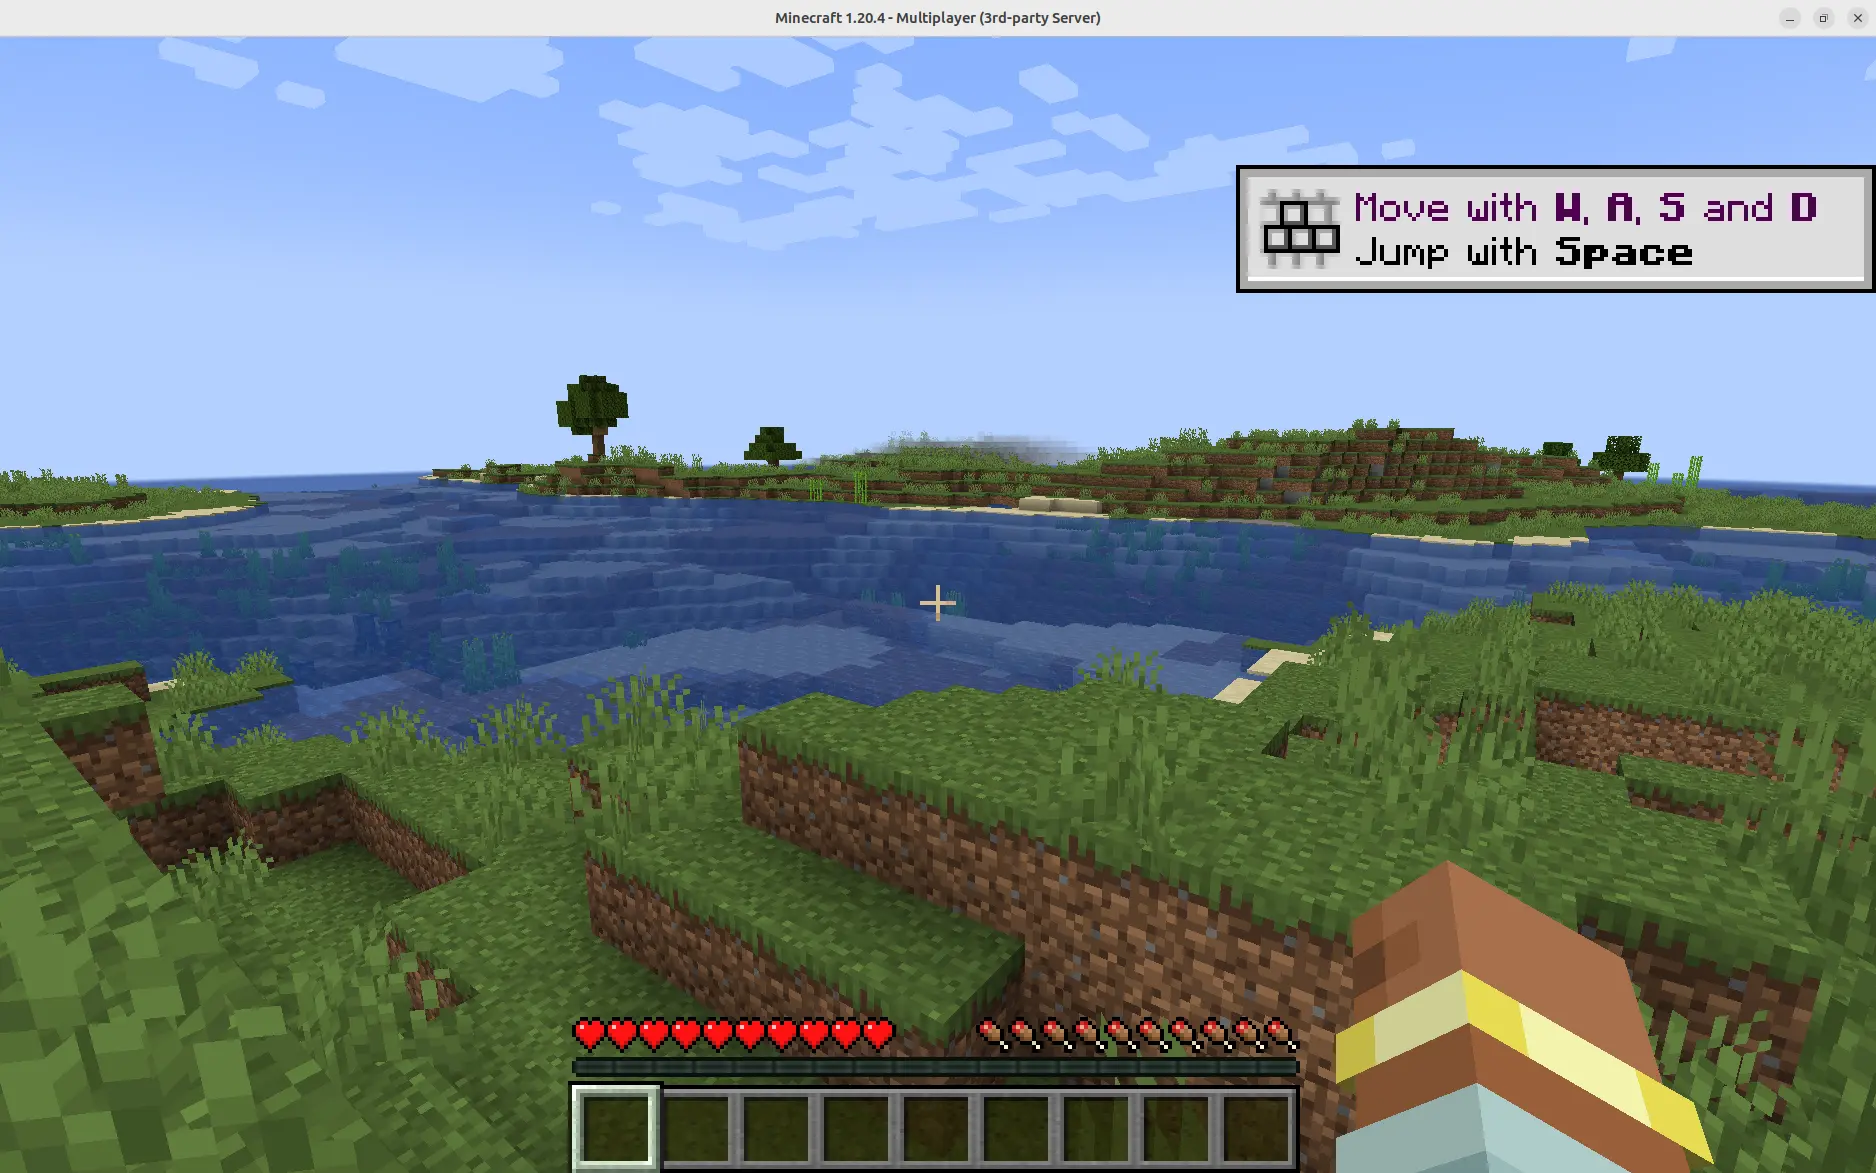
Enjoy!