
Not everybody is comfortable crafting web pages directly in JavaScript, HTML or even Markdown. Often content writers are more productive in an environment like WordPress. What if you want to develop your site using Gatsby but allow content writers to still craft their content in WordPress? No problem! You can use WordPress simply as a Content Management System (CMS), then pull the content through into your Gatsby site.
In this post we’ll look at how to set up a Headless WordPress CMS as a source of content for Gatsby.
🚀 TL;DR
Show me the code. Look at the 24-wordpress-headless-cms branch. The code can also be downloaded as a ZIP archive.
WordPress
Spin up a local WordPress instance using this Docker Compose configuration.
docker-compose up
That will launch instances of the following Docker images:
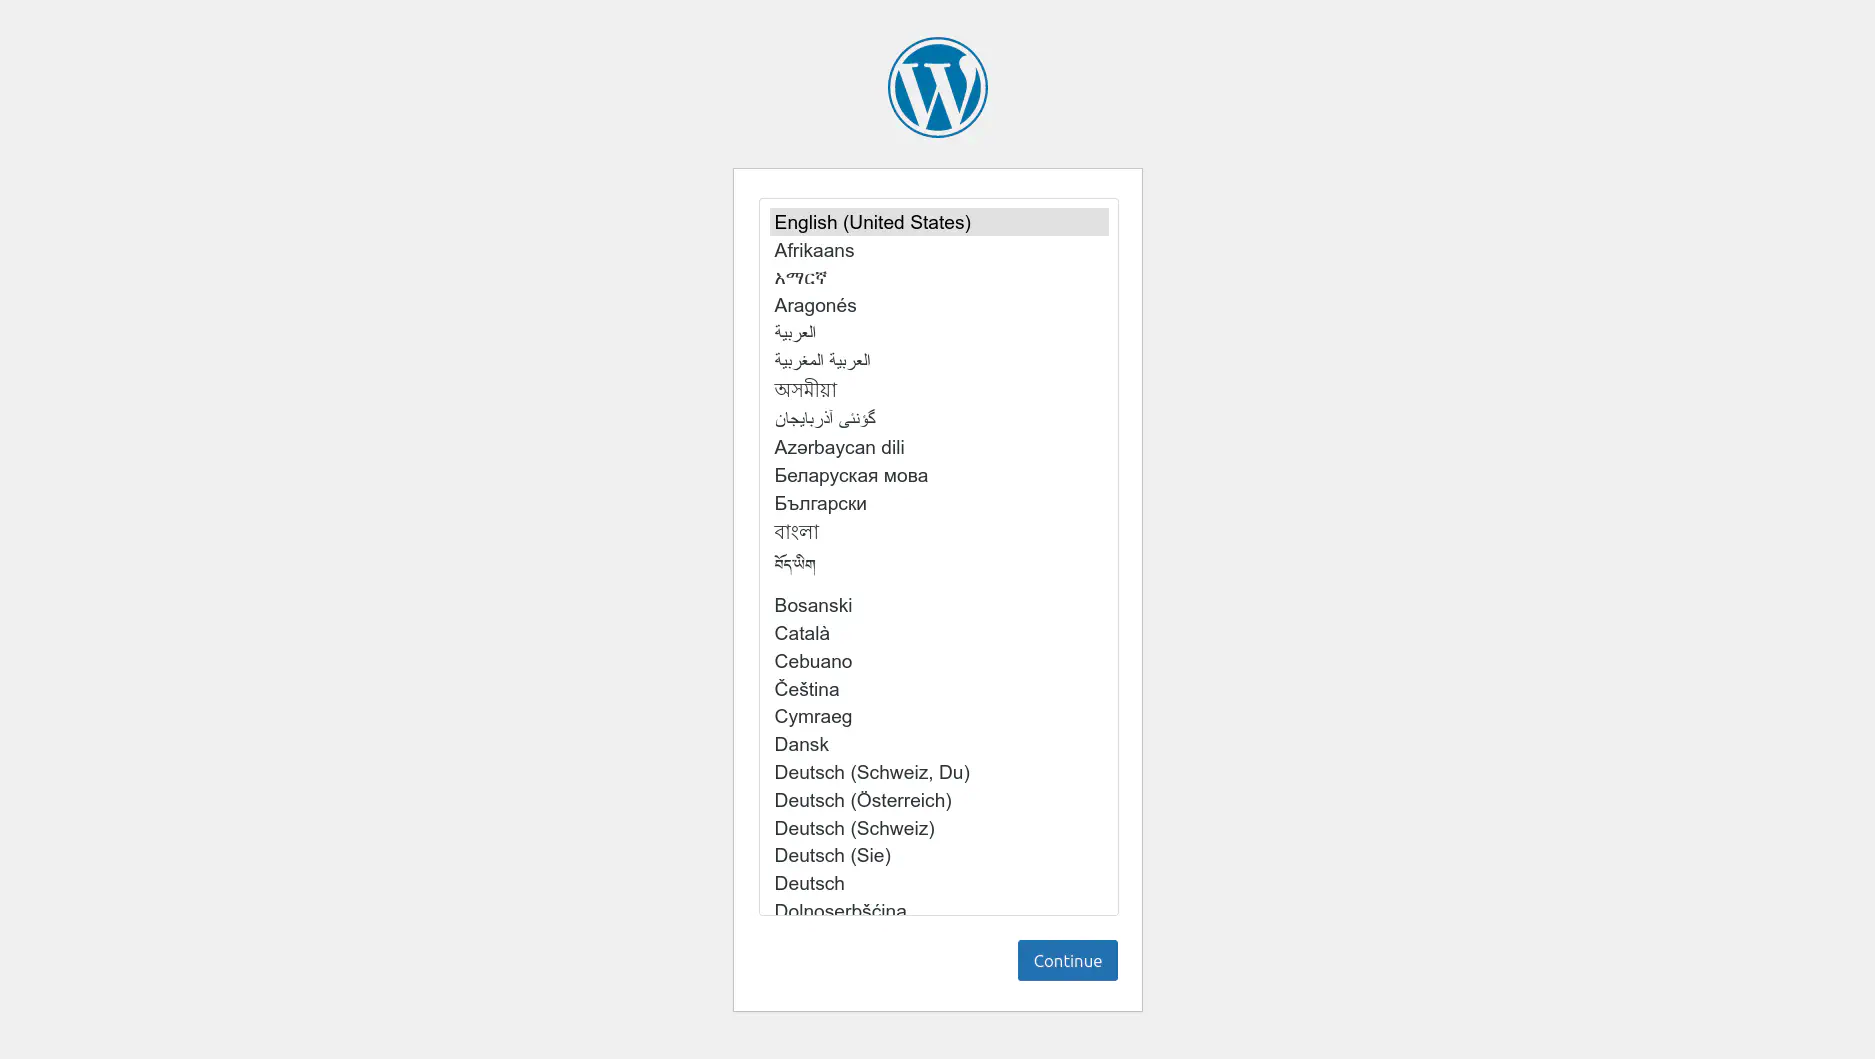
Now go to http://127.0.0.1:8080 in your browser, which will redirect you to the welcome page at http://127.0.0.1:8080/wp-admin/install.php. Choose an appropriate language.
Now fill in the information needed to install WordPress and set up your site.
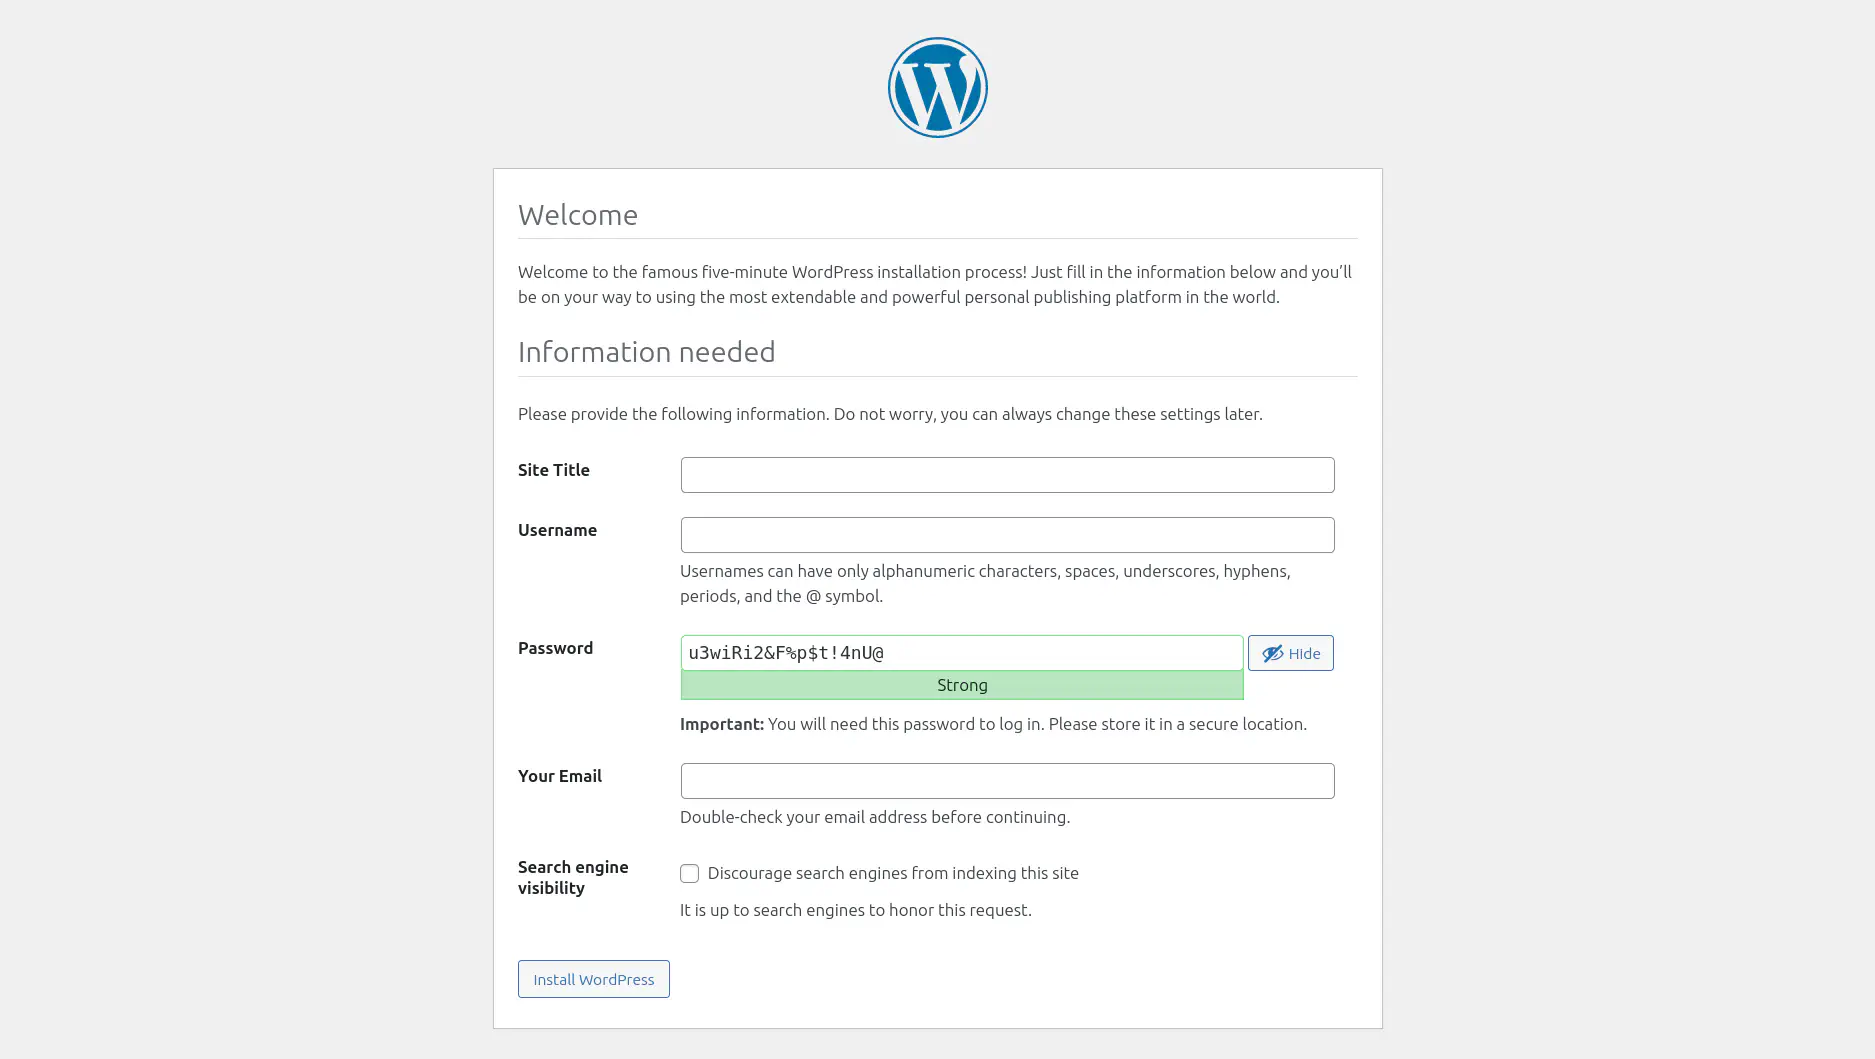
Fill in the empty fields and then press the button.
Now login, using the username and password that you specified in welcome page. If all go smoothly then you’ll be taken to the WordPress admin dashboard at http://127.0.0.1:8080/wp-admin/.
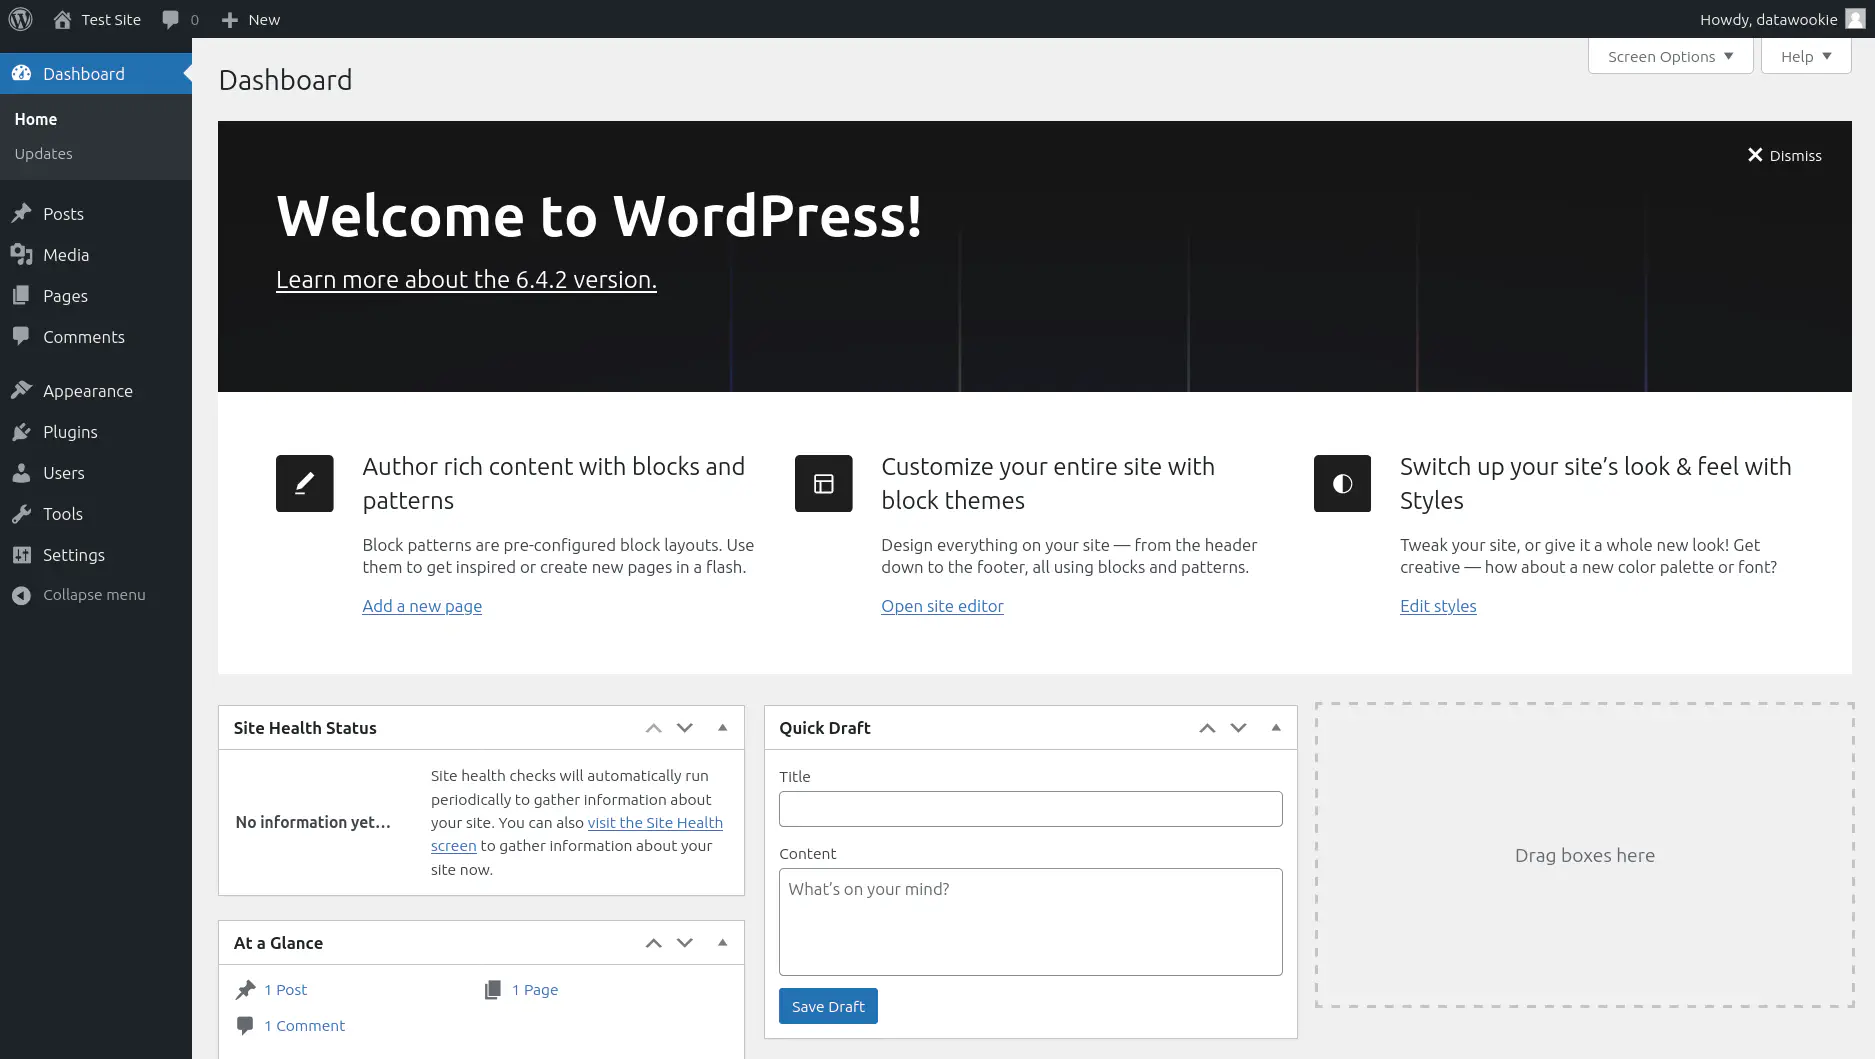
WPGraphQL Plugin
You’ll need to install the WPGraphQL plugin so that WordPress exposes a GraphQL interface. Click on the Plugins menu option.
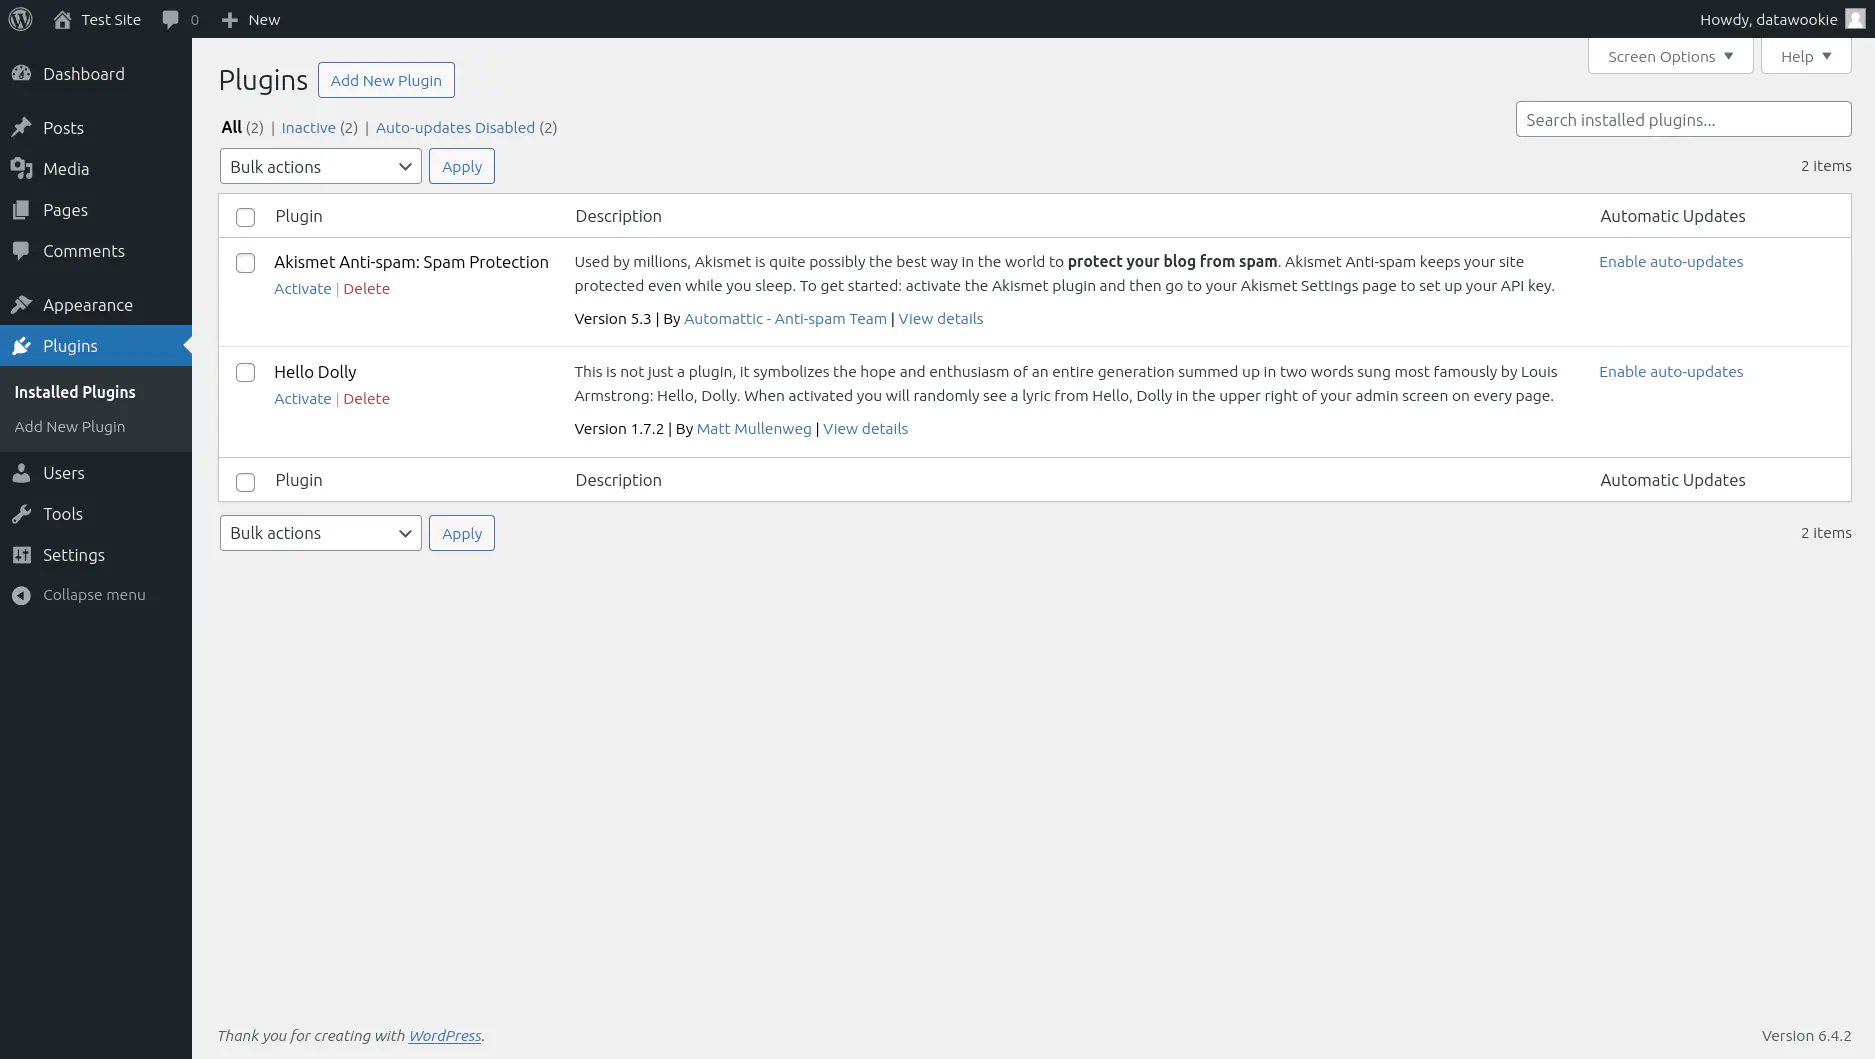
Press the button and then search for the WPGraphQL plugin.
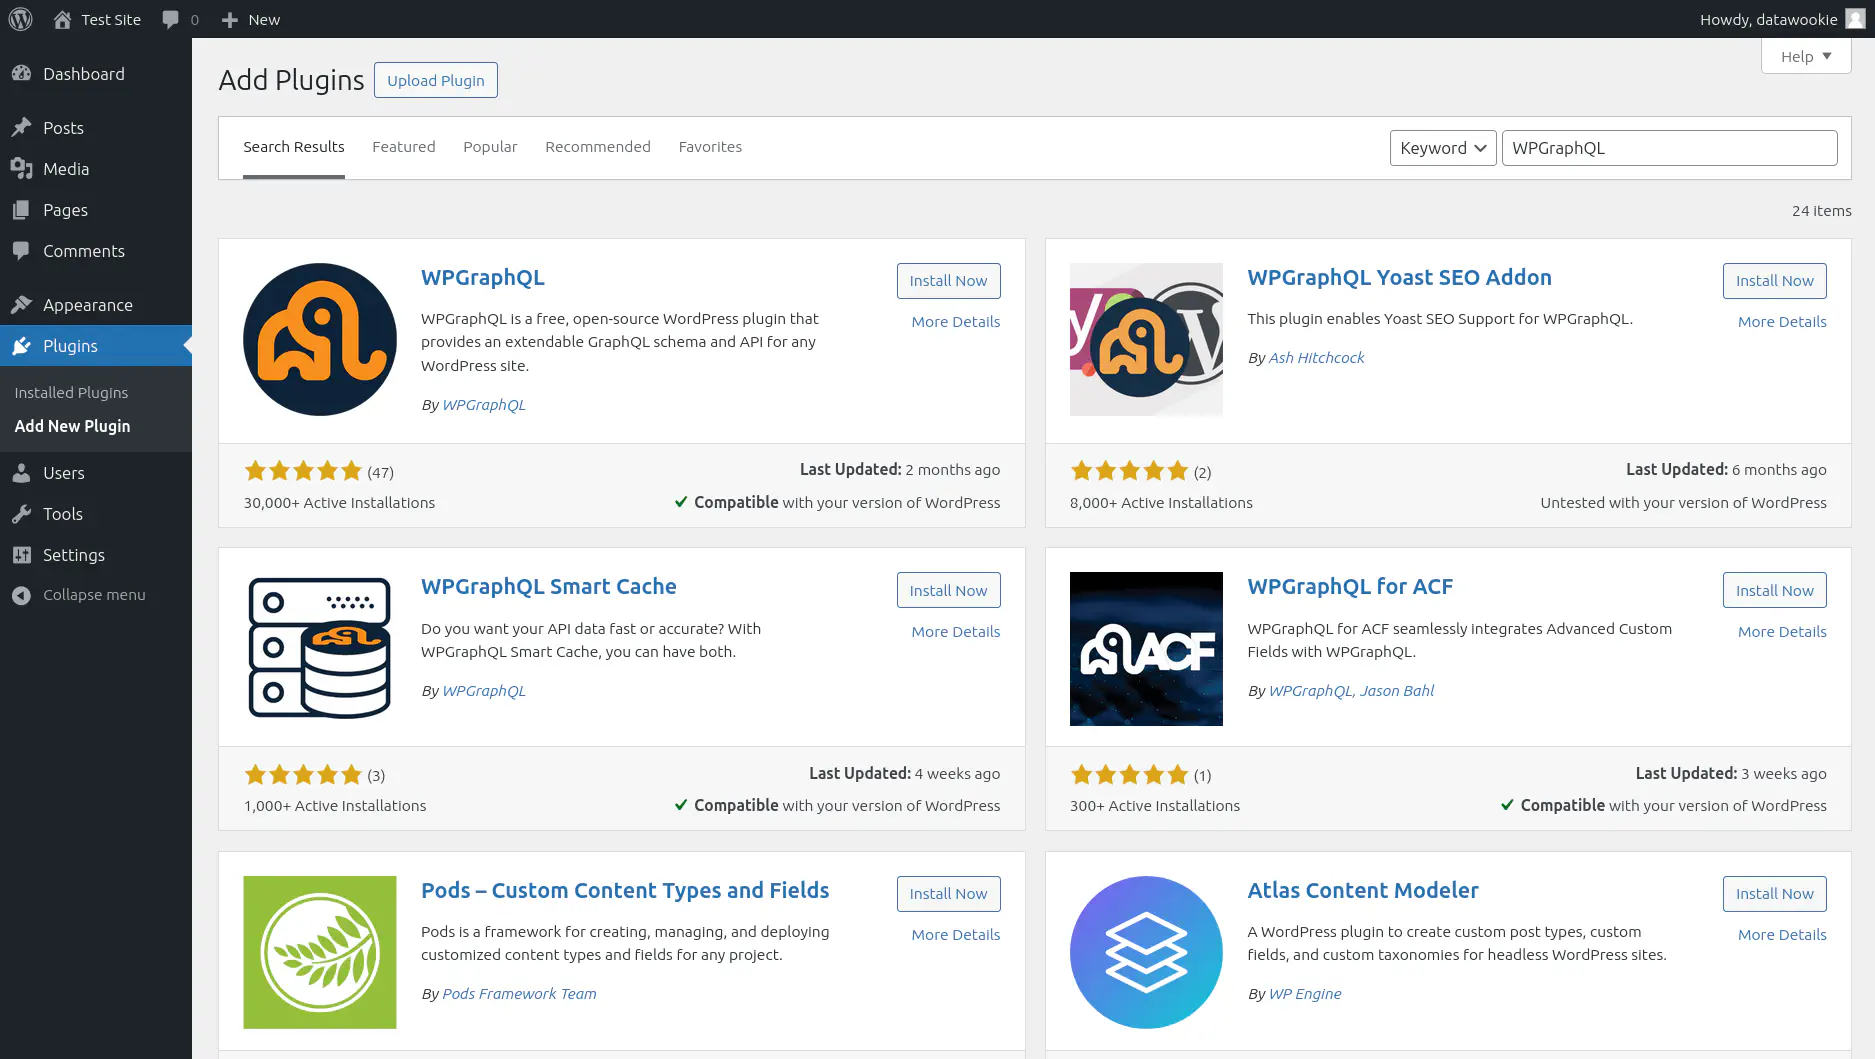
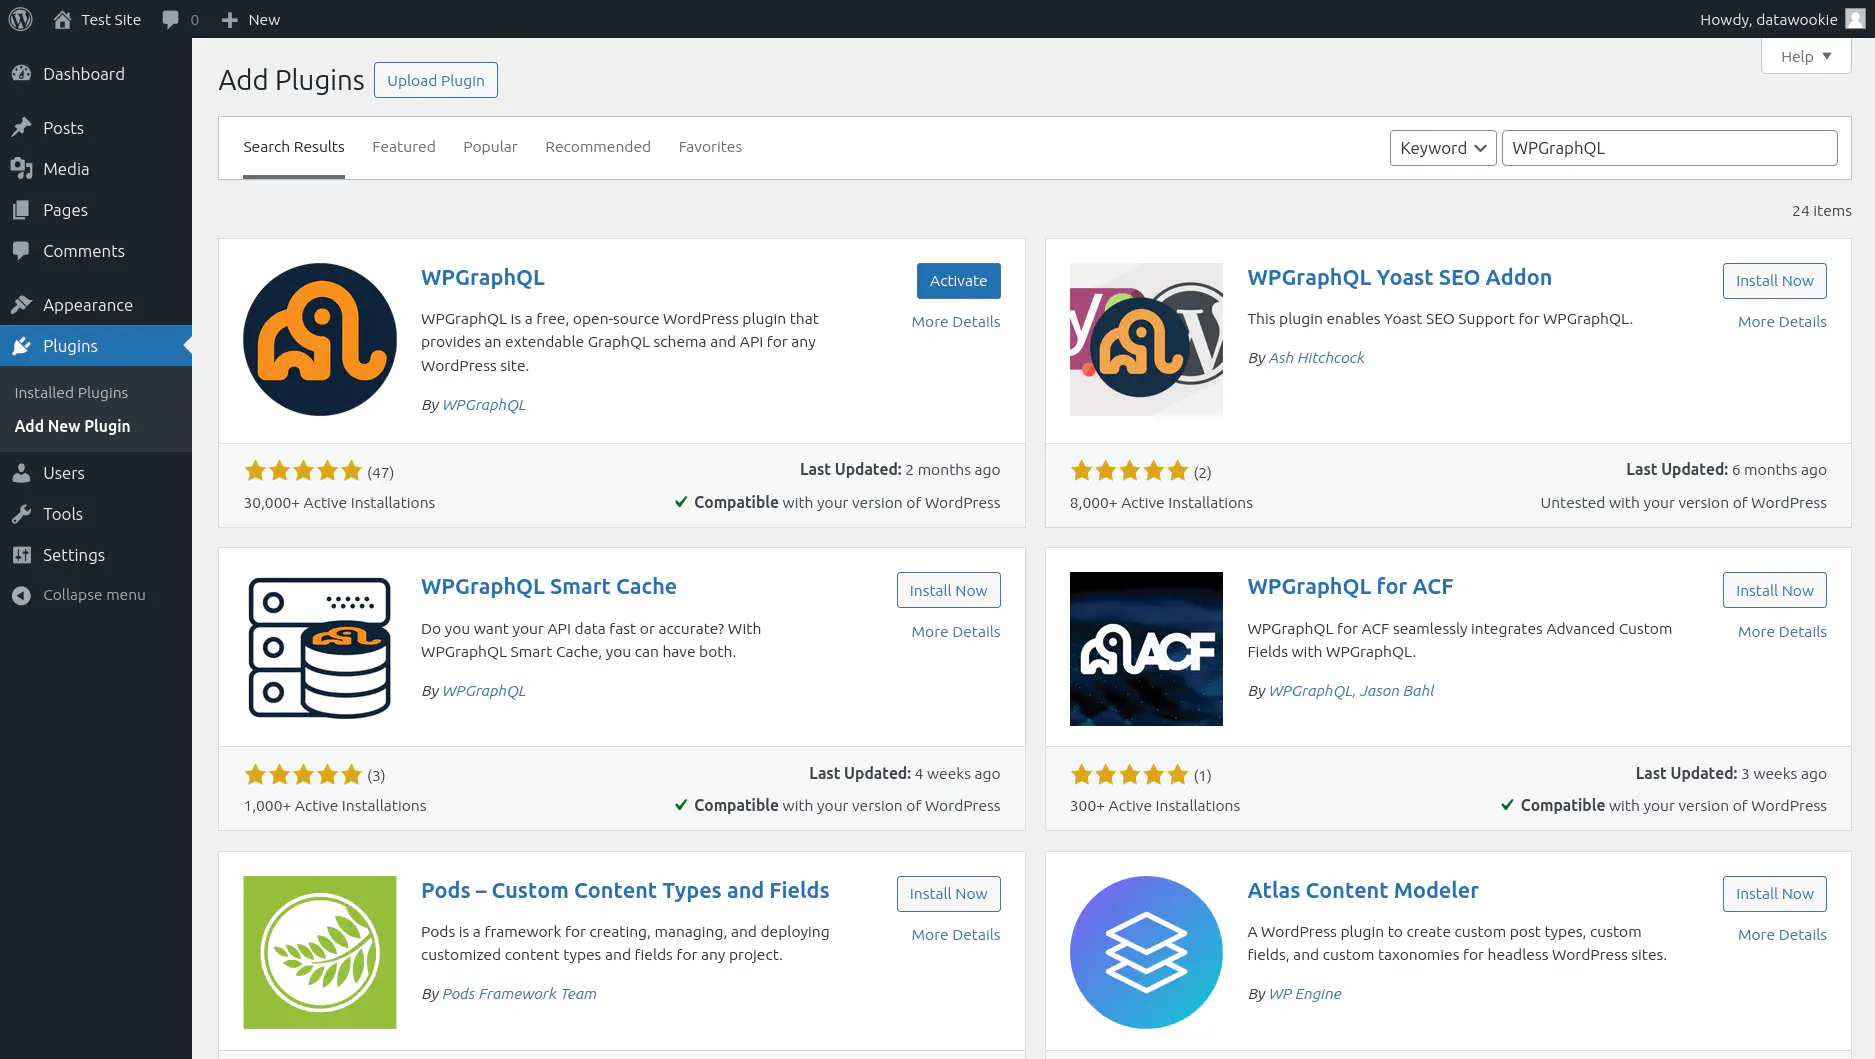
Press the appropriate button. When installation is complete press the button.
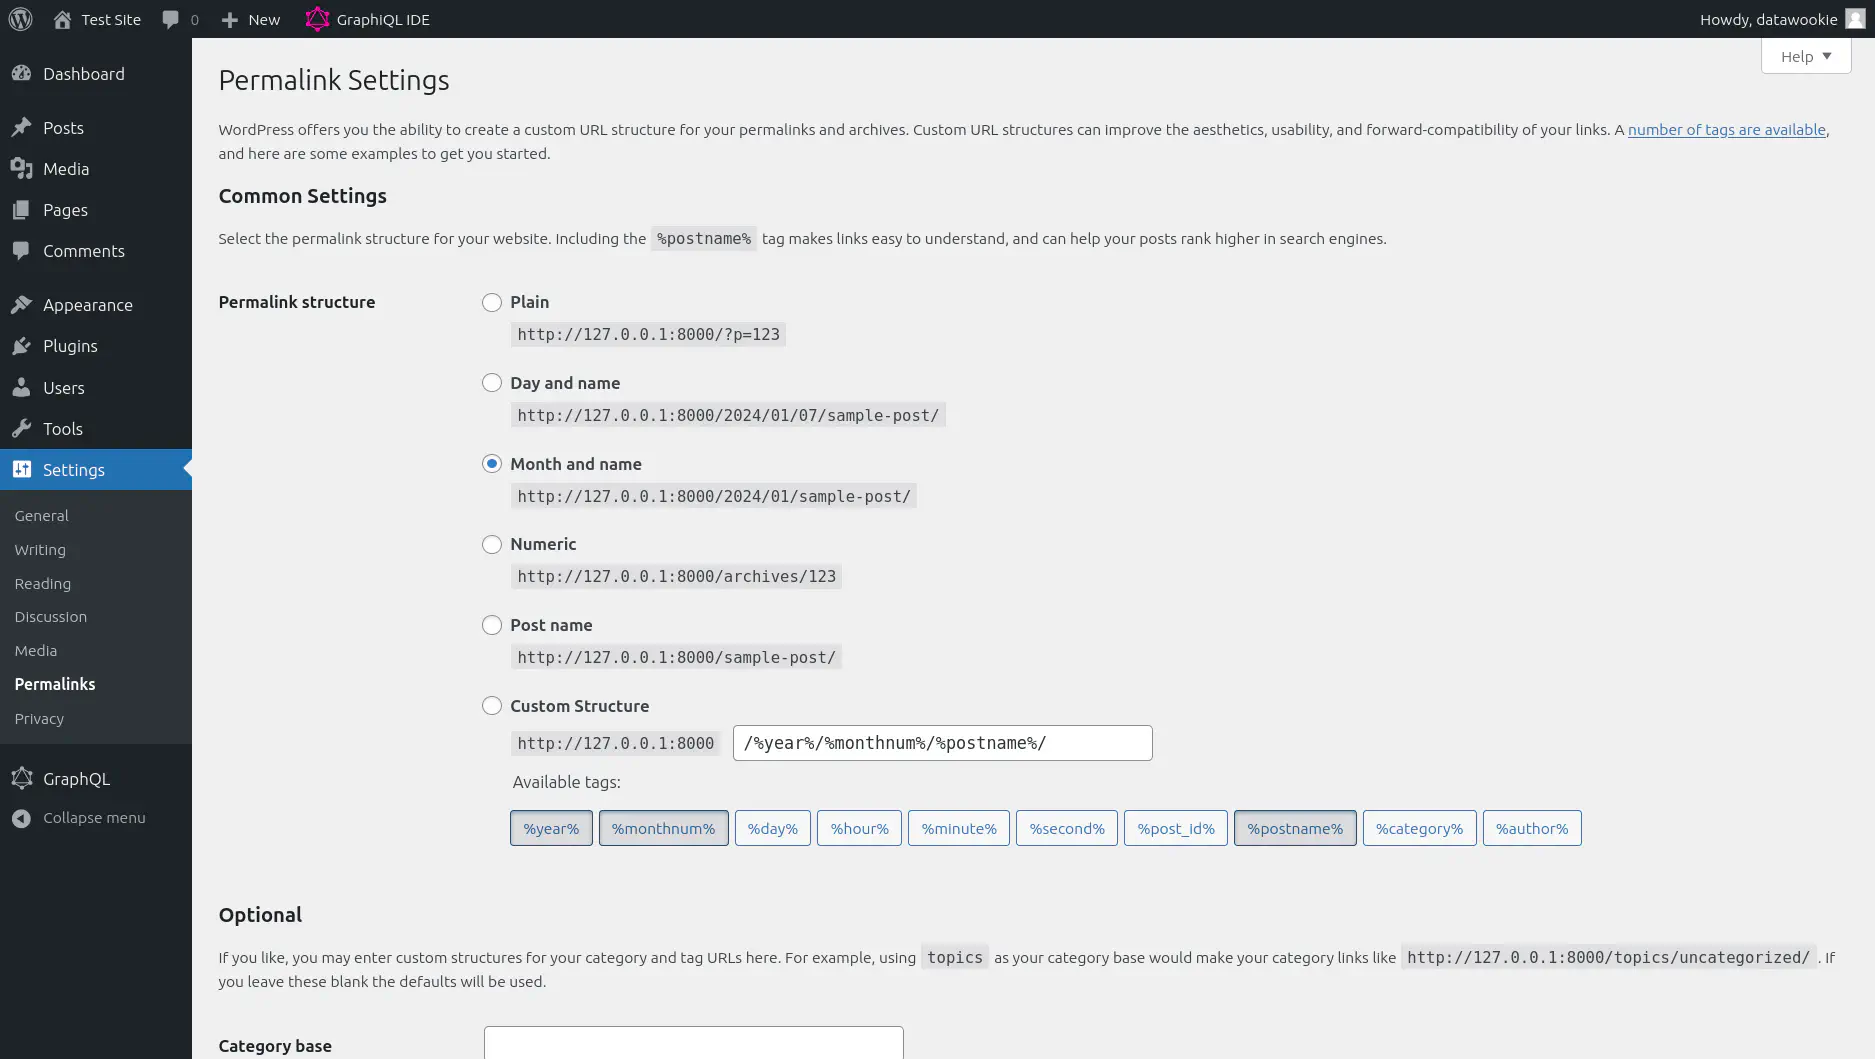
Now go to the permalink settings. The choice of permalink format will determine the GraphQL URL. If you choose any setting exception Plain then the GraphQL interface will be found at the /graphql URL path. Press the button.
You can test this quickly by going to http://127.0.0.1:8080/graphql.
Now select the GraphQL IDE menu option and try out a test GraphQL query.
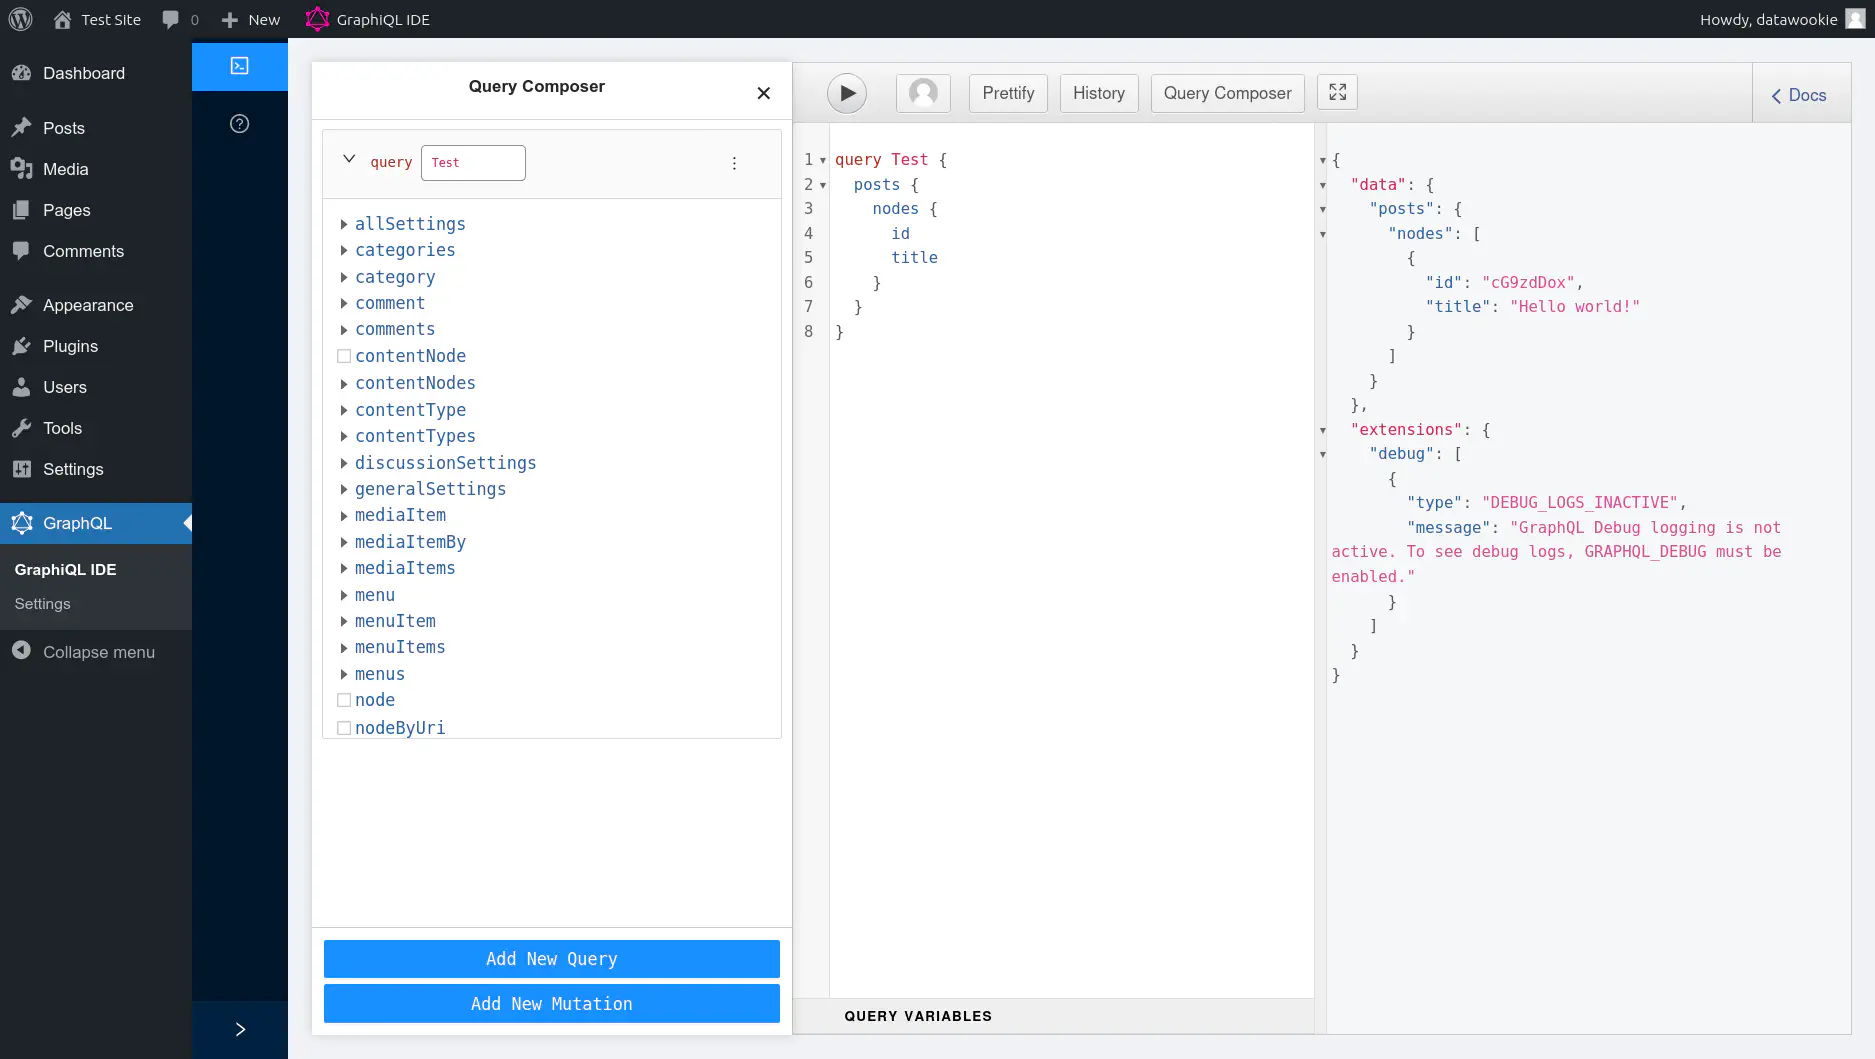
WPGatsby Plugin
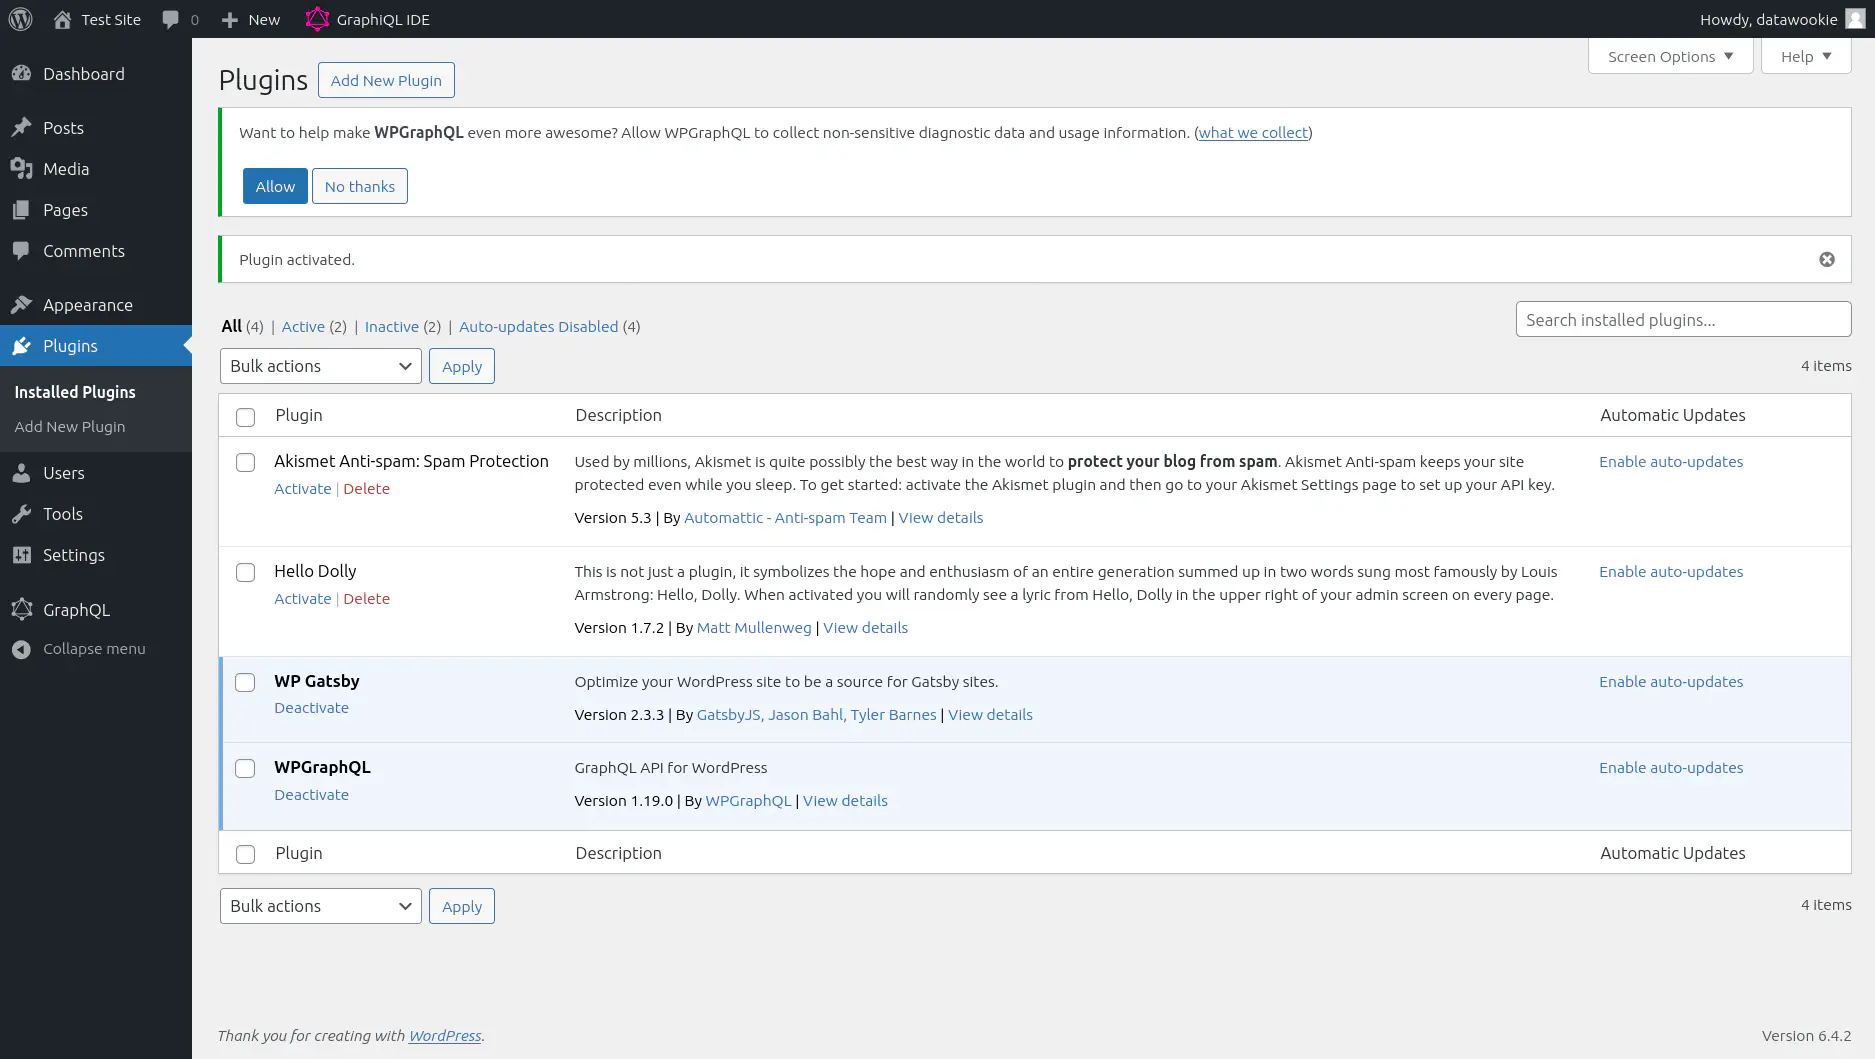
Repeat the process to install and activate the WPGatsby plugin.
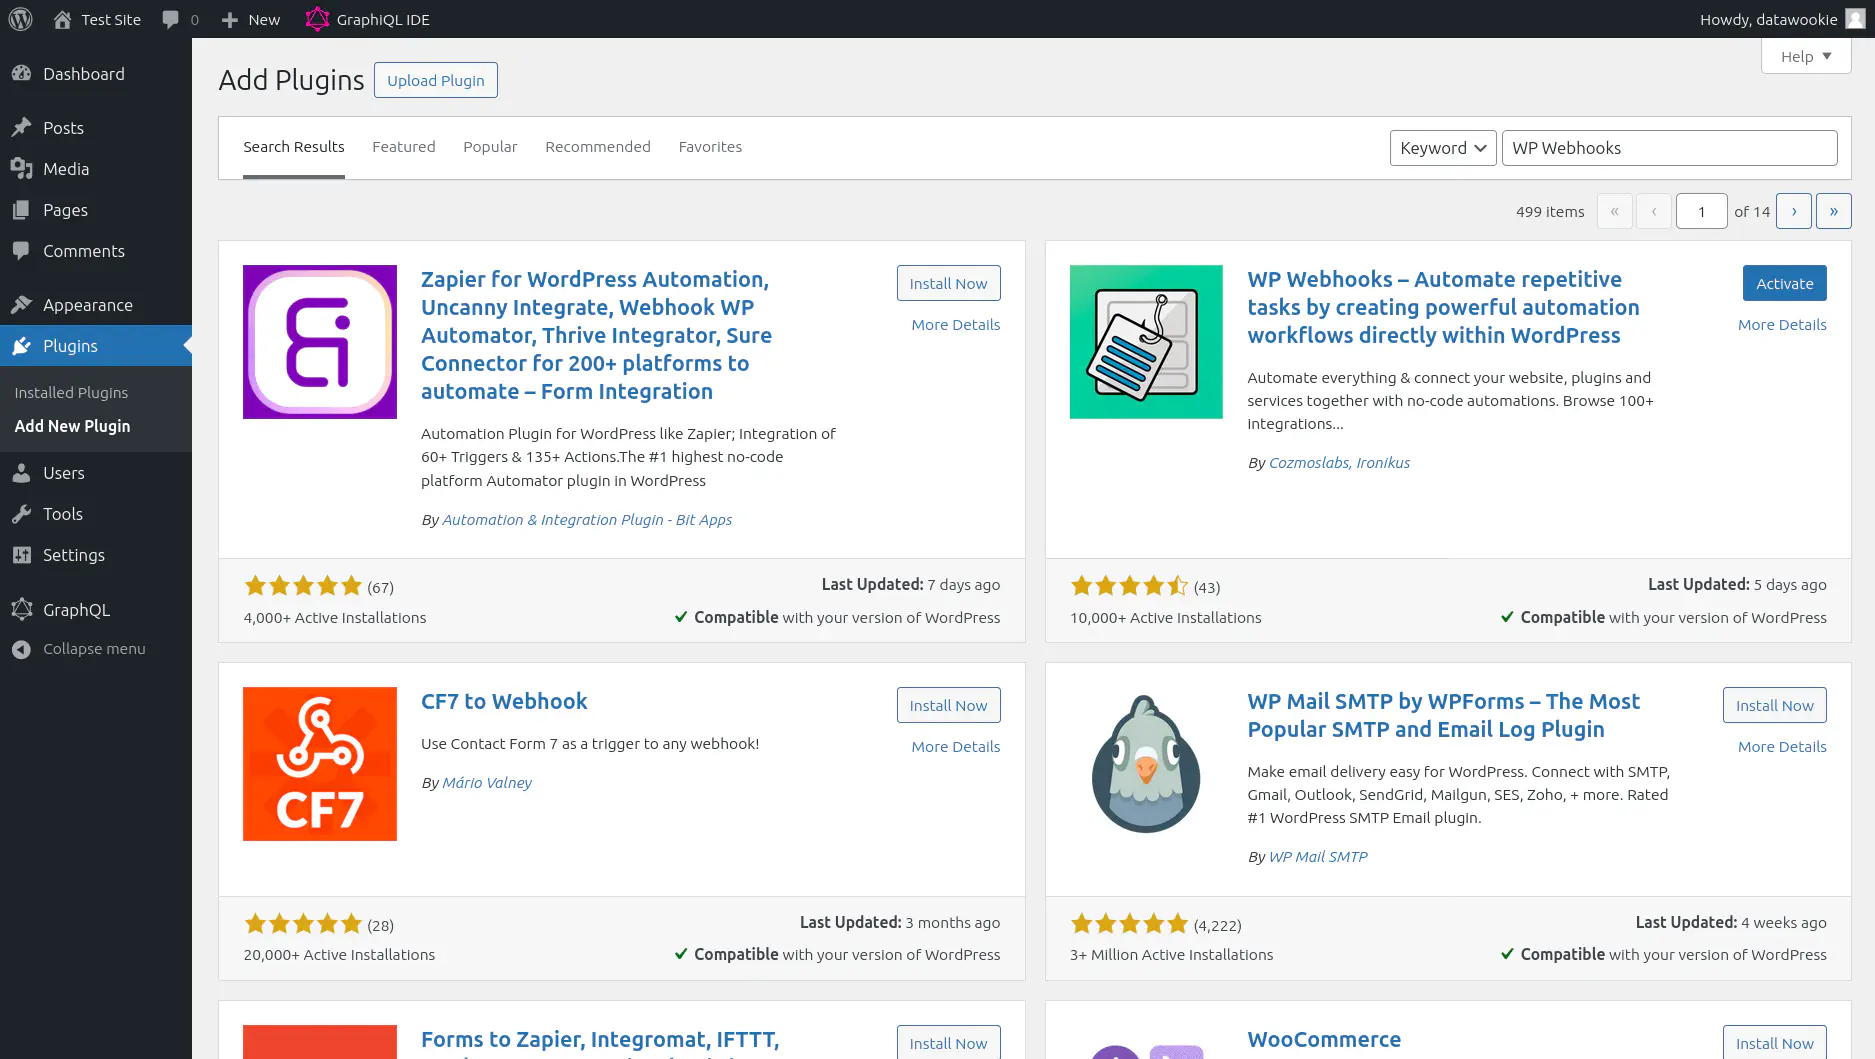
WP Webhooks Plugin
Repeat the process once more to install and activate the WP Webhooks plugin. We’re not going to use this immediately, but it makes sense to install it now along with the other plugins.
Hello World Post
The WordPress site comes with a placeholder “Hello World” page. Go to http://127.0.0.1:8080/2024/01/hello-world/.
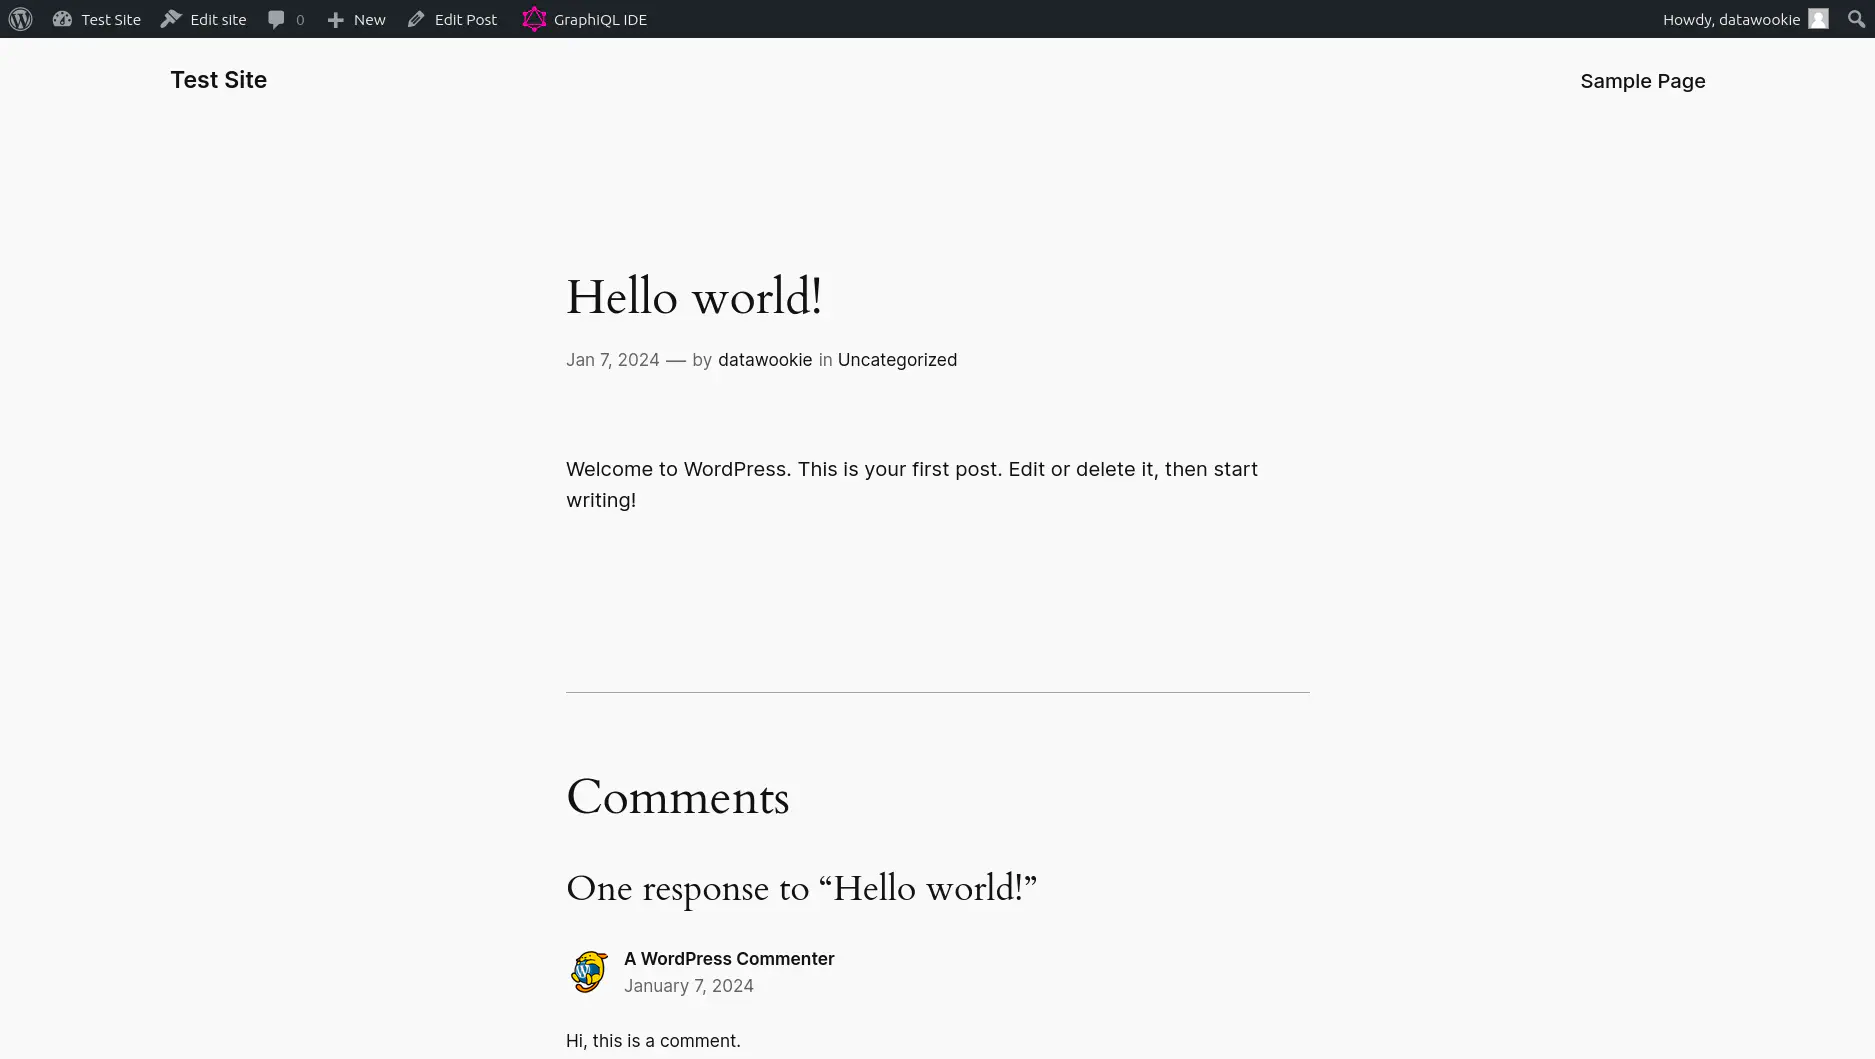
That’ll be the first content that we’ll pull through to Gatsby.
Gatsby Setup
Install WordPress Source Plugin
Install the gatsby-source-wordpress package, which will be used to source content from your WordPress CMS. You’ll need to install a couple of other dependencies too:
gatsby-plugin-sharpandgatsby-transformer-sharp.
Configure WordPress Source Plugin
Add to the gatsby-config.js configuration. At minimum you need to mention the plugin.
module.exports = {
  plugins: [
    `gatsby-source-wordpress`
  ],
}
But you can also provide a range of options to tweak how it works.
module.exports = {
  plugins: [
    {
      resolve: `gatsby-source-wordpress`,
      options: {
        url: process.env.WPGRAPHQL_URL || `http://127.0.0.1:8080/graphql`
      }
    }
  ]
}
Launch Gatsby
Attempt to launch your Gatsby site to test the current setup. If you are running Gatsby from a Docker container (see this for setup) then you should use host networking (with the --net=host option) to ensure that Gatsby is able to access the WordPress container.
Your site should launch as before. Don’t expect any new content from WordPress yet because we have not set that up. If, however, you go to the GraphiQL explorer for your site you should see a lot of new options in the GraphQL hierarchy. For example, try the following query:
query AllWordPressPosts {
  allWpPost {
    nodes {
      id
      date
      modified
      slug
      title
    }
  }
}
That should return a result like this:
{
  "data": {
    "allWpPost": {
      "nodes": [
        {
          "id": "cG9zdDox",
          "date": "2024-01-07T08:26:52",
          "modified": "2024-01-07T08:26:52",
          "slug": "hello-world",
          "title": "Hello world!"
        }
      ]
    }
  }
}
Add GraphQL Query
We now need to wire up the Gatsby site to pull content from WordPress. In gatsby-node.js add a new section to the GraphQL query used by the createPages() function.
{
  allWpPost {
    nodes {
      id
      uri
    }
  }
}
Then in the createPages() function you need to iterate over the results from that GraphQL query (the items under allWpPost) and create pages for each of them. See the repository for the details.
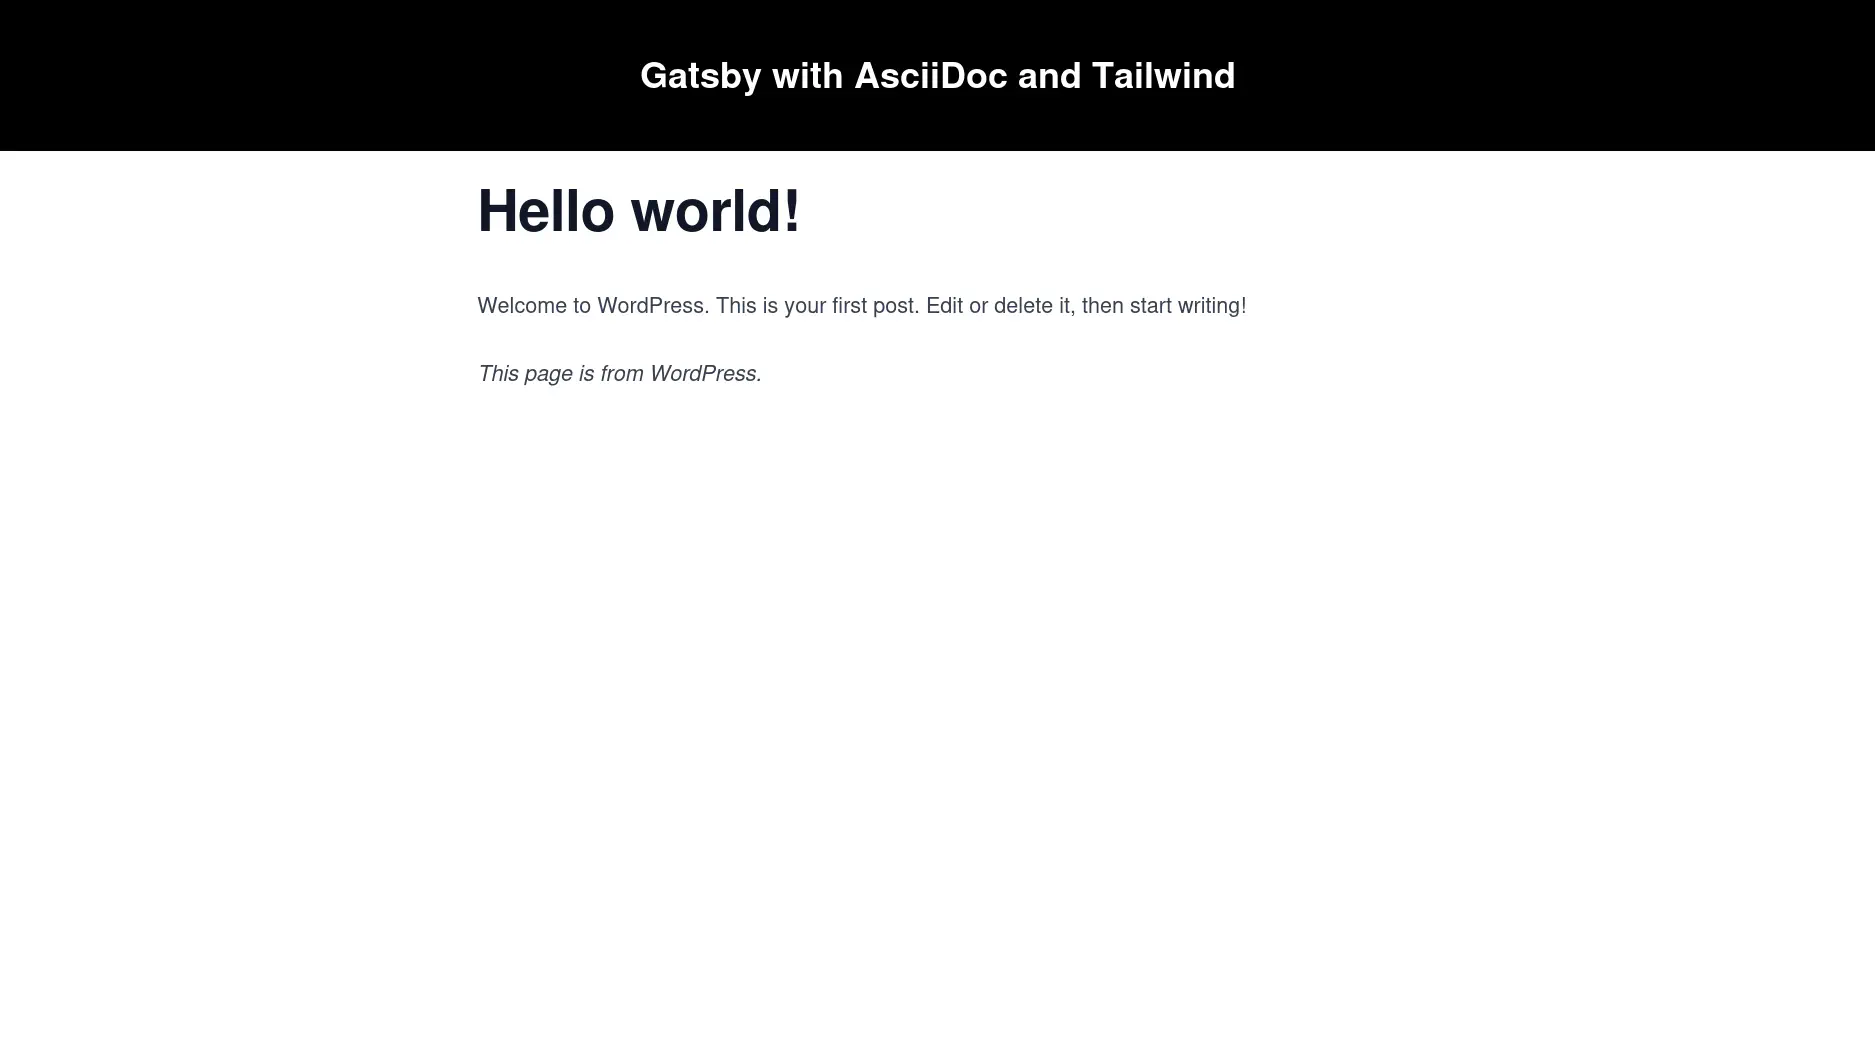
With that in place the WordPress posts should become part of the Gatsby site. Let’s take a look. The “Hello World” page should be server at /2024/01/hello-world/.
Refreshing Content
It can be useful to have your Gatsby site automatically refresh whenever content is added or amended on WordPress. Fortunately, Gatsby provides a mechanism to do this.
Set the ENABLE_GATSBY_REFRESH_ENDPOINT environment variable to true.
export ENABLE_GATSBY_REFRESH_ENDPOINT=true
Or, if you are running Gatsby via Docker, then add -e ENABLE_GATSBY_REFRESH_ENDPOINT=true to your docker run command.
When the Gatsby Refresh feature is enabled your site will expose a webhook endpoint at /__refresh. A POST request to that endpoint will cause the pages to be refreshed.
You can trigger this manually to test.
curl -X POST http://localhost:8000/__refresh
You should see that the pages are immediately rebuilt in the development environment.
Of course you don’t want to have to trigger this manually. That defeats the purpose of a webhook. We need to hook this up to WordPress.
🚨 This won’t work for local development. The WP Webhooks plugin will need to be able to access the webhook via the internet, so it needs to be publicly accessible. To proceed past this point you’ll need to set things up so that both your Gatsby and WordPress sites are accessible via DNS name or IP address.
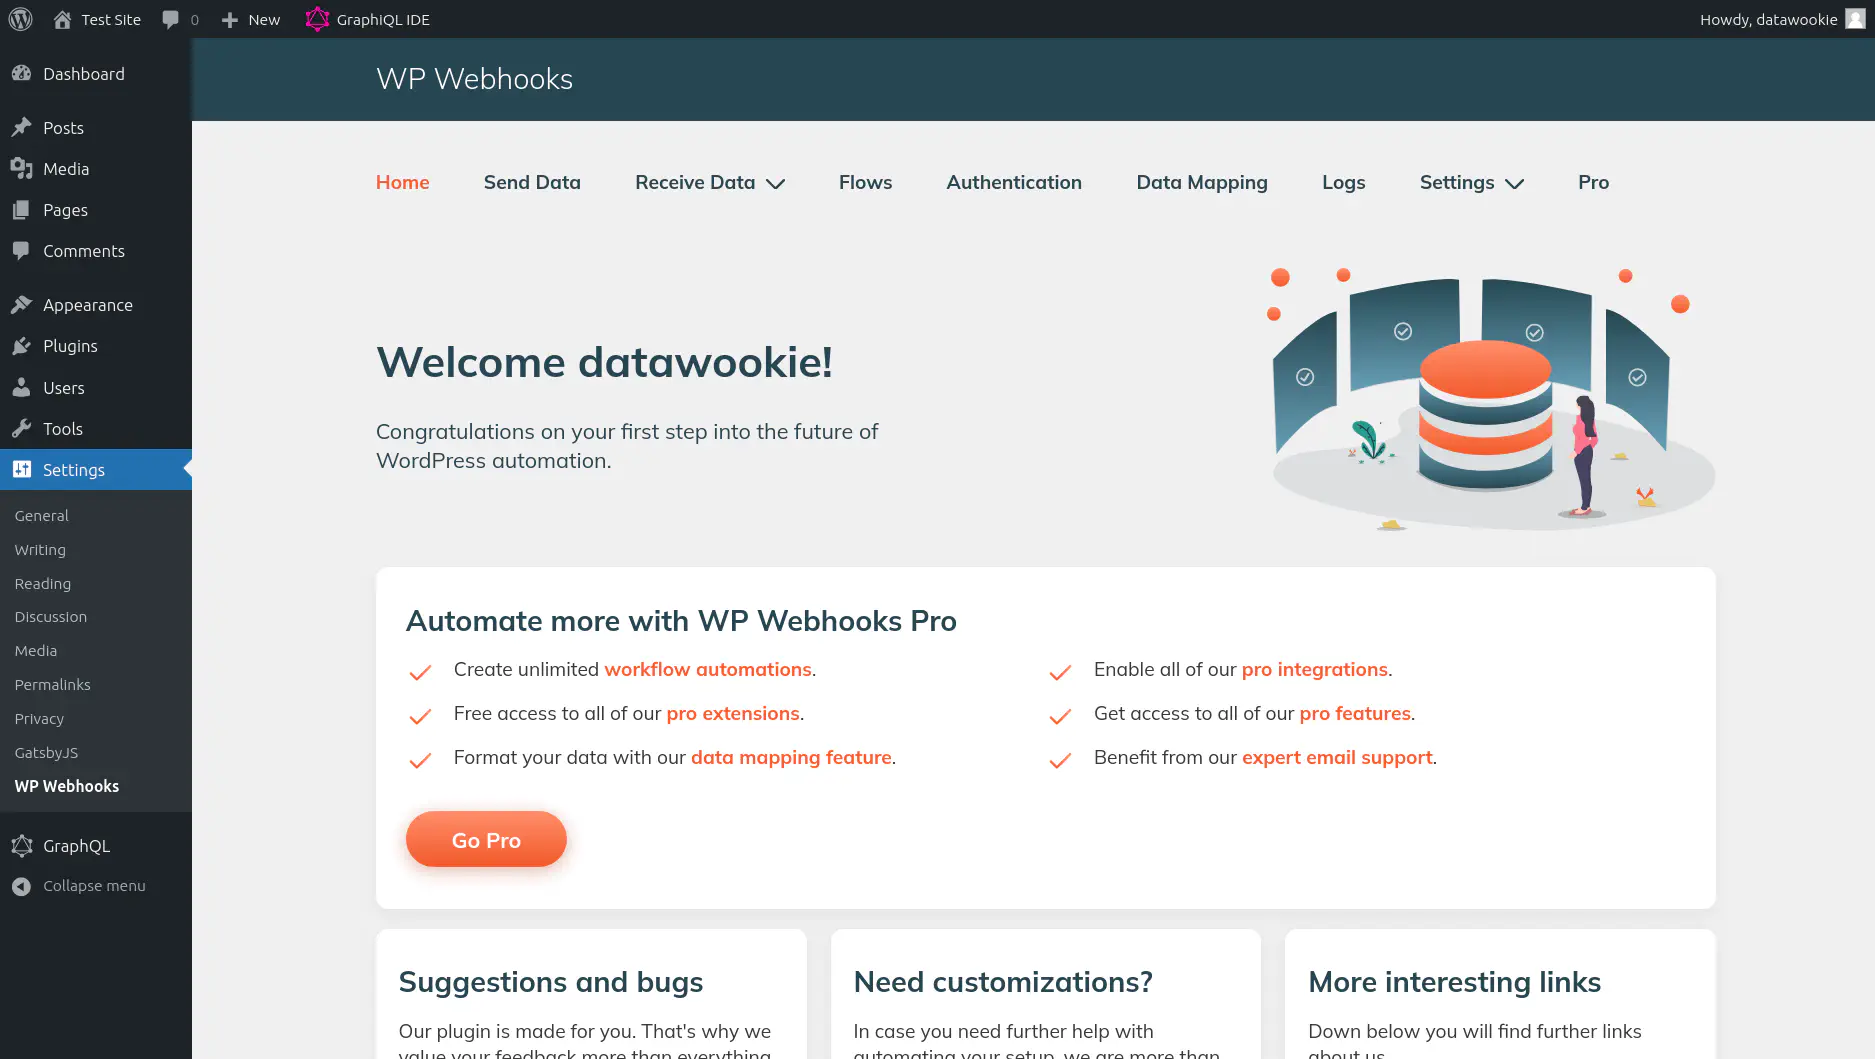
Go to the WP Webhooks plugin dashboard.
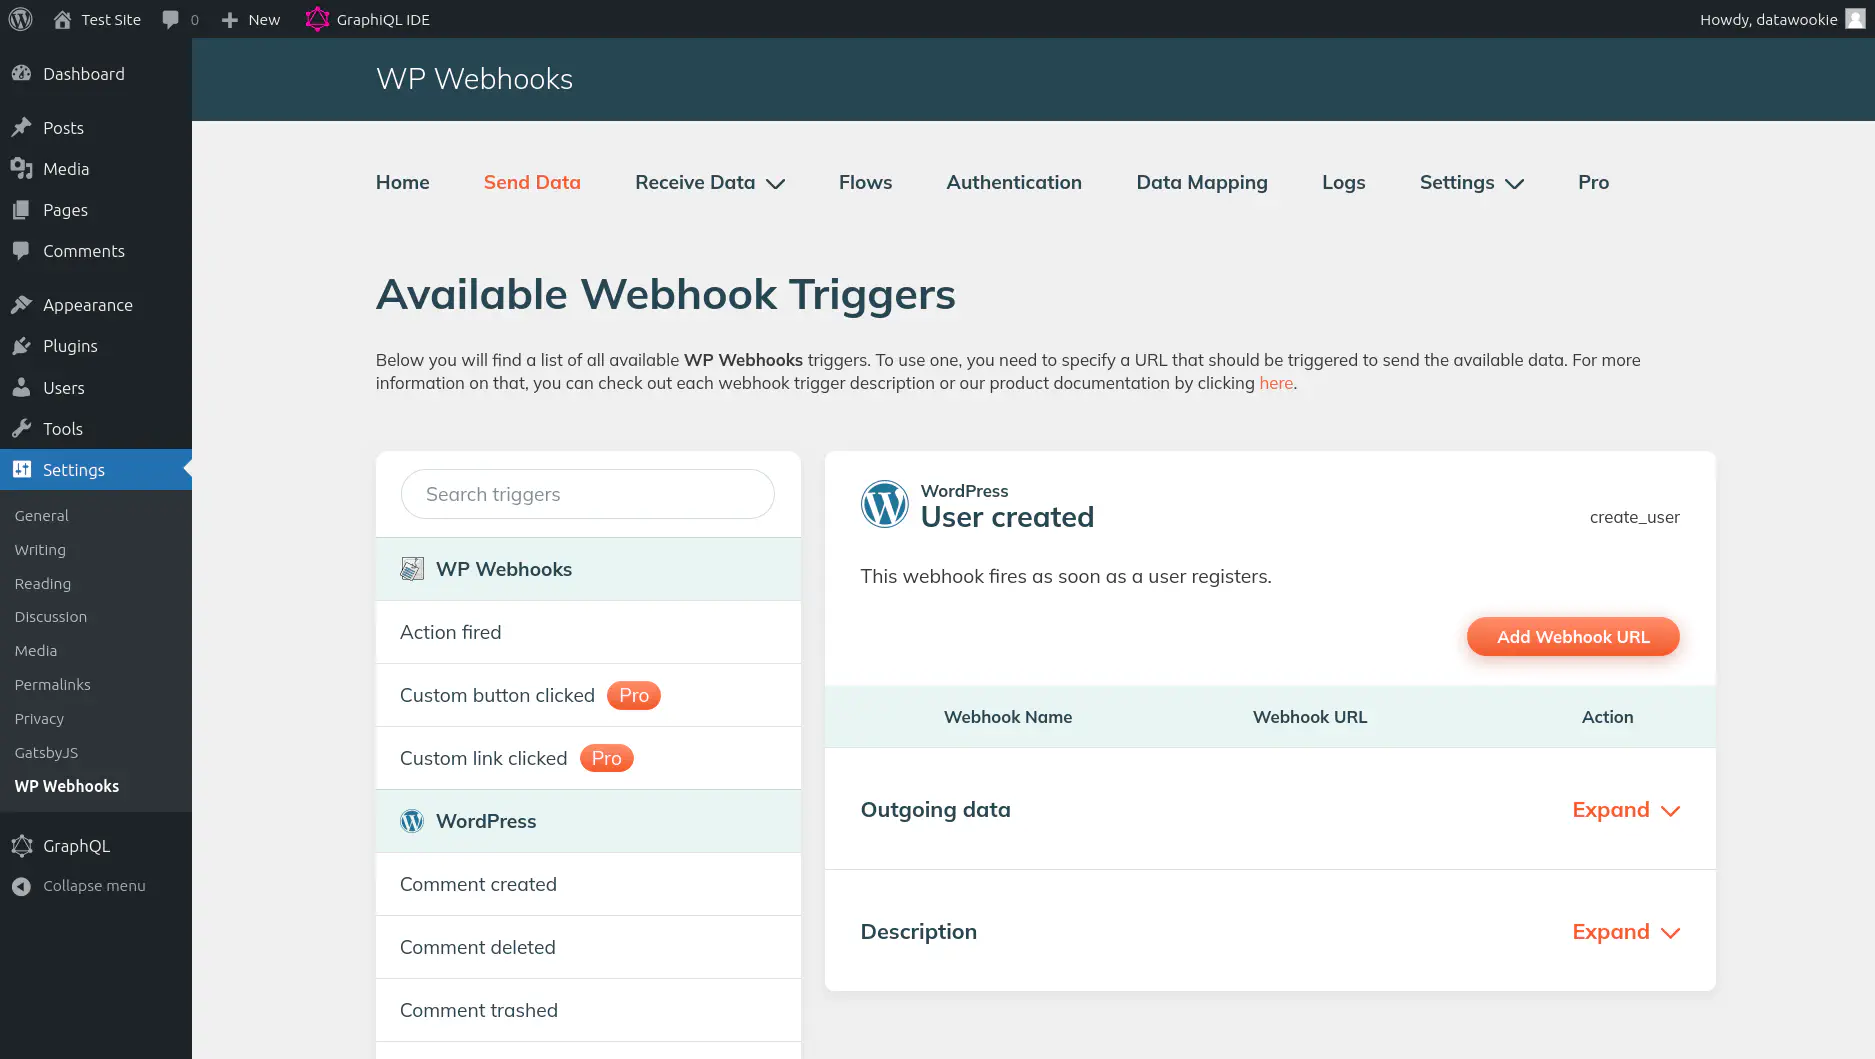
Select the Send Data tab to see triggers that will send data to remote webhooks when specific events occur on the WordPress site.
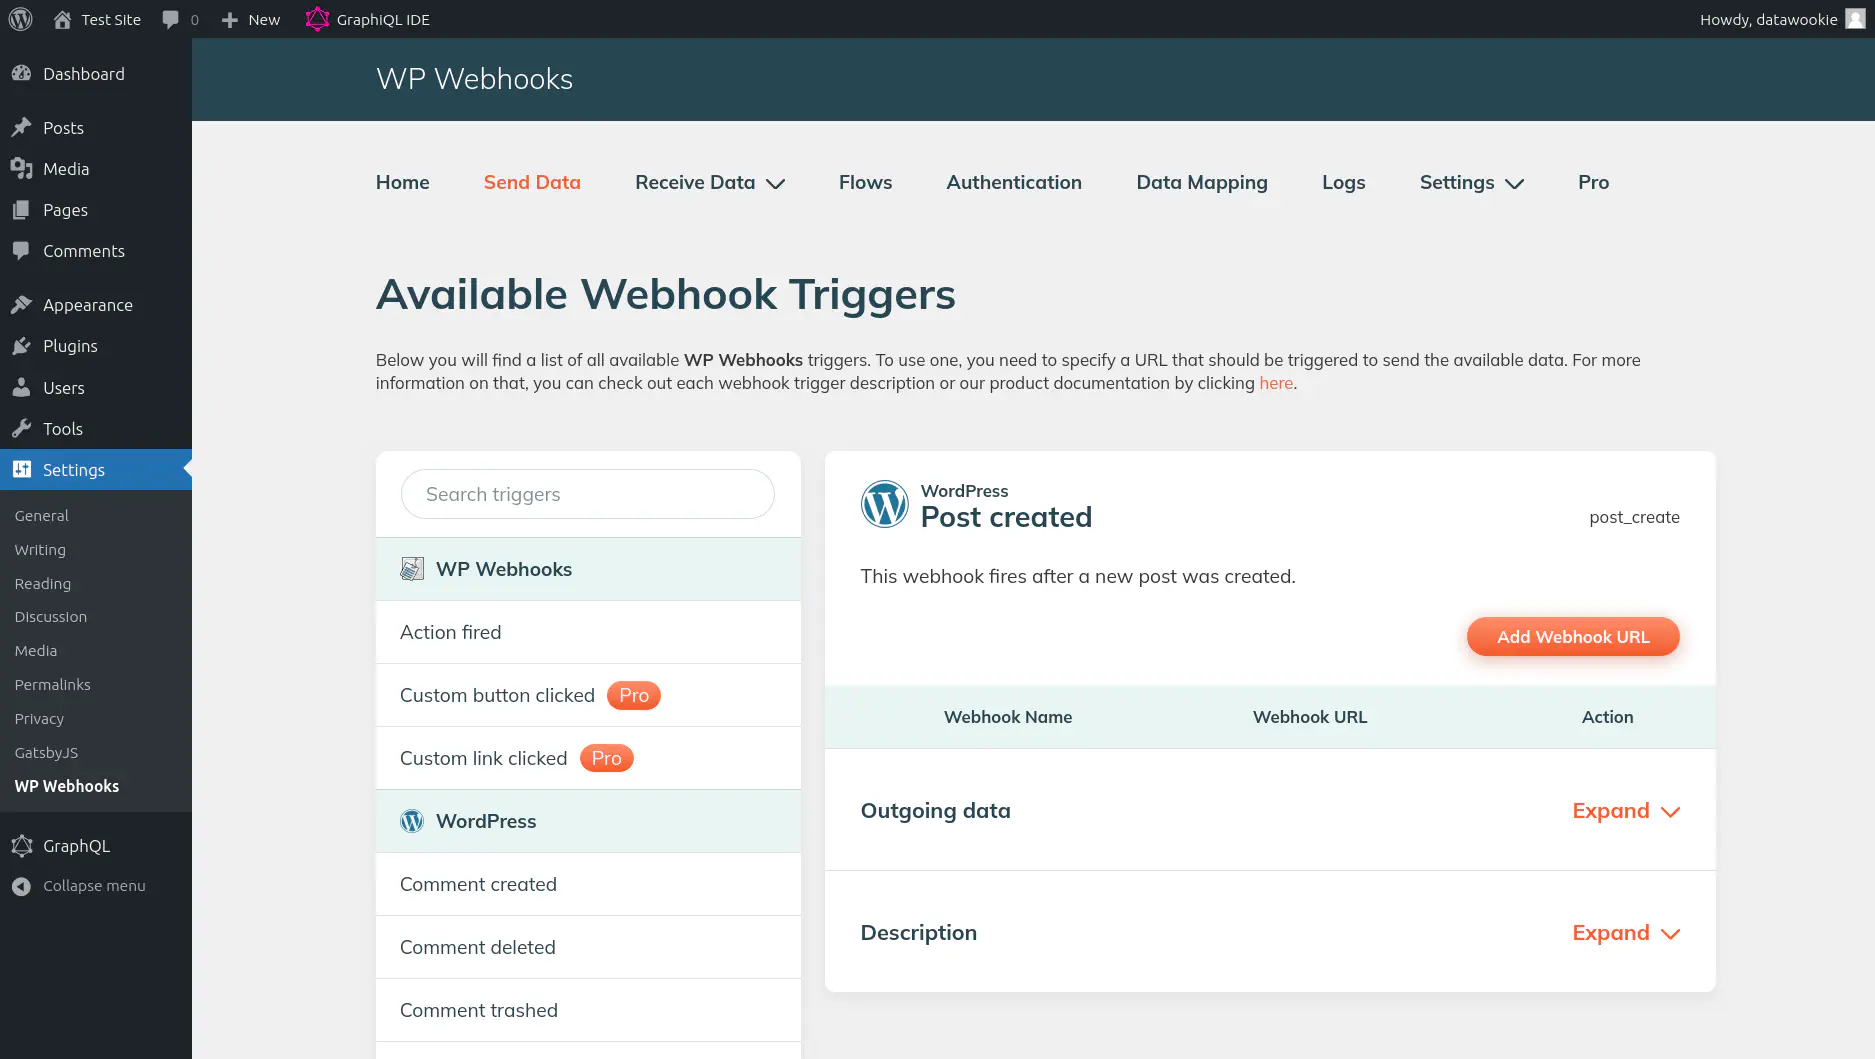
Scroll down to find the Post created option.
Press the big orange Add Webhook URL button and provide a name for the webhook (this is just a label, so just choose something appropriate) and the URL for the webhook (here you need to use either the DNS name or public IP for your Gatsby site).
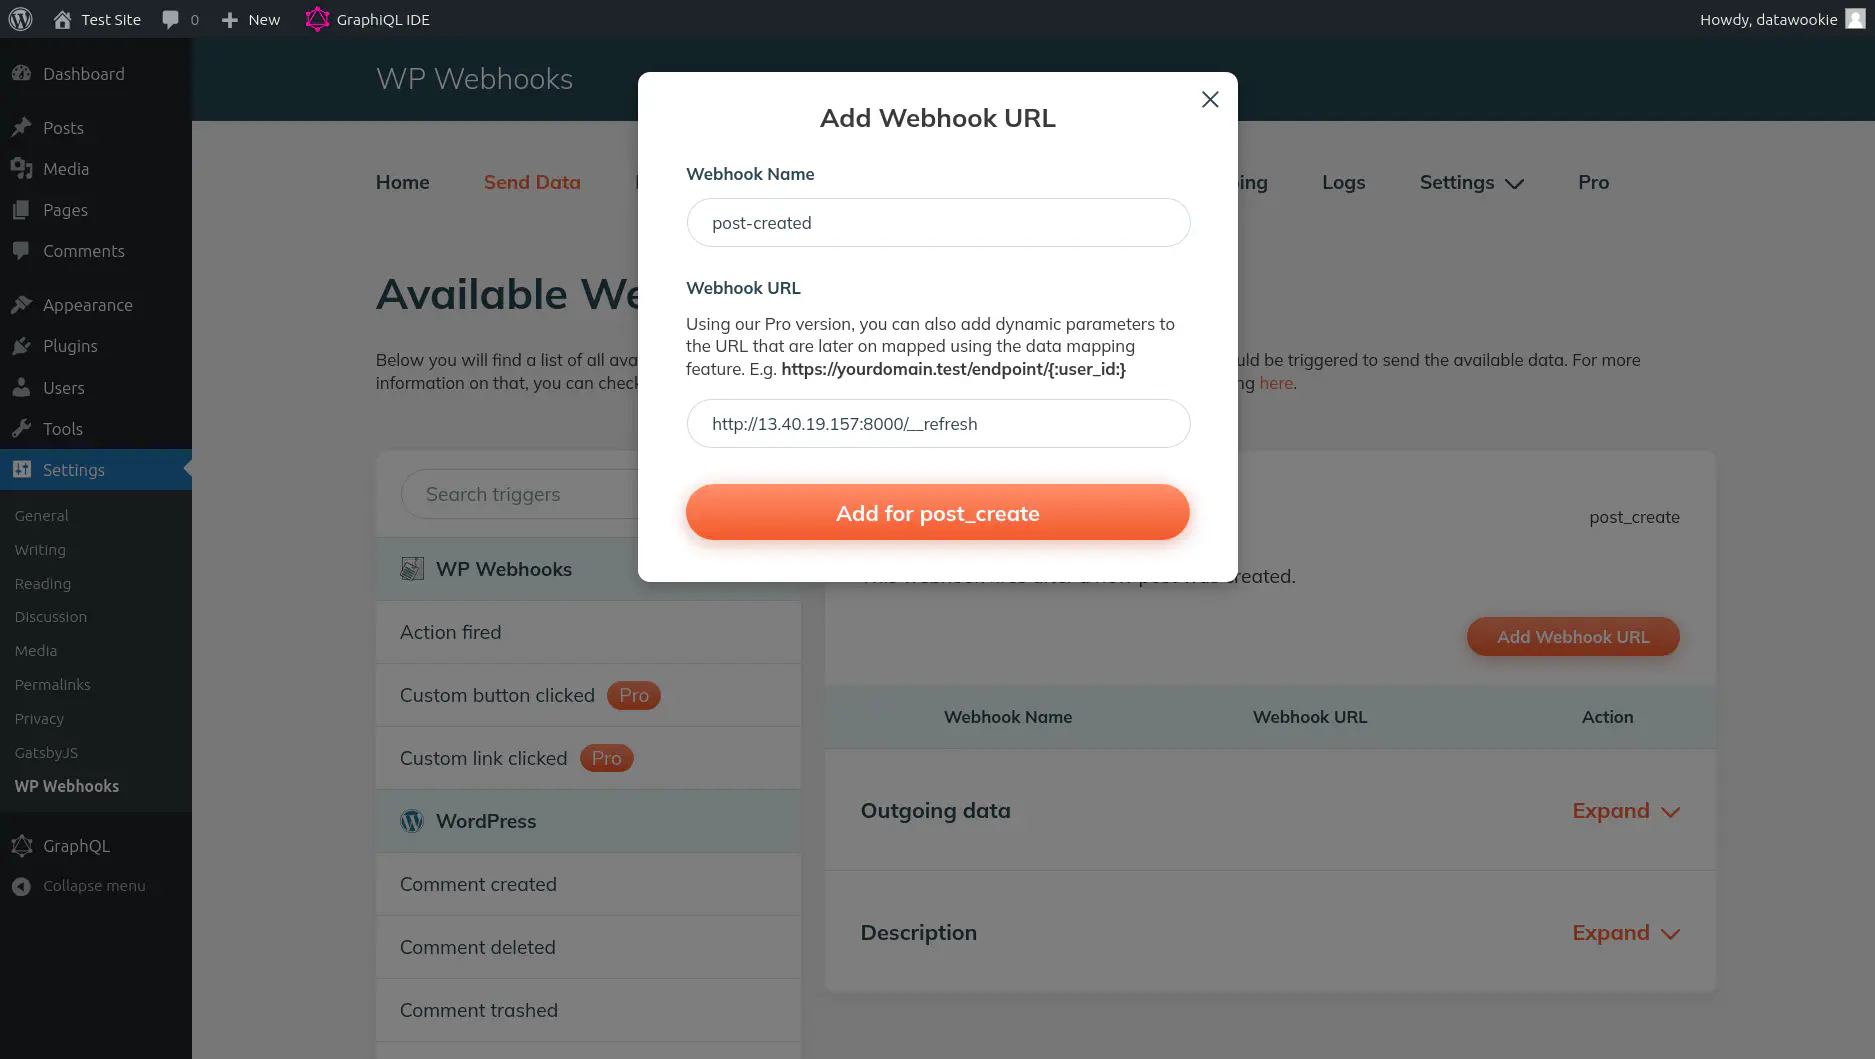
Press the big orange Add for post_create button.
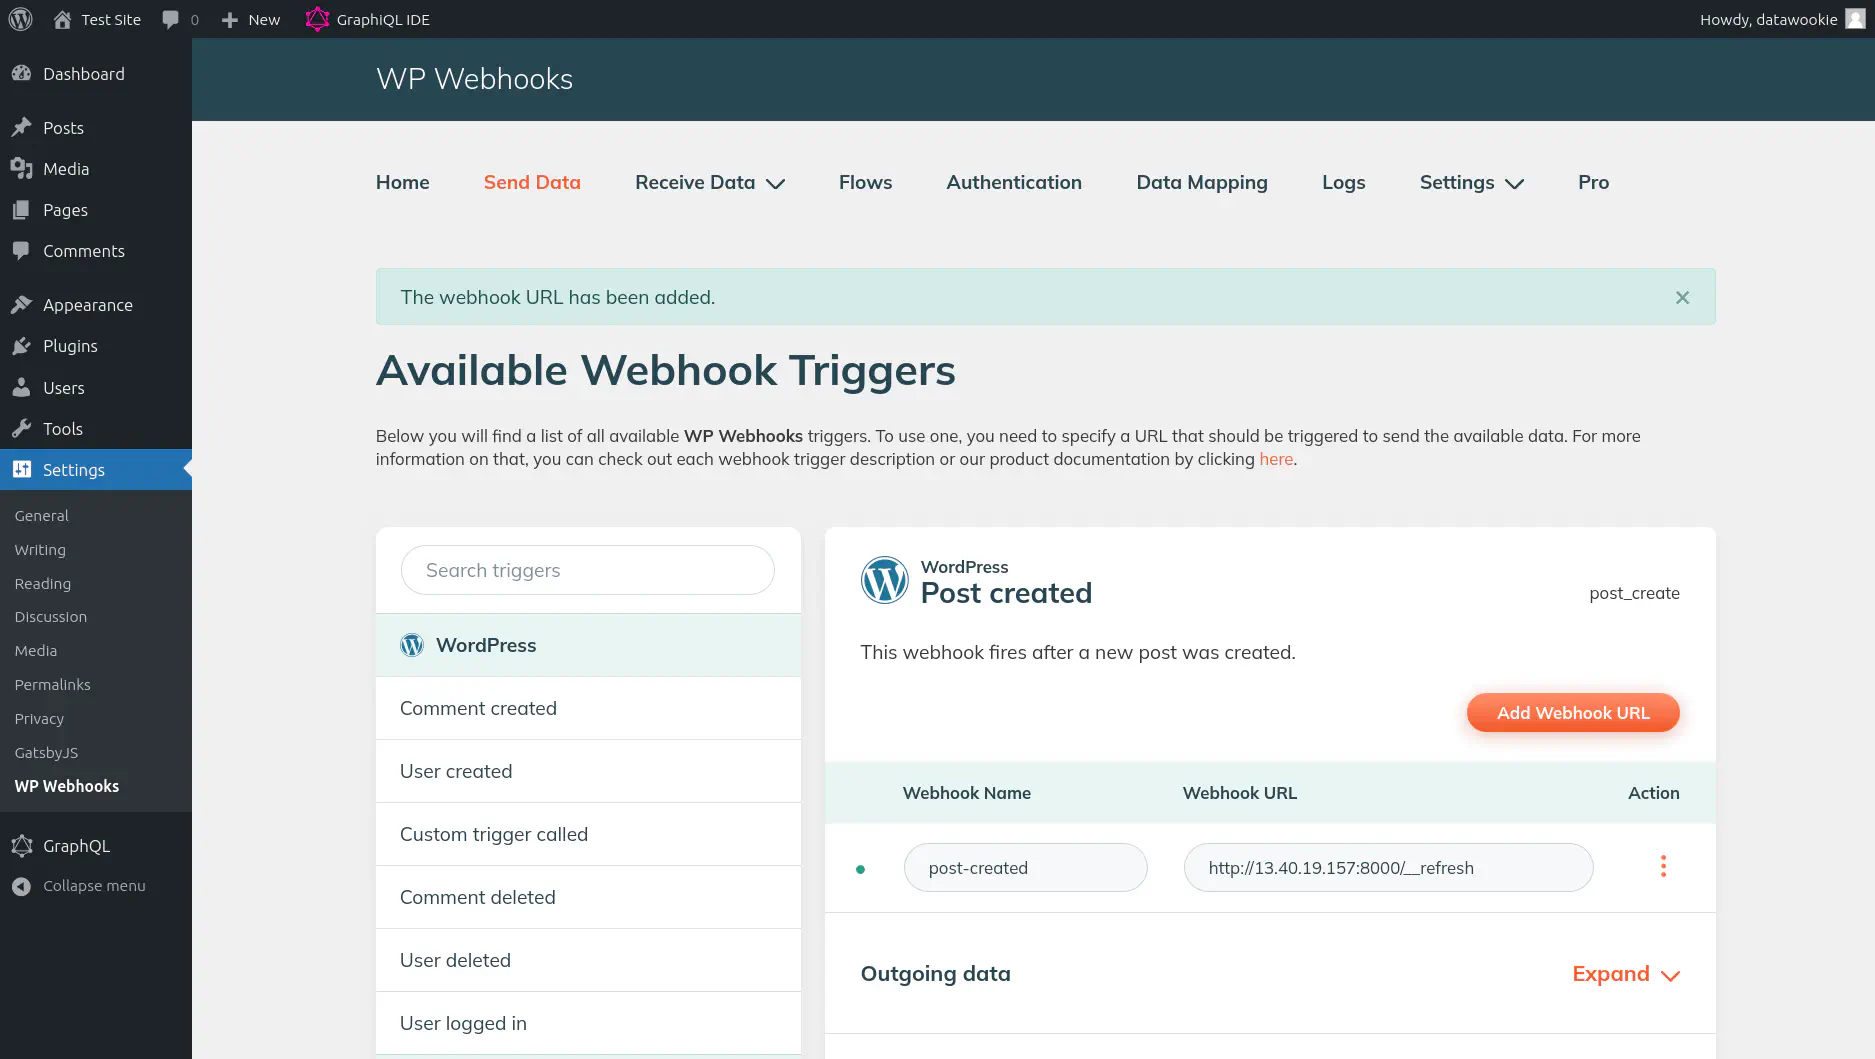
Now we need to tweak a couple of settings. Click the three dots to the right of the webhook and select Settings.
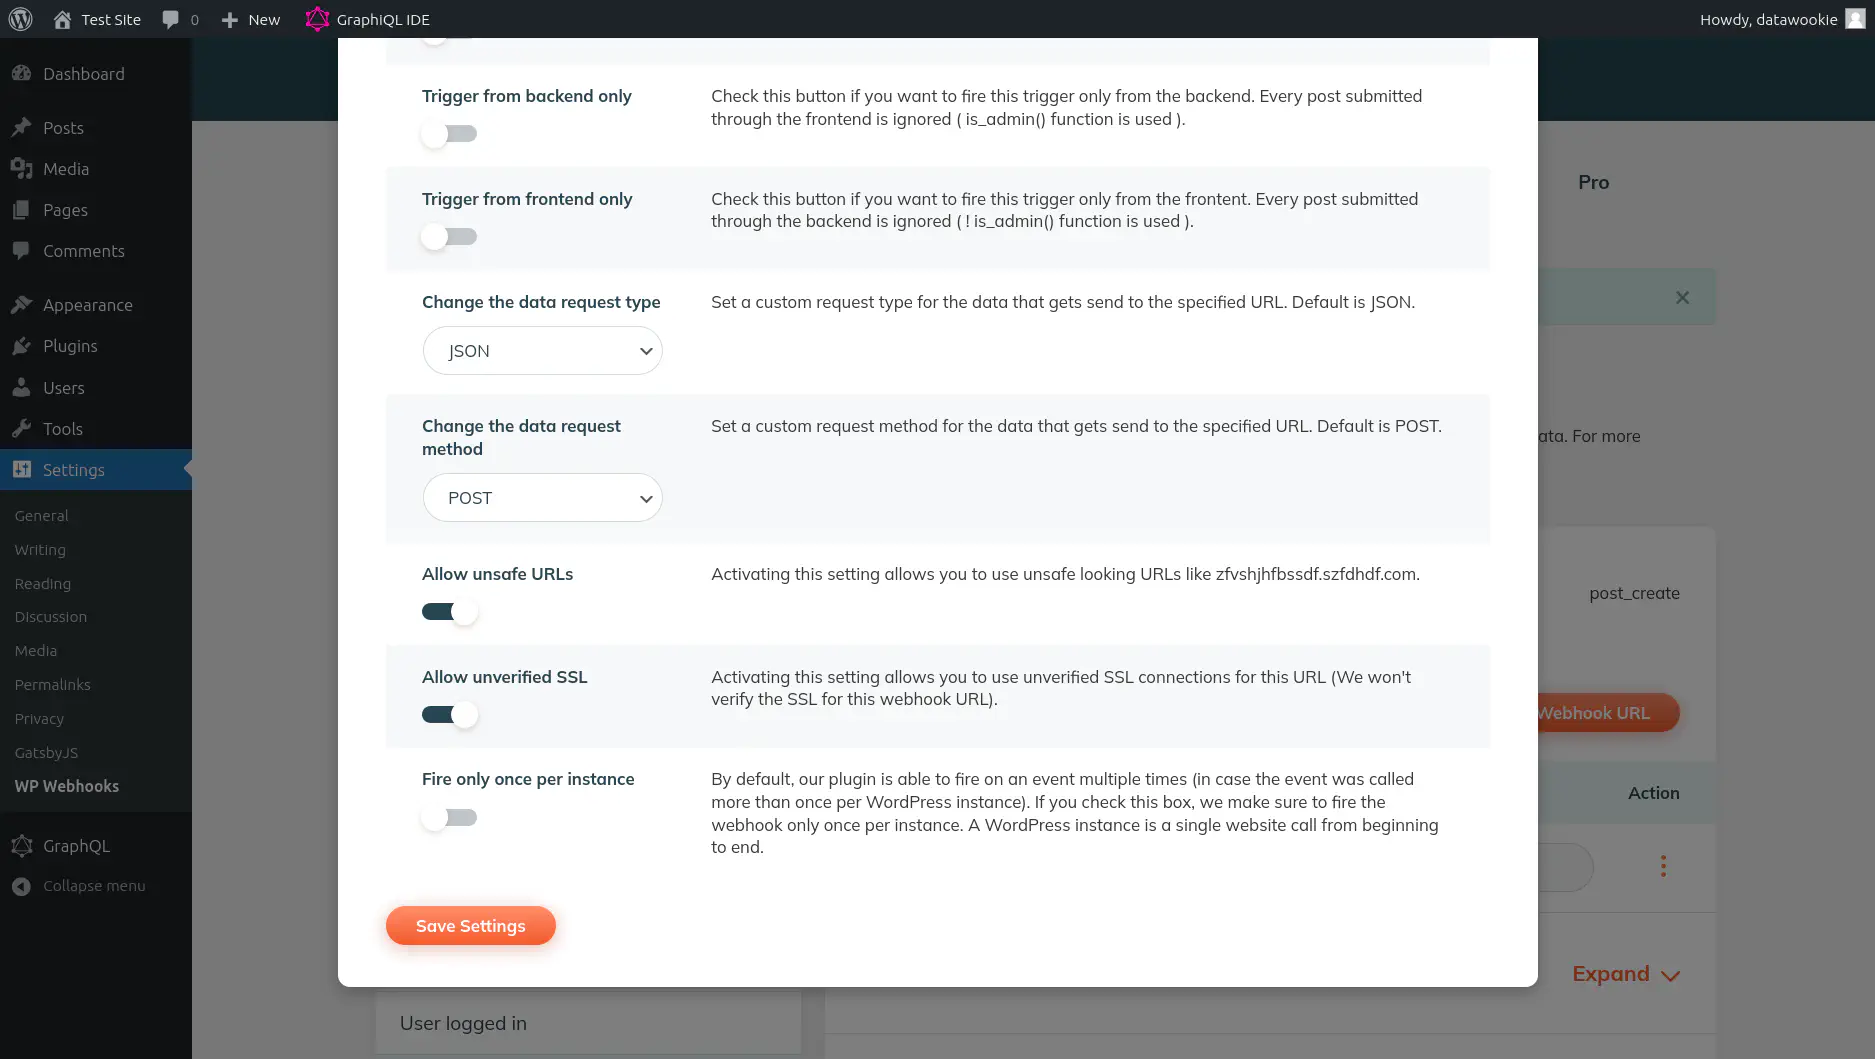
Enable both the All unsafe URLs and Allow unverified SSL options. Neither of these settings is ideal and you’d want to ultimately disable them. But being pragmatic we’ll enable them now in the interests of just getting this all working! Press the big orange Save Settings button.
Done! Now when you create a new post on the WordPress site the WP Webhooks plugin will fire off a POST request to the webhook endpoint on your Gatsby site, which will then rebuild all of its content. Your new WordPress post will be automatically added to the Gatsby site.
🚨 If you’re not using self-hosted WordPress then you can configure webhooks without installing a plugin.
FAQ
You’ll need to bring down the Docker Compose stack and then remove any associated data.
docker-compose down
docker-compose down --volumes
docker volume prune -a -f
sudo rm -rf wp-content
Conclusion
If you want to keep both your writers and developers happy then splitting the site into a WordPress CMS and a Gatsby front end might make a lot of sense. It’s easy to set up and there are lots of ways to configure it to do precisely what you need.
🚀 TL;DR
Show me the code. Look at the 24-wordpress-headless-cms branch. The code can also be downloaded as a ZIP archive.