
Most often when you are creating a new Docker image it will be based on one of the standard Docker base images like ubuntu, alpine, python or nginx. But sometimes you might want to truly roll your own image. Starting with literally nothing. From scratch. Tabula rasa.
The official scratch image is the place to start.
This image is most useful in the context of building base images or super minimal images (that contain only a single binary).
You can use Docker’s reserved, minimal image,
scratch, as a starting point for building containers. Using thescratchimage signals to the build process that you want the next command in theDockerfileto be the first filesystem layer in your image.
Alpine Mini Root Filesystem
But we need something to layer onto the scratch base image. For this purpose you can use one of the mini root filesystem distributions of Alpine Linux.
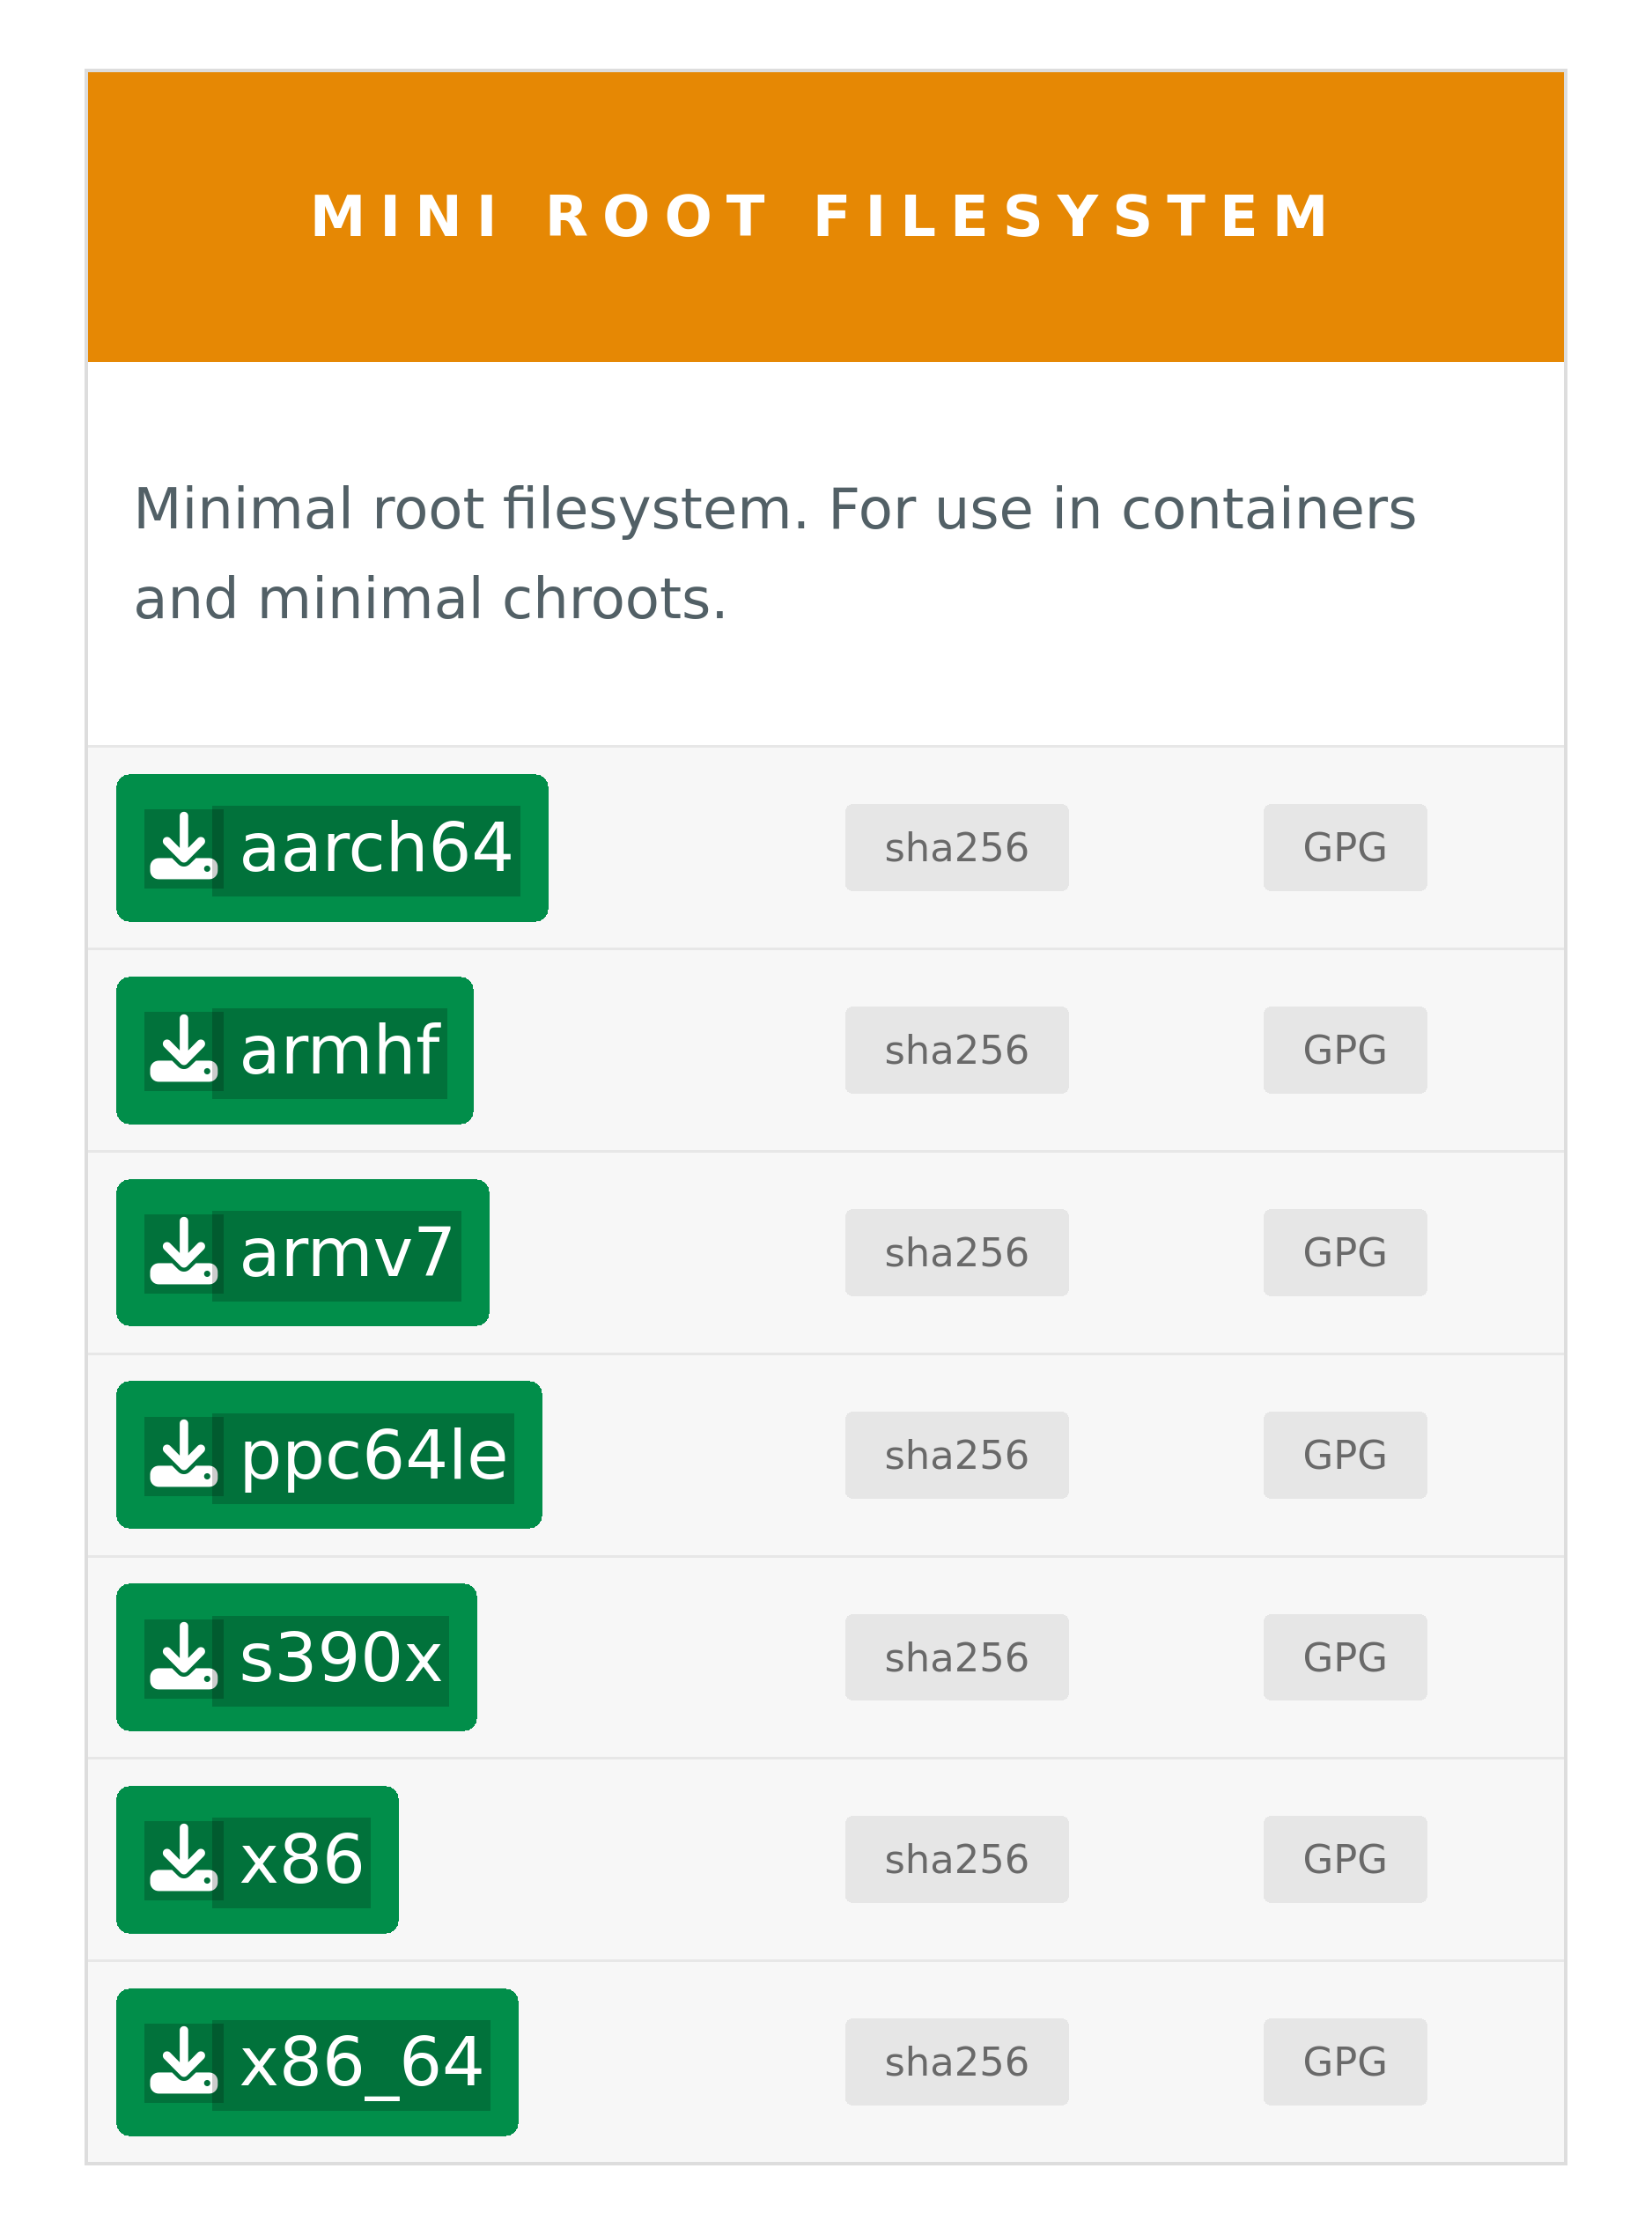
First download a copy of the mini root filesystem onto your host machine. You can’t do the download directly onto the image because there’s nothing there (no wget or curl from the scratch base image!).
wget -O alpine-minirootfs.tgz https://bit.ly/alpine-minirootfs-3-19-1
Dockerfile
Create a Dockerfile based on the scratch image. Use ADD to copy and unpack the mini root filesystem onto the root of the image.
FROM scratch

ADD alpine-minirootfs.tgz /

CMD ["/bin/sh"]
Now build the image.
docker build -t scratch-alpine .
Reference Image
We’ll pull down the official Alpine image for comparison purposes.
docker pull alpine:3.19.1
Image Comparison
Now list the images.
docker image ls
REPOSITORY              TAG       IMAGE ID       CREATED         SIZE
scratch-alpine          latest    663b46ded0b0   2 minutes ago   7.37MB
alpine                  3.19.1    05455a08881e   2 months ago    7.38MB
The image we’ve created is just 7.37 MB, essentially the same as that of the corresponding official image.
Image Inspection
We can lift the lid on the image and scratch around inside. First save the image as a .tar archive.
docker image save -o scratch-alpine.tar scratch-alpine
Now take a look at the content of the archive (the output has been edited for legibility):
tar -tvf scratch-alpine.tar
drwxr-xr-x       0 2024-04-14 06:58 659bef3016cb1fb4a31ce9315a4b/
-rw-r--r--       3 2024-04-14 06:58 659bef3016cb1fb4a31ce9315a4b/VERSION
-rw-r--r--     803 2024-04-14 06:58 659bef3016cb1fb4a31ce9315a4b/json
-rw-r--r-- 7667200 2024-04-14 06:58 659bef3016cb1fb4a31ce9315a4b/layer.tar
-rw-r--r--     643 2024-04-14 06:58 663b46ded0b0f2746bca90703206.json
-rw-r--r--     210 1970-01-01 01:00 manifest.json
-rw-r--r--      97 1970-01-01 01:00 repositories
If you unpack the archive and then unpack the nested layer.tar then you’ll see that it simply contains all of the files that were written to the root of the image.
The manifest.json file looks like this (updated to be consistent with the truncated file names in the listing above).
[
  {
    "Config": "663b46ded0b0f2746bca90703206.json",
    "RepoTags": [
      "scratch-alpine:latest"
    ],
    "Layers": [
      "659bef3016cb1fb4a31ce9315a4b/layer.tar"
    ]
  }
]
And this is the content of the configuration JSON file it mentions:
{
  "architecture": "amd64",
  "config": {
    "Env": [
      "PATH=/usr/local/sbin:/usr/local/bin:/usr/sbin:/usr/bin:/sbin:/bin"
    ],
    "Cmd": [
      "/bin/sh"
    ],
    "WorkingDir": "/",
    "ArgsEscaped": true,
    "OnBuild": null
  },
  "created": "2024-04-14T06:58:36.594326909+01:00",
  "history": [
    {
      "created": "2024-04-14T06:58:36.594326909+01:00",
      "created_by": "ADD alpine-minirootfs.tgz / # buildkit",
      "comment": "buildkit.dockerfile.v0"
    },
    {
      "created": "2024-04-14T06:58:36.594326909+01:00",
      "created_by": "CMD [\"/bin/sh\"]",
      "comment": "buildkit.dockerfile.v0",
      "empty_layer": true
    }
  ],
  "os": "linux",
  "rootfs": {
    "type": "layers",
    "diff_ids": [
      "sha256:2db34b5b47594c17fce2234c6b37383865355f09c2ffc01d463acde9f5d0579a"
    ]
  }
}
Conclusion
It’s useful to understand how to create such a minimal image effectively “out of thin air”.
The scratch image can be useful for the final stage of a multi-stage build too, especially if the artefacts of the earlier stages are all static linked.