I wanted to try the simplest possible Ollama deployment on EC2: launch an on-demand instance, install Ollama, pull and run a model on the instance, then test remote access to the model. The goal was not to build something production-ready. It was to find out whether a tiny CPU-only instance could run one small model usefully enough to justify doing it properly later.
Architecture
The architecture I constructed was simple:
- an on-demand EC2 instance;
- an Ollama installation;
- a test model; and
- an SSH tunnel to access the model remotely.
Simplicity is the point though: if this setup is awkward, then more complicated versions won’t magically become elegant.
Launching the Instance
The first decision is whether to start with CPU-only inference or go straight to GPU. For a genuinely quick test, CPU is attractive because the setup is simpler and the instances are cheaper. The downside is performance. If the model is even slightly ambitious, the results may be educational in the wrong way. I was not feeling remotely ambitious, so CPU it was.
I launched a t3.medium instance (2 vCPUs and 4 GiB of RAM) in eu-west-1 with a 12 GiB volume. It’s a burstable instance, which would not be ideal for production, but it is good enough for a quick smoke test. I selected an existing security group that allows SSH access and enabled a public IP, which I would not recommend for a long-lived deployment.
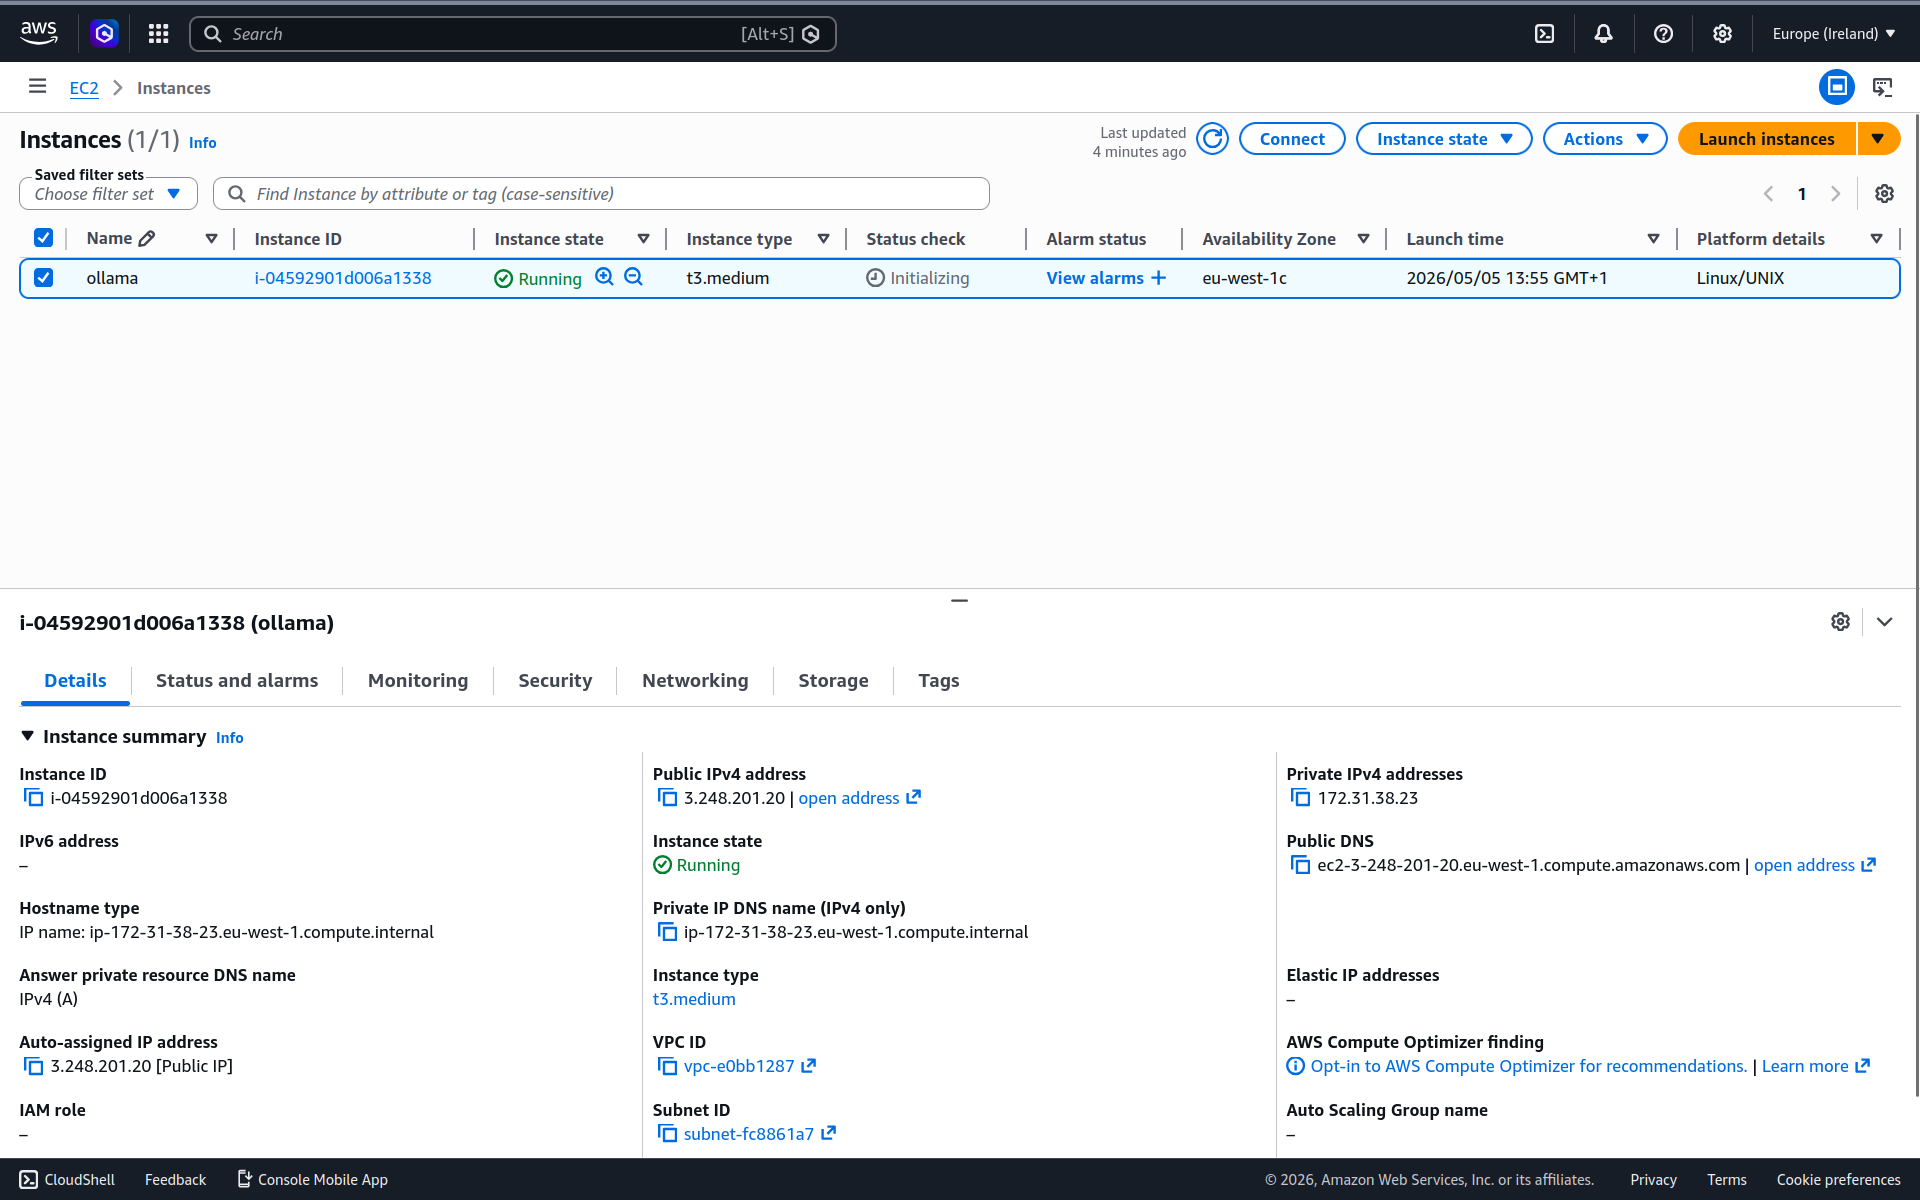
t3.medium instance.Installing Ollama
The goal was to get from a fresh machine to a running Ollama server with minimal ceremony. I connected via SSH and, once I had a shell prompt, installed Ollama using the official installation script.
curl -fsSL https://ollama.com/install.sh | sh>>> Installing ollama to /usr/local
>>> Downloading ollama-linux-amd64.tar.zst
######################################################################## 100.0%
>>> Creating ollama user...
>>> Adding ollama user to render group...
>>> Adding ollama user to video group...
>>> Adding current user to ollama group...
>>> Creating ollama systemd service...
>>> Enabling and starting ollama service...
>>> The Ollama API is now available at 127.0.0.1:11434.
>>> Install complete. Run "ollama" from the command line.
WARNING: No NVIDIA/AMD GPU detected. Ollama will run in CPU-only mode.During the install process Ollama was also added as a systemd service, which means it will run in the background and start automatically on boot.
The warning calibrated my expectations: without a GPU, performance will be limited.
Pulling a Model
Ollama is only the runtime. The next step was to pull a model. In the previous post I published a table giving an overview of the models available from Ollama. I used that table to select something both interesting and small enough to run on a t3.medium instance. There were a few reasonable candidates, like deepseek-coder and smollm, but I settled on reader-lm. It’s a specialised model for converting HTML to Markdown, and that narrow scope is part of why it’s a small model.
Pull the model.
ollama pull reader-lmSince I didn’t specify the model size I get the default 1.5b variant, which takes up 935 MB on disk.
Running a Model
Now I have everything I need to run the model.
ollama run reader-lmThe reader-lm model is not very flexible. It does one thing and it does it fairly well: convert HTML to Markdown. To test it, I asked it to convert the simple HTML document below by simply pasting it into the Ollama CLI.
<html>
  <body>
    <nav><a href="/">Home</a> | <a href="/docs">Docs</a></nav>
    <h1>Running Models Locally with Ollama</h1>
    <p>Ollama is an <strong>open-source</strong> tool that runs LLMs locally.</p>
    <ul>
      <li>Supports models like Llama, Mistral, and Gemma.</li>
      <li>Simple CLI interface.</li>
      <li>No internet connection required at inference time.</li>
    </ul>
  </body>
</html>
This is the response it came back with:
[Home](https://ollama.ai/) | [Docs](https://ollama.ai/docs)

Ollama is an **open-source** tool that runs LLMs locally.

*   Supports models like Llama, Mistral, and Gemma.
*   Simple CLI interface.
*   No internet connection required at inference time.
It’s not perfect. The <h1> vanished somewhere along the way. And the model hallucinated URLs for the Home and Docs links. This model clearly has some limitations, but it’s good enough to establish two things: the model is functional, and a t3.medium can at least run this kind of small specialised model without immediately falling over.
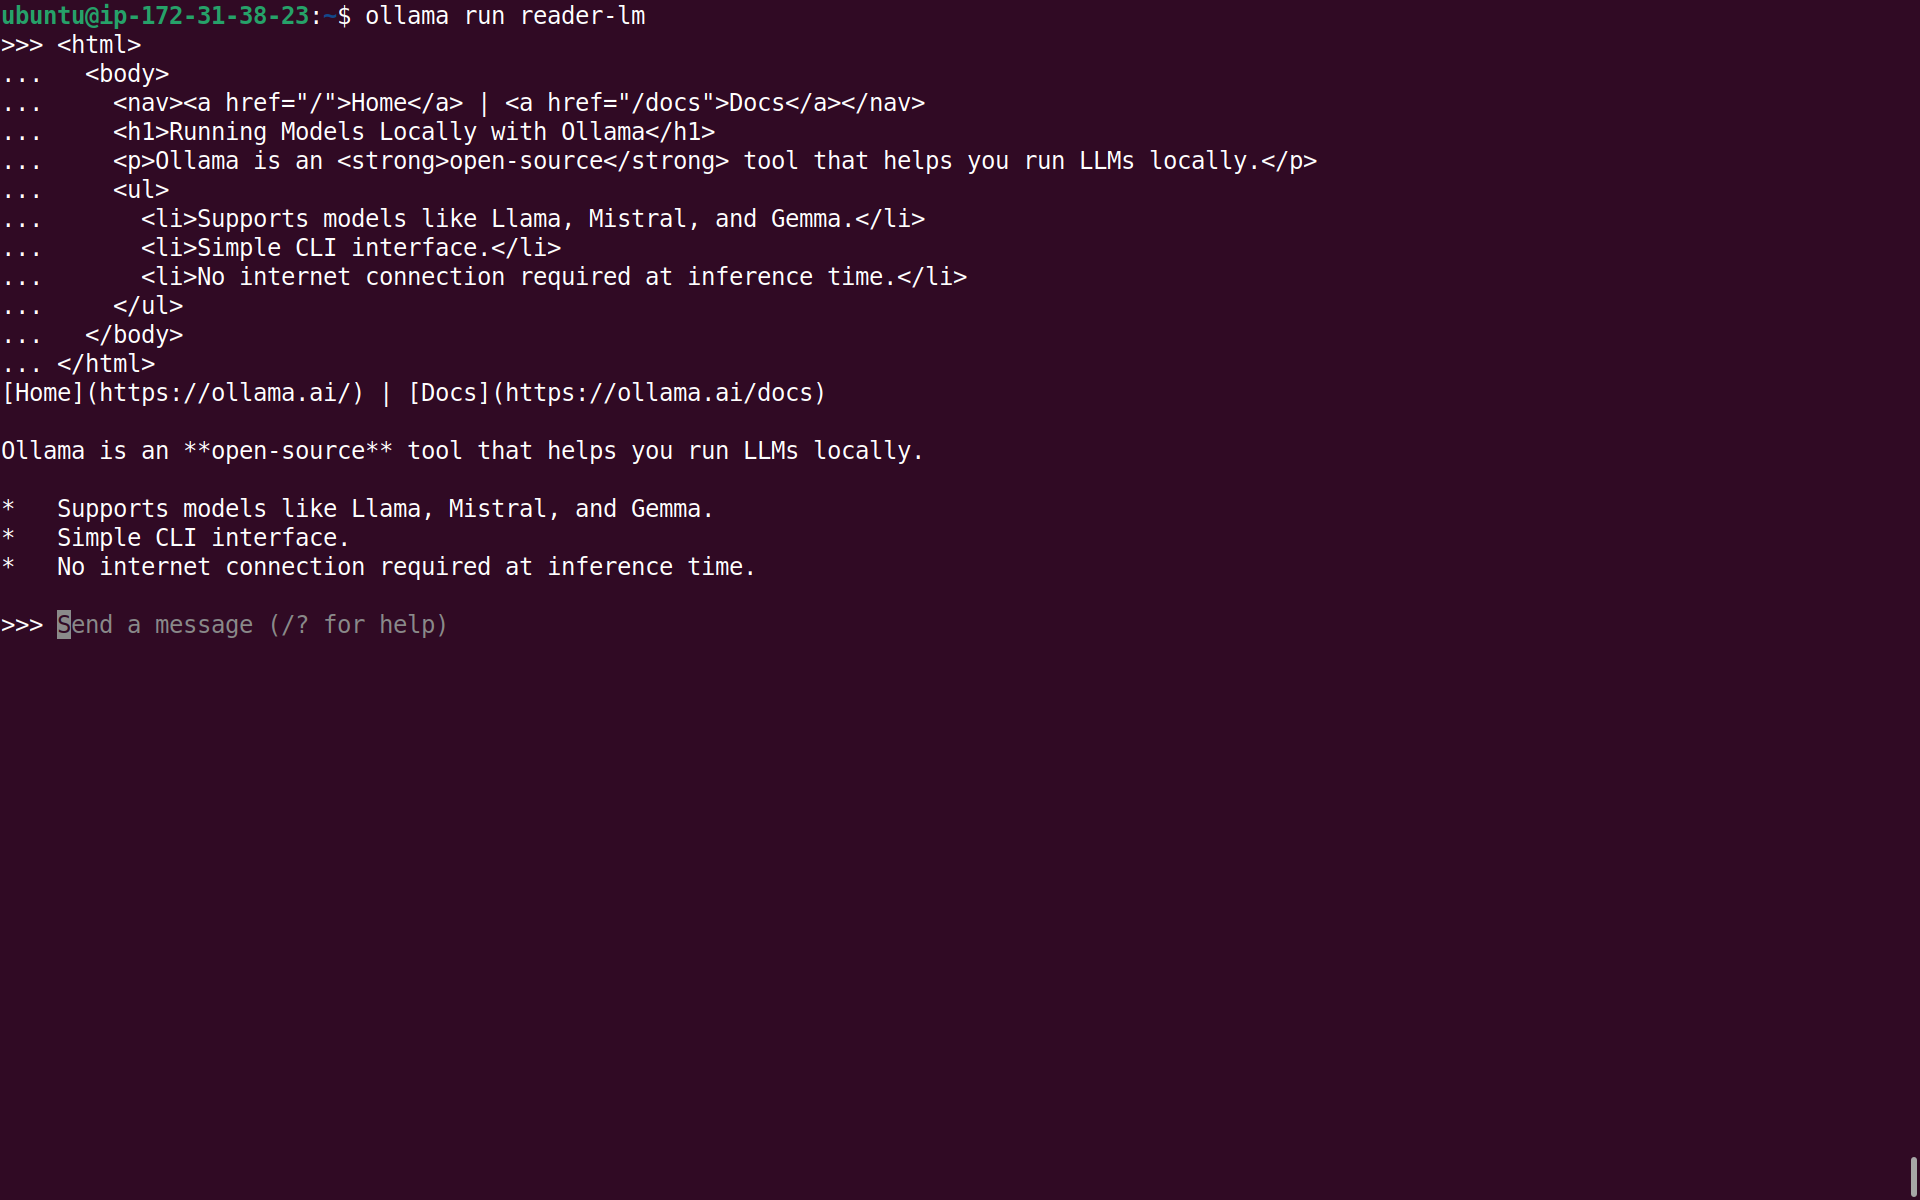
reader-lm to convert HTML to Markdown.Making Requests
Interacting with the model through the CLI is fine for testing, but the more interesting part of Ollama is the local API. That is how other applications would use it, and it is also the interface that matters if I want to reach the model from my laptop.
When I installed Ollama it immediately launched the server, so there was no need to run that manually. The server listens on port 11434 and I can send requests to it using curl. Here’s an example request that asks the model to convert some HTML to Markdown.
curl -s http://localhost:11434/api/chat \
  -d '{
    "model": "reader-lm",
    "stream": false,
    "messages": [
      {
        "role": "user",
        "content": "<h1>Hello</h1><p>This is a <strong>test</strong>.</p>"
      }
    ]
  }' | jq
I’ve piped the response through jq to make it more readable. This is the Ollama API response:
{
  "model": "reader-lm",
  "created_at": "2026-05-05T13:28:23.48234263Z",
  "message": {
    "role": "assistant",
    "content": "# Hello\n\nThis is a **test**."
  },
  "done": true,
  "done_reason": "stop",
  "total_duration": 2152380376,
  "load_duration": 150320696,
  "prompt_eval_count": 28,
  "prompt_eval_duration": 178215781,
  "eval_count": 11,
  "eval_duration": 1786504211
}
That looks promising, and it also gives me a rough feel for performance. The response took a bit more than 2 seconds in total, with about 0.2 seconds spent evaluating the prompt and around 1.8 seconds generating the output tokens. That is not fast, but it is perfectly tolerable for a toy workload on a tiny CPU-only instance.
What do the fields in the Ollama API response mean?
- Identity & Timing
model— The model that generated the response.created_at— Timestamp of when the response was completed.
- Message
message.role— Who produced the content? Eitherassistant,system,tooloruser.message.content— The response text.
- Completion Status
done— Is response complete? False for a mid-stream chunk.done_reason— Why generation stopped:"stop","length","load"or"unload".
- Performance (all times are in nanoseconds)
total_duration— Wall-clock time for the entire request.load_duration— Time spent loading the model into memory. A large value indicates the model was not already cached in memory when the request arrived.prompt_eval_duration— Time spent processing the input prompt.eval_duration— Time spent generating output tokens.
- Token Counts
prompt_eval_count— Number of tokens in the input prompt.eval_count— Number of tokens generated in the response.
Using the performance metrics you can calculate other useful metrics which are more intuitive ways to understand the model’s responsiveness:
- tokens per second:
eval_count/eval_duration* 1,000,000,000 and - time to first token (TTFT):
load_duration+prompt_eval_duration.
Remote Access
It’s one thing to send requests from the same machine, but the more useful test is whether I can send requests from my local machine to the remote EC2 instance.
I did not expose port 11434 directly to the public internet. Even for a quick test that would be reckless. Instead, I created an SSH tunnel from my local machine to the EC2 instance. That preserves the default Ollama binding on 127.0.0.1 and still lets me access the API remotely.
Create the SSH tunnel.
ssh -N -f -L 11434:localhost:11434 ubuntu@3.248.201.20If you get an error, it usually means you already have a local Ollama server occupying port 11434:
bind [127.0.0.1]:11434: Address already in useYou’ll need to stop the local server before you can create the tunnel. On my local Ubuntu machine this is done with systemctl.
sudo systemctl stop ollamaTry creating the tunnel again. If it works, you will not see any output.
I then ran the same curl command from my local machine, which sent a request through the tunnel to the remote instance.
{
  "model": "reader-lm",
  "created_at": "2026-05-05T13:32:04.206565035Z",
  "message": {
    "role": "assistant",
    "content": "# Hello\n\nThis is a **test**."
  },
  "done": true,
  "done_reason": "stop",
  "total_duration": 2121993015,
  "load_duration": 145973109,
  "prompt_eval_count": 28,
  "prompt_eval_duration": 176227168,
  "eval_count": 11,
  "eval_duration": 1763411802
}
The response was essentially the same as when I ran the request directly on the EC2 instance. The metrics only relate to the performance of the model and don’t take into account the added latency of the SSH tunnel, but that’s insignificant for this test.
That is the useful result. I did not just get Ollama running on a small EC2 instance. I also verified that I can keep the API private and still use it from my laptop.
Cost & Cleanup
This little experiment cost very little, but it only stays cheap if I remember to terminate the EC2 instance afterwards. I did that as soon as I was finished. The whole exercise cost a few cents.
Summary & Next Steps
I set out to establish a baseline for running Ollama on EC2. More specifically, I wanted to see whether a small, CPU-only instance could run a small model with minimal configuration and expose it over a private tunnel. On that narrower question, the answer is yes.
This post does not prove that a t3.medium is a sensible home for general-purpose LLM serving. It proves that EC2 is a workable place to run a narrow Ollama workload, and that SSH tunnelling is an easy way to keep the API private during experiments.
In the interest of brevity, I skipped many of the details that would be essential in production. I will leave those for later posts in the series. These are some of the things I would like to look at next:
- using a GPU-backed EC2 instance to enable a more ambitious model;
- improving security;
- scaling beyond a single machine;
- using infrastructure as code to automate the setup; and
- benchmarking and performance testing.