I don’t have a local GPU. Well, not one that I can run an LLM on. For a previous post I used the GPU on a g4dn.xlarge EC2 instance on AWS. That worked well. But the costs of running it compounded quickly. Running GPUs in the cloud is expensive! 💸
However, there are some affordable, cheap or even free 💥 options. Google Colab gives you access to a runtime with a NVIDIA Tesla T4. And for frugal people like me, that’s magnificent.
Google Colab Hardware
Google Colab has a variety of hardware configurations:
- ⭐ CPU — No GPU
- ⭐ T4 GPU — NVIDIA Tesla T4
- H100 GPU
- G4 GPU
- A100 GPU
- L4 GPU
- ⭐ v5e-1 TPU
- v6e-1 TPU
I’ve highlighted the options that are available on the default tier. Their availability is not guaranteed and depends on capacity. I’ve not run into trouble using CPU or GPU, but TPU availability has been intermittent.
GPUs and TPUs are both parallel-compute accelerators.
A GPU is the generalist. Originally designed for rendering graphics (hence the name) but subsequently generalised to handle a broad range of parallel workloads. CUDA makes NVIDIA GPUs programmable for general compute.
A TPU is more specialised. It’s built specifically for tensor operations only, especially matrix multiplication. Very efficient for transformer workloads.
Most tools for LLMs are built around CUDA, which means that they are targeted at NVIDIA GPUs. You can run them on a TPU but this requires additional setup. IMHO not worth the effort, at least not for a quick Google Colab setup.
My default-tier Colab sessions currently have up to ~12 hour duration on an instance with around 12 GiB RAM and 60 GiB disk space, 2 vCPUs (a slice of an Intel Xeon CPU) with AVX-512 support and an NVIDIA Tesla T4 GPU. It’s a sweet setup. Disk storage on the instance is ephemeral, so don’t leave anything important lying around: it might not be there when you get back. Notebooks are persisted to Google Drive.
🚨 If the GPU on your session is idle or under-utilised for an extended period then you’ll get a warning and might be spontaneously disconnected.
Setting Up Google Colab
Login to your account on Google Colab (create an account if you don’t already have one!). Launch a new notebook.
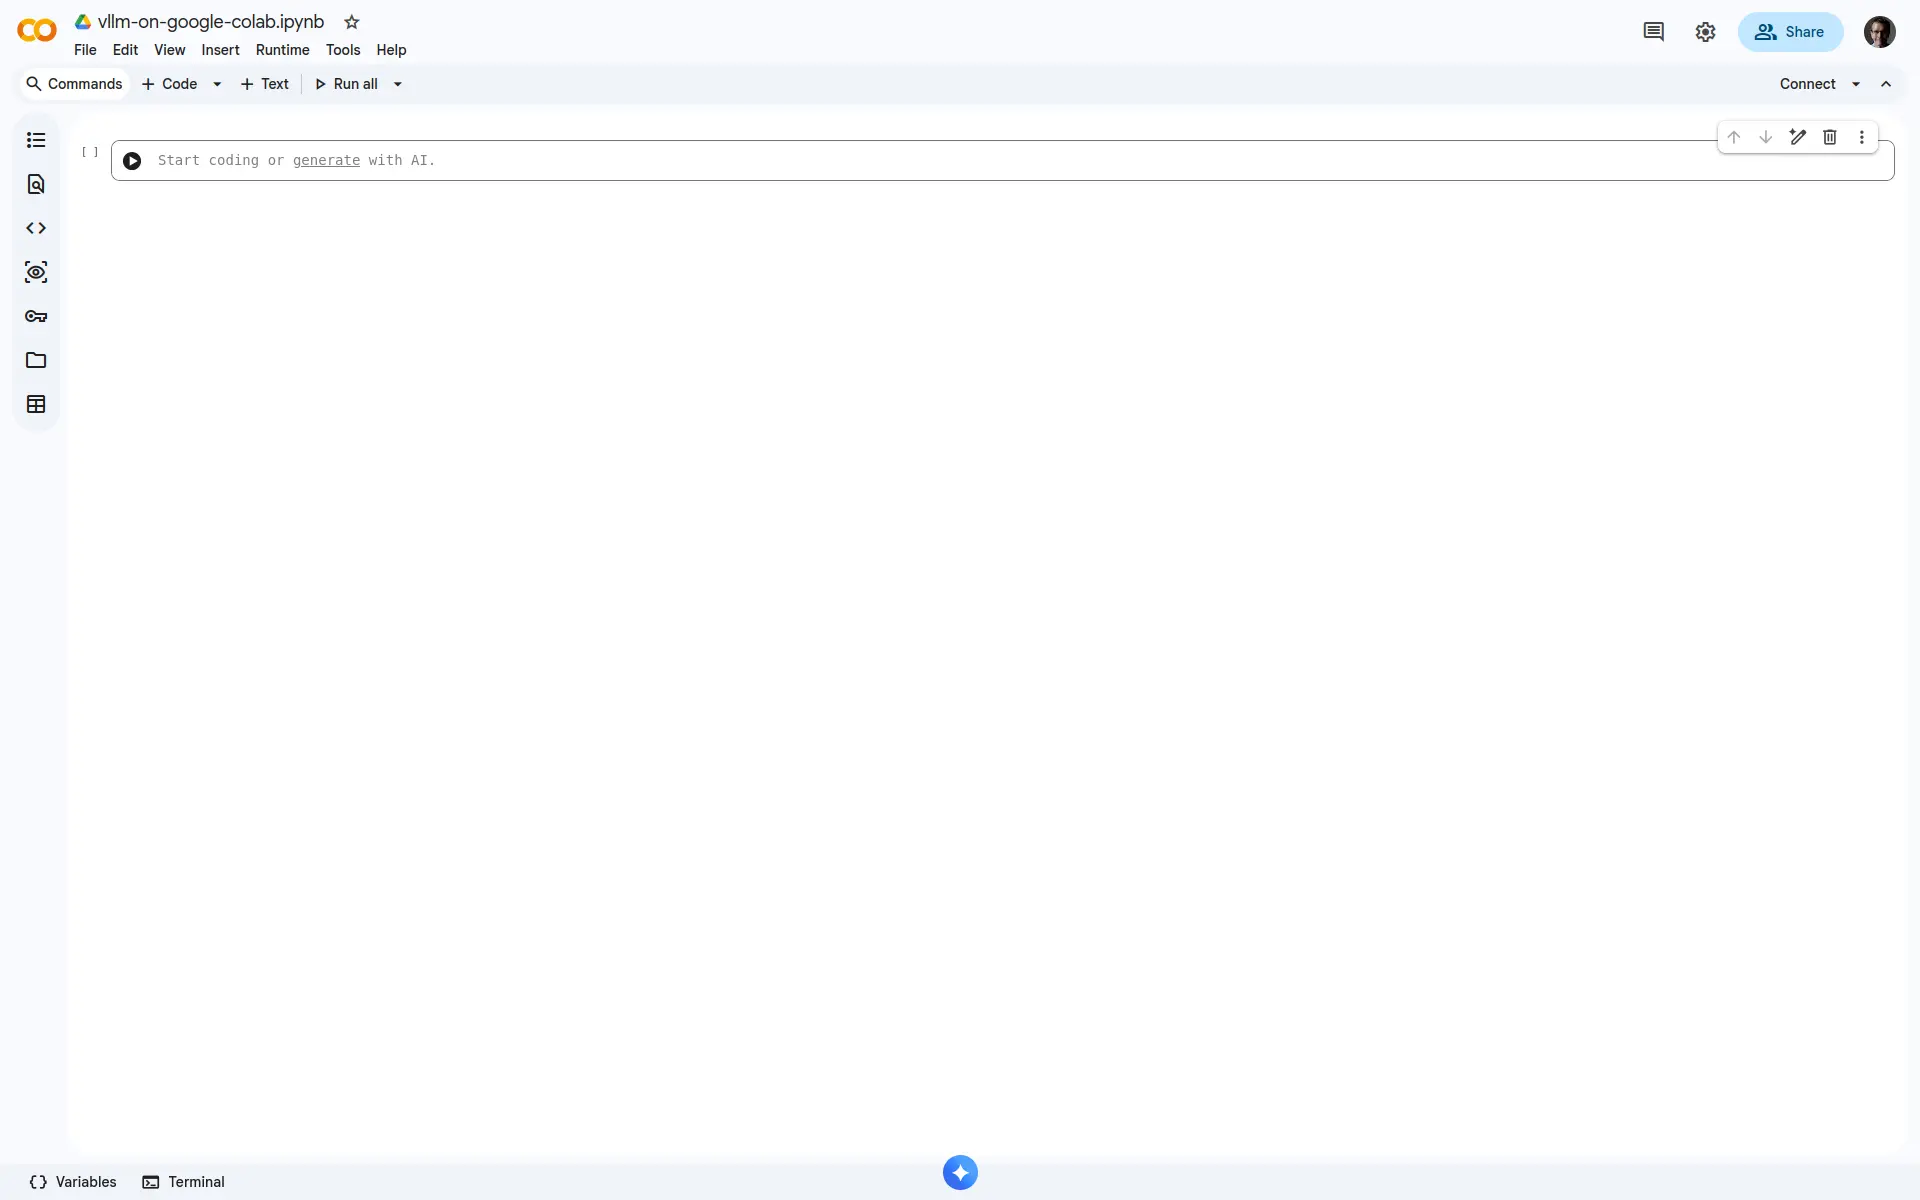
We want to ensure that we have a GPU instance. Select Runtime from the menu and then Change runtime type.
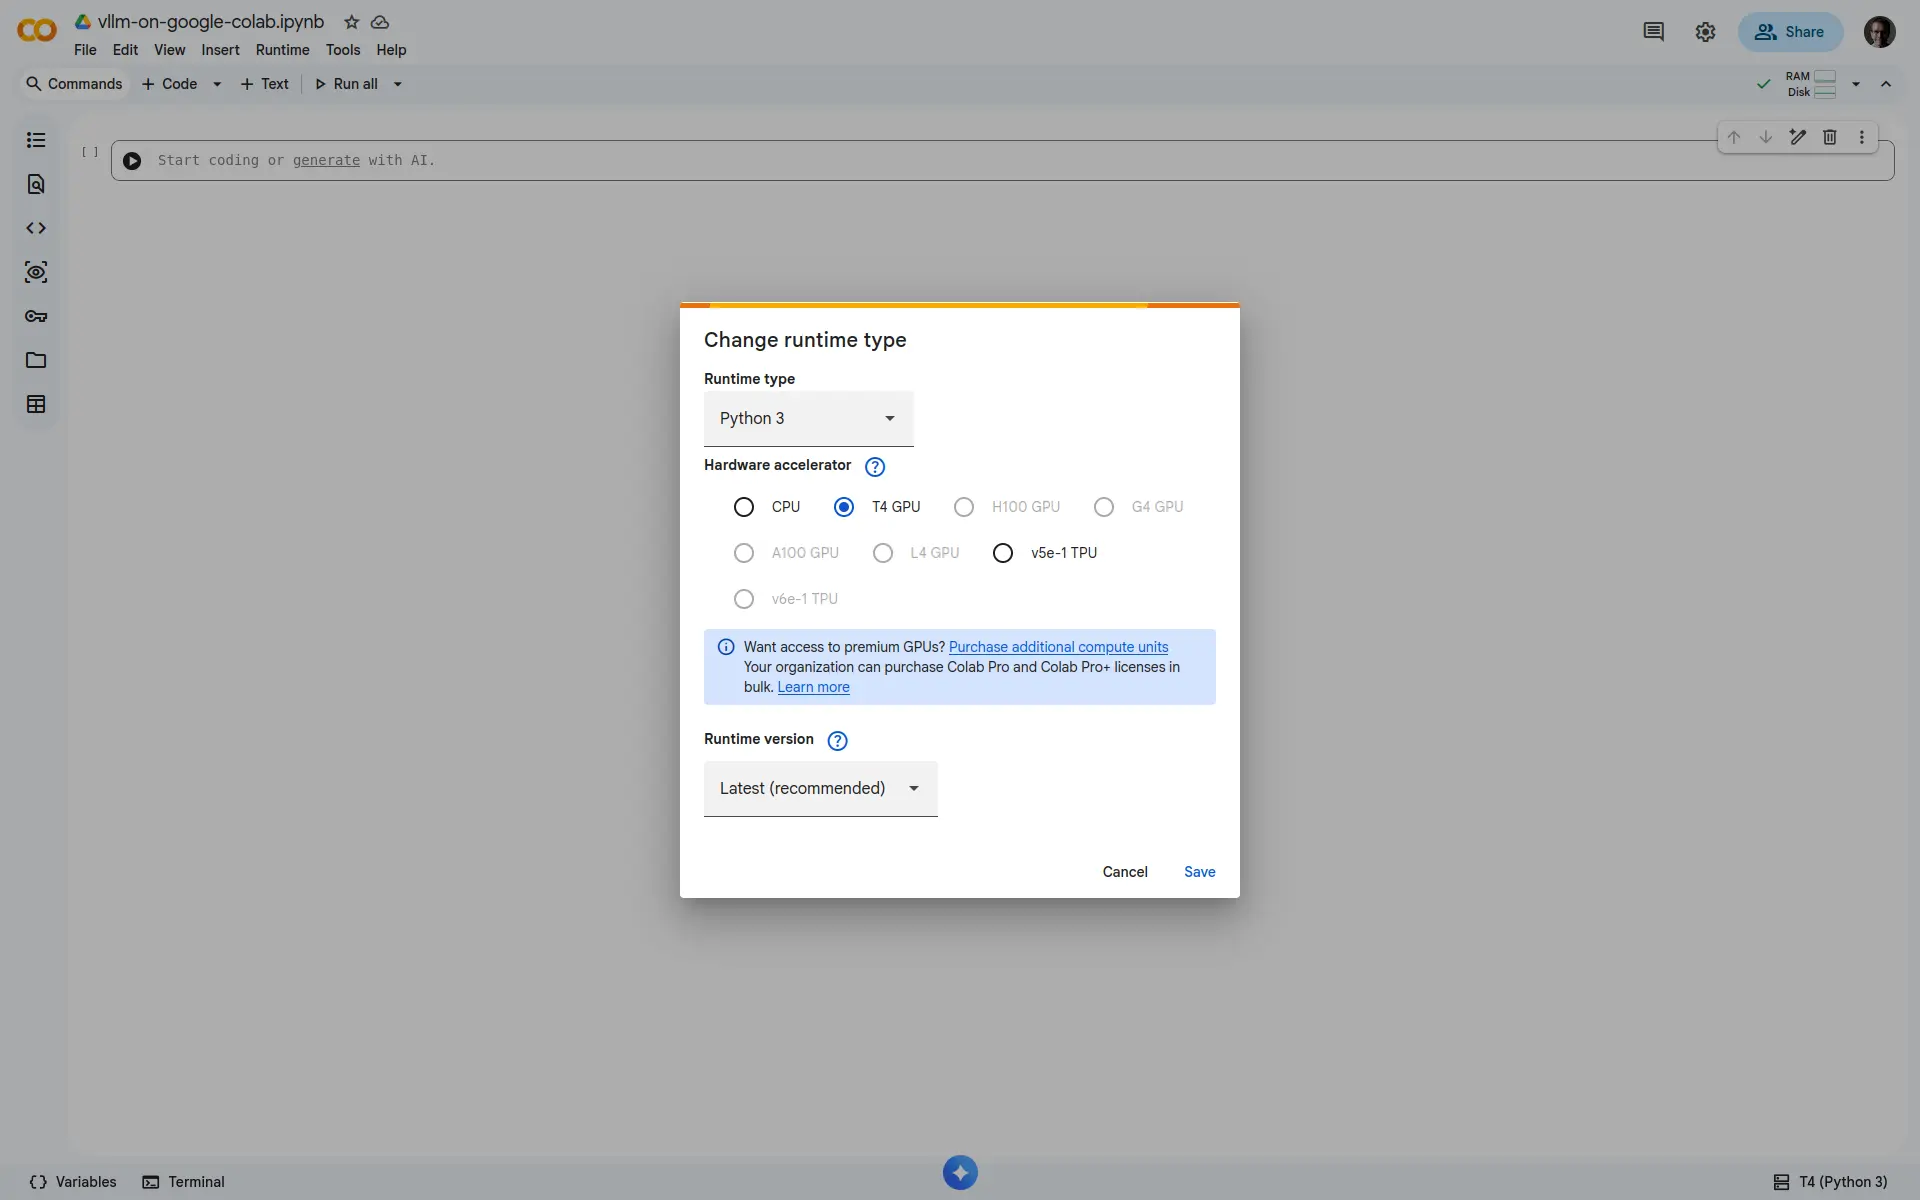
Choose the Python 3 runtime and T4 GPU hardware. It’ll take a moment for the runtime to be available.
Launch a terminal by clicking the Terminal button in the bottom taskbar.
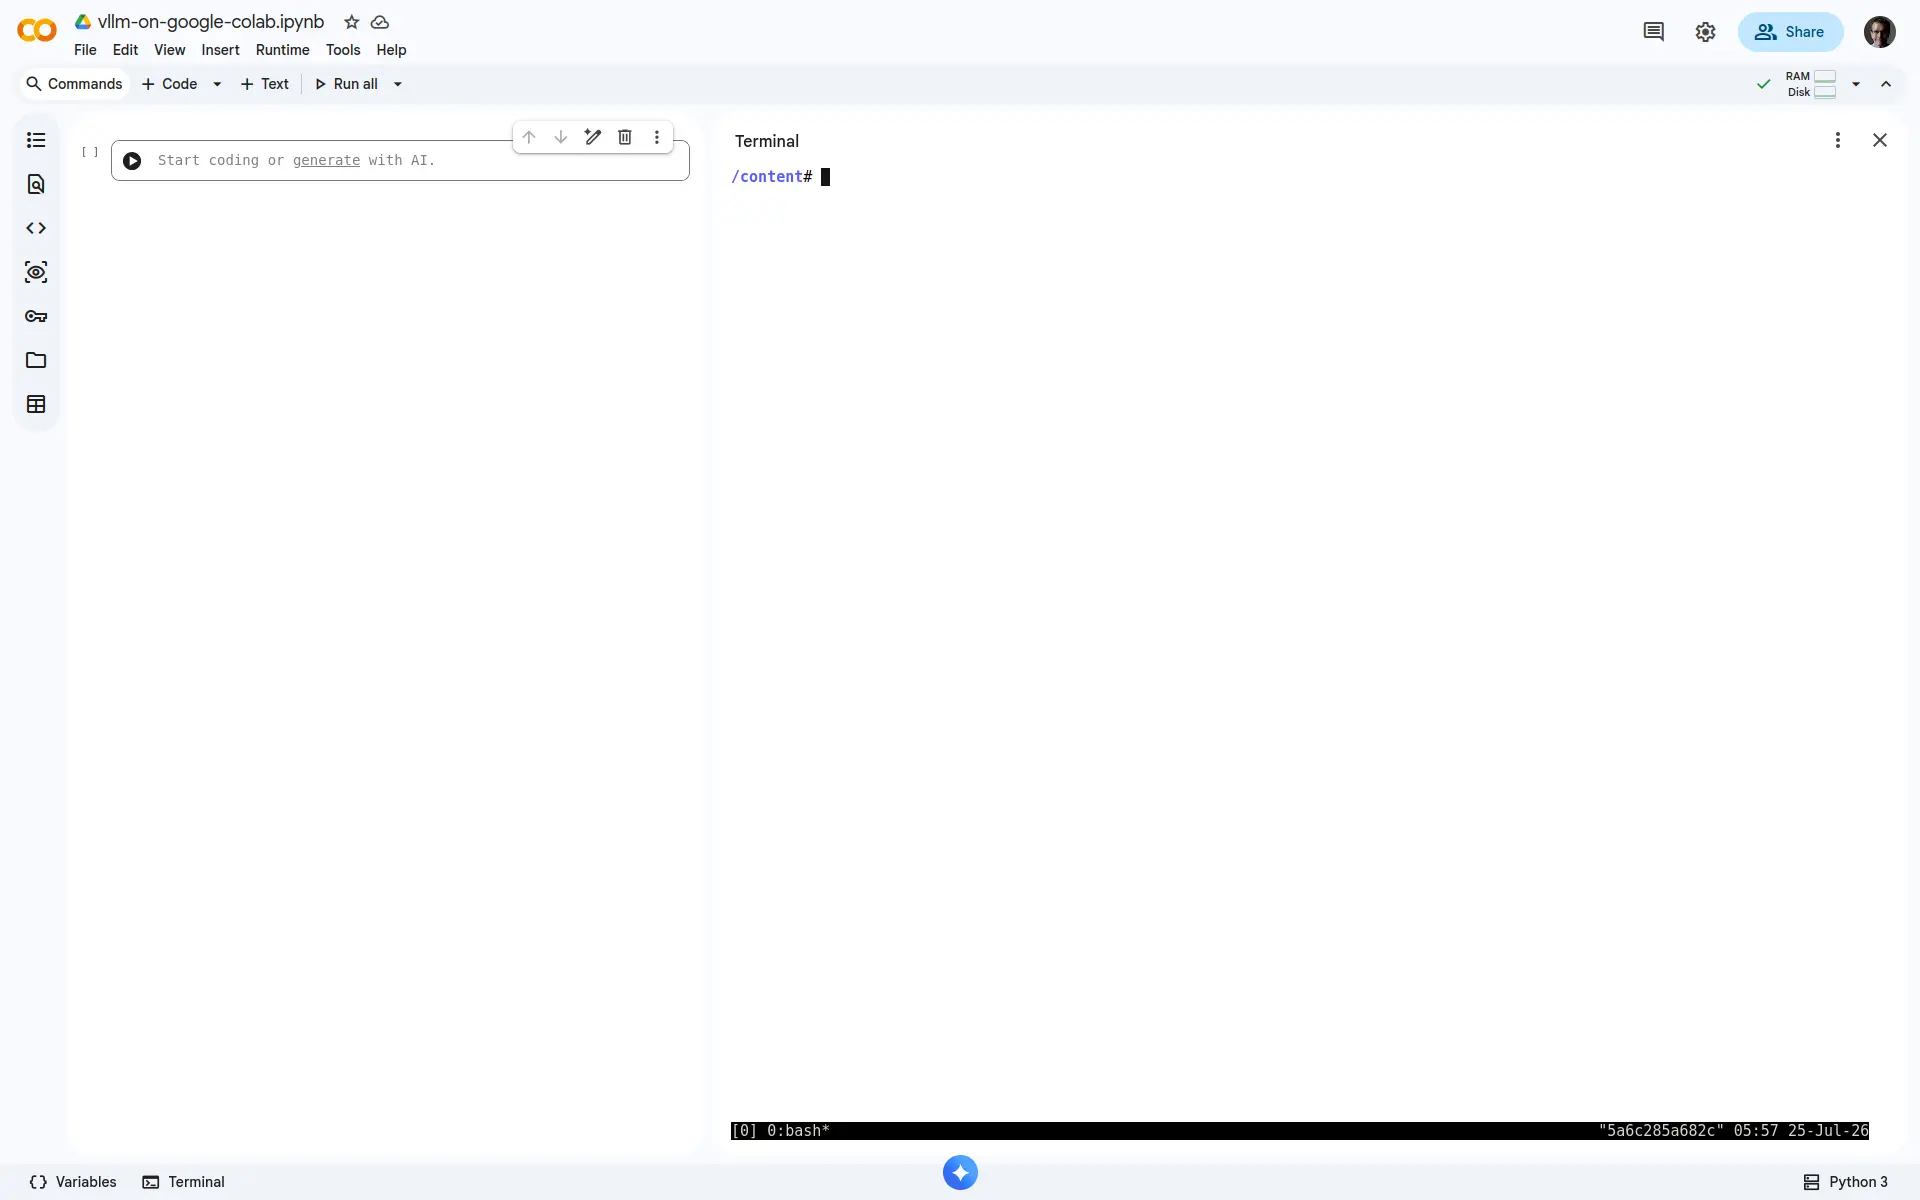
The discerning reader might observe the status bar at the bottom of the terminal pane. The terminal automatically embeds a tmux session. Superb! 🚀
🚨 You’re automatically the root user. No sudo required. You have ultimate power. Tread carefully.
Check on the NVIDIA driver and runtime using nvidia-smi and nvcc --version.
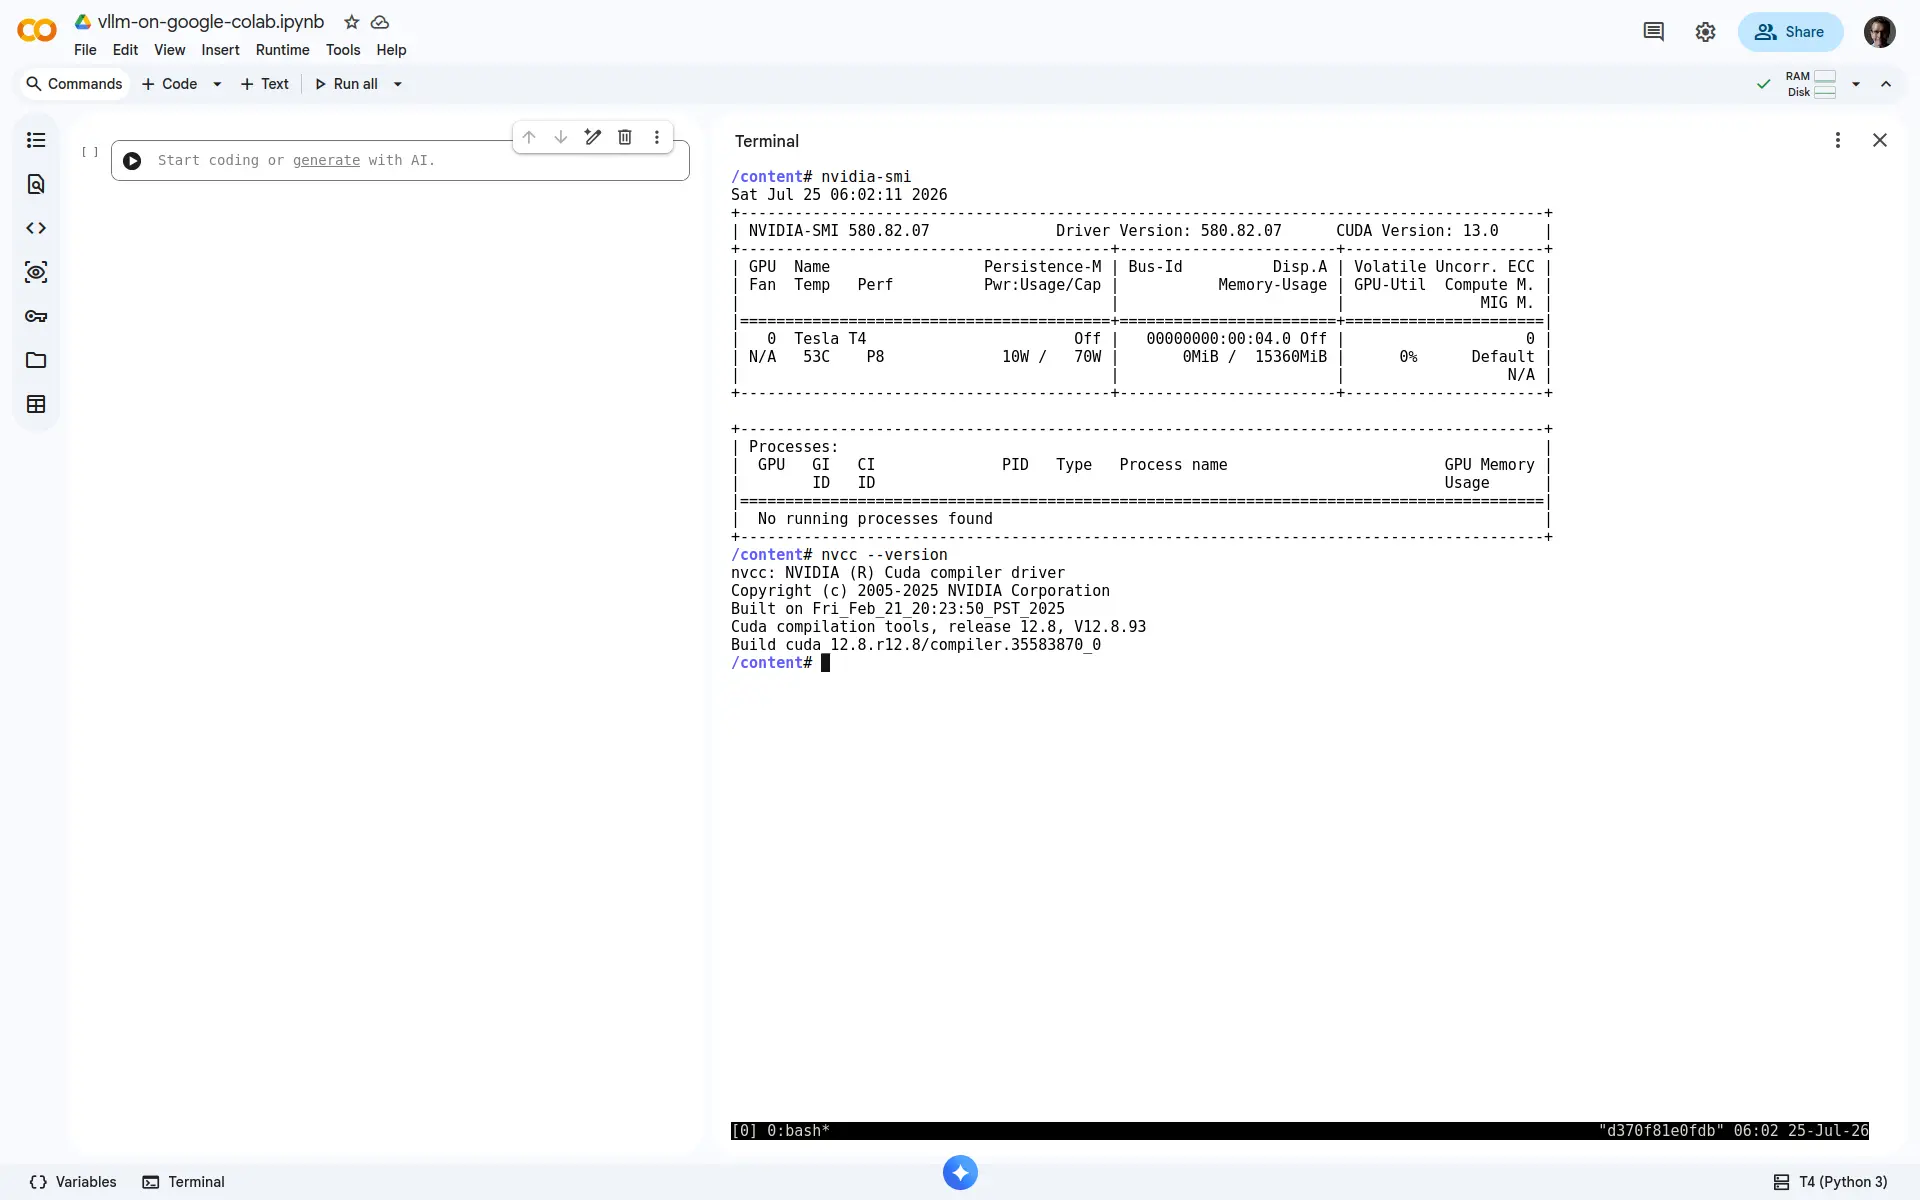
The output from nvidia-smi indicates that Colab has a CUDA GPU driver that supports CUDA Runtime up to 13.0. However, nvcc --version indicates that CUDA Runtime 12.8 is installed.
It’s easy to conflate the CUDA Driver and the CUDA Runtime. However, these are two distinct chunks of software, with independent purposes and versions.
The CUDA Driver, libcuda.so, handles the low level communication with the GPU hardware. The NVIDIA System Management Interface (SMI), nvidia-smi, gives the details of the installed driver and shows the maximum runtime supported.
The CUDA Runtime, libcudart.so, provides the interface between application code (for example, vLLM or PyTorch) and the driver. This provides a stable API for applications and wraps raw interactions with the driver into higher level abstractions.
Finally, in the notebook check on the PyTorch version and confirm that it’s hooked up with the CUDA runtime.
import torch

print(torch.__version__)
print(torch.version.cuda)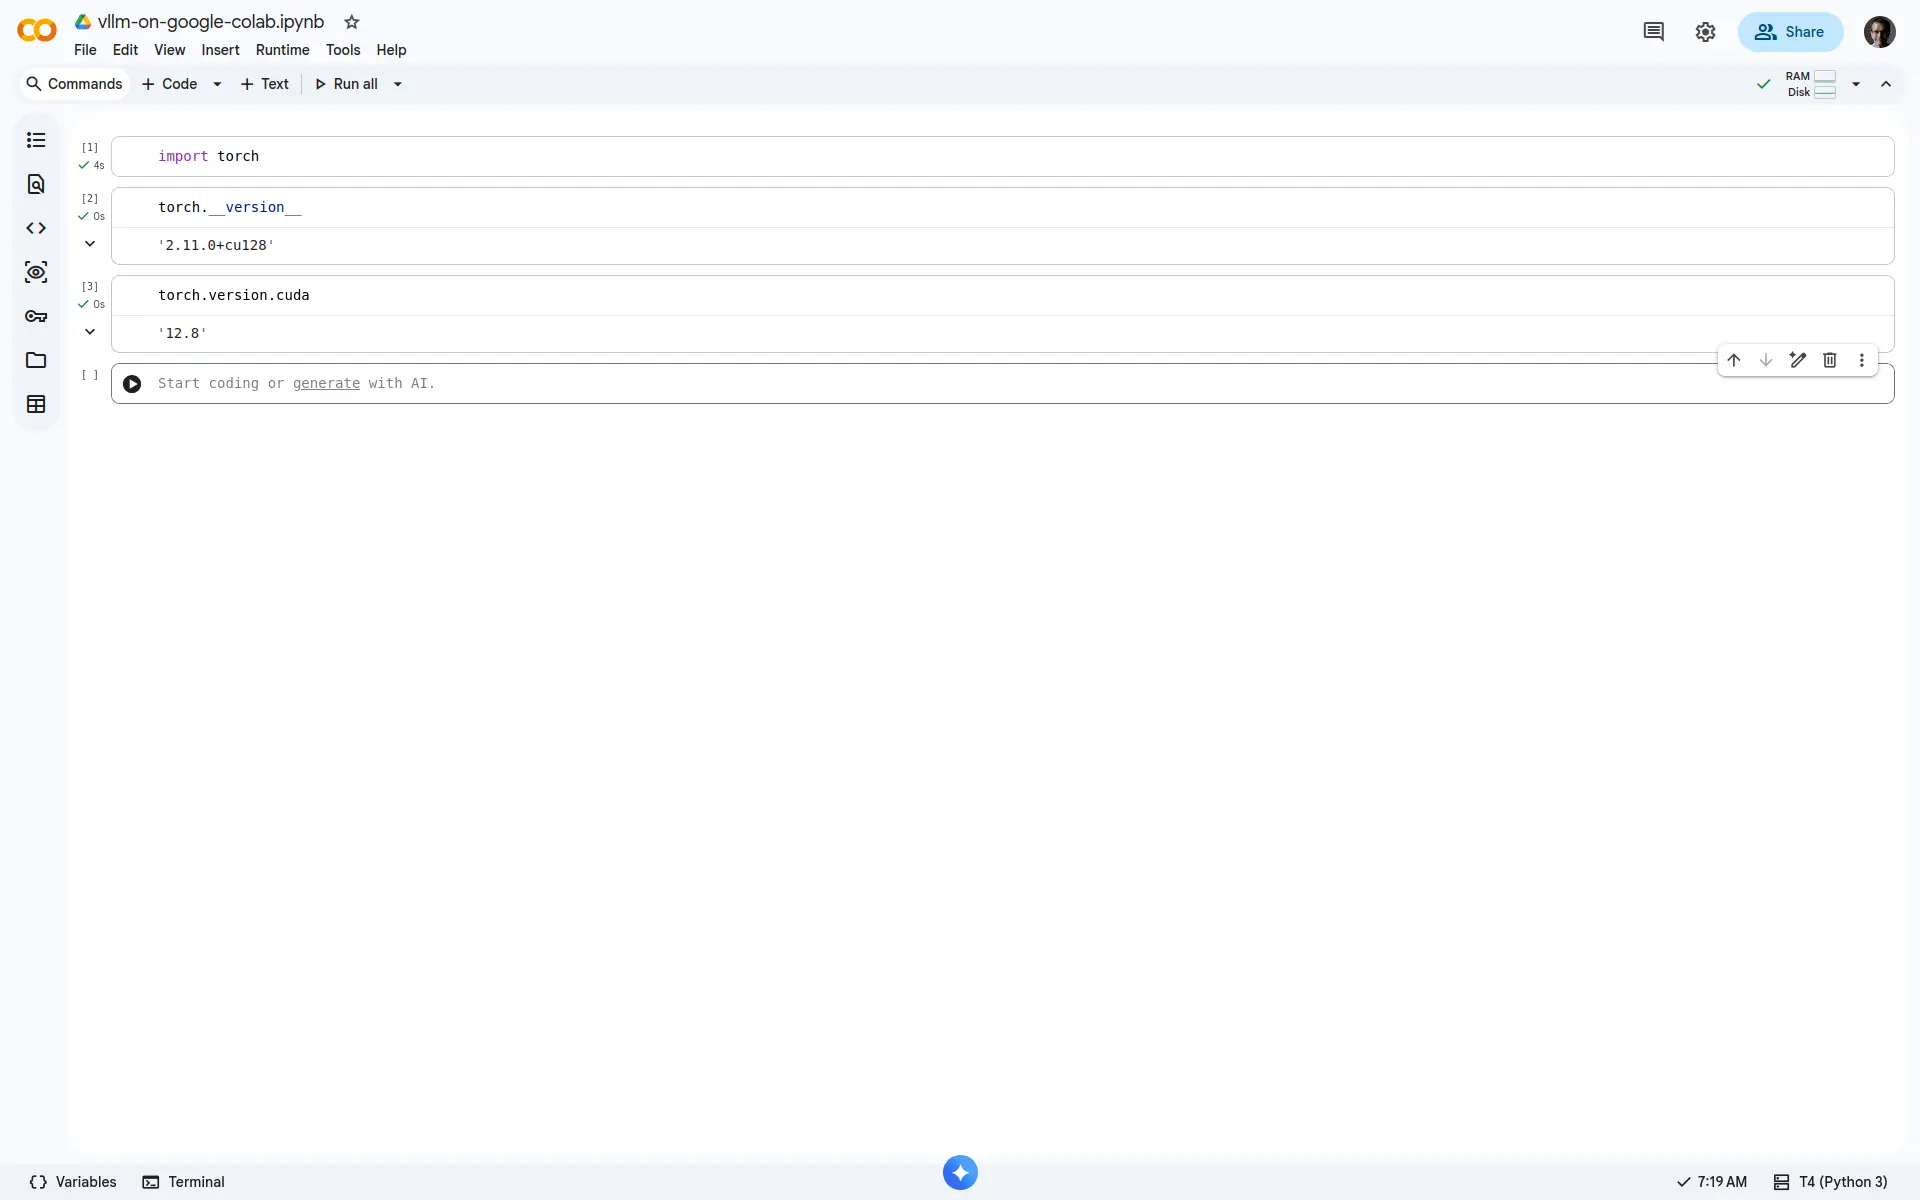
Installing vLLM and Hugging Face CLI on Google Colab
We’ll install two bits of software: the Hugging Face CLI for downloading models and vLLM for serving those models.
The current vLLM wheel may not match the CUDA runtime in Colab. Pinning to a specific version of the vllm package avoided a CUDA runtime error. Run this in the Colab terminal or in a notebook cell (precede the command with a ! if you run via the notebook).
pip install vllm==0.19.0You might get an error message like
ImportError: libcudart.so.13: cannot open shared object file: No such file or directoryThis means that the version of vLLM installed is not compatible with the system’s version of the CUDA Runtime. Replacing the runtime would require a lot more work than finding a suitable version of vLLM. Version 0.19.0 of vLLM works with version 12.8 of the CUDA Runtime, which is what’s installed with the 2026.04 Google Colab Runtime. The CUDA Runtime was updated to 12.8 in 2026.04. The previous three versions of the Google Colab Runtime all used version 12.5.
If you run into other vLLM installation problems then take a look at the installation guide.
Check that vllm works.
vllm --version0.19.0Install the huggingface_hub Python package. This is a quick and easy way to get the hf CLI.
pip install huggingface_hubTest that too.
hf versionhuggingface_hub version: 0.36.2We’re ready.
Pull Models
Pull a couple of models. If you have a Hugging Face account then grab an access token and export it as HF_TOKEN before running these commands. It will accelerate the download appreciably. If you don’t have an account then now might be a good time to set one up.
# General purpose.
hf download Qwen/Qwen3-4B
# Image generation.
hf download stabilityai/sd-turbo
The models will be downloaded under /root/.cache/huggingface/hub/. This will take a while. We’ll also use the Helsinki-NLP/opus-mt-en-fr, but since this is a small model we’ll download it as required.
Run Models
We’ll consider two approaches to running those models: (1) directly from a notebook or (2) a model server in the terminal and sending HTTP requests from a notebook.
Run an LLM in a Google Colab Notebook
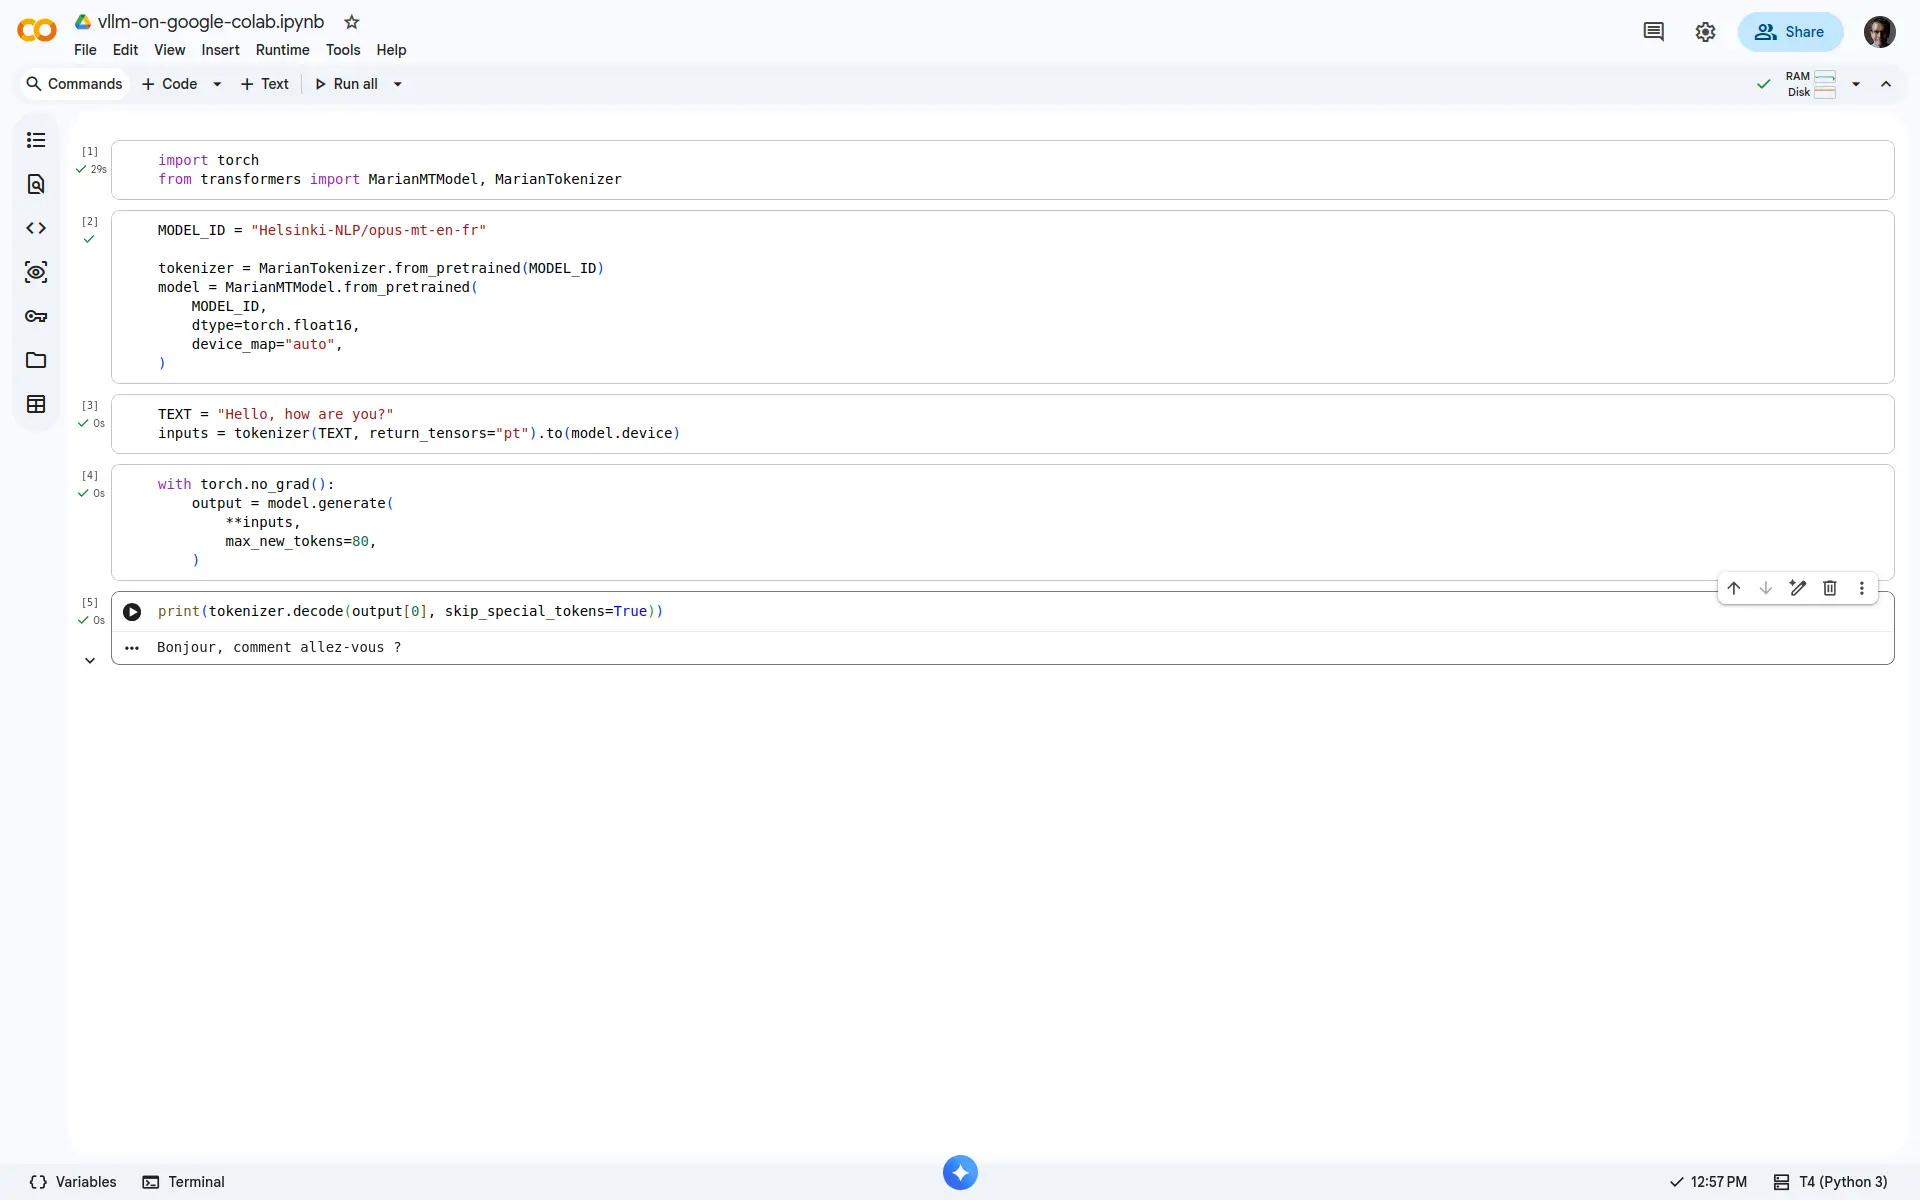
We’ll start by pulling and running a small model completely in Python. First import the required packages.
import torch
from transformers import MarianMTModel, MarianTokenizer
Then select and set up the model. The Helsinki-NLP/opus-mt-en-fr model specialises in one task: translating from English to French.
MODEL_ID = "Helsinki-NLP/opus-mt-en-fr"

tokenizer = MarianTokenizer.from_pretrained(MODEL_ID)
model = MarianMTModel.from_pretrained(
    MODEL_ID,
    dtype=torch.float16,
    device_map="auto",
)
The from_pretrained() method will find models that were previously downloaded. If it can’t find a cached model then it will initiate a download and wait for it to complete.
Set up the input.
TEXT = "Hello, how are you?"
inputs = tokenizer(TEXT, return_tensors="pt").to(model.device)
Run the model and print the output. The torch.no_grad() context ensures that PyTorch doesn’t build a computation graph. We won’t be doing any backpropagation, so no gradients are required. This speeds things up and saves memory.
with torch.no_grad():
    output = model.generate(
        **inputs,
        max_new_tokens=80,
    )

print(tokenizer.decode(output[0], skip_special_tokens=True))
Bonjour, comment allez-vous?My elementary grasp of French based on a few years of Duolingo confirms that this is a reasonable response!
Having established that we can run a small model, let’s set our sights a little higher with a notebook that attempts to generate a limerick using Qwen/Qwen3-4B.
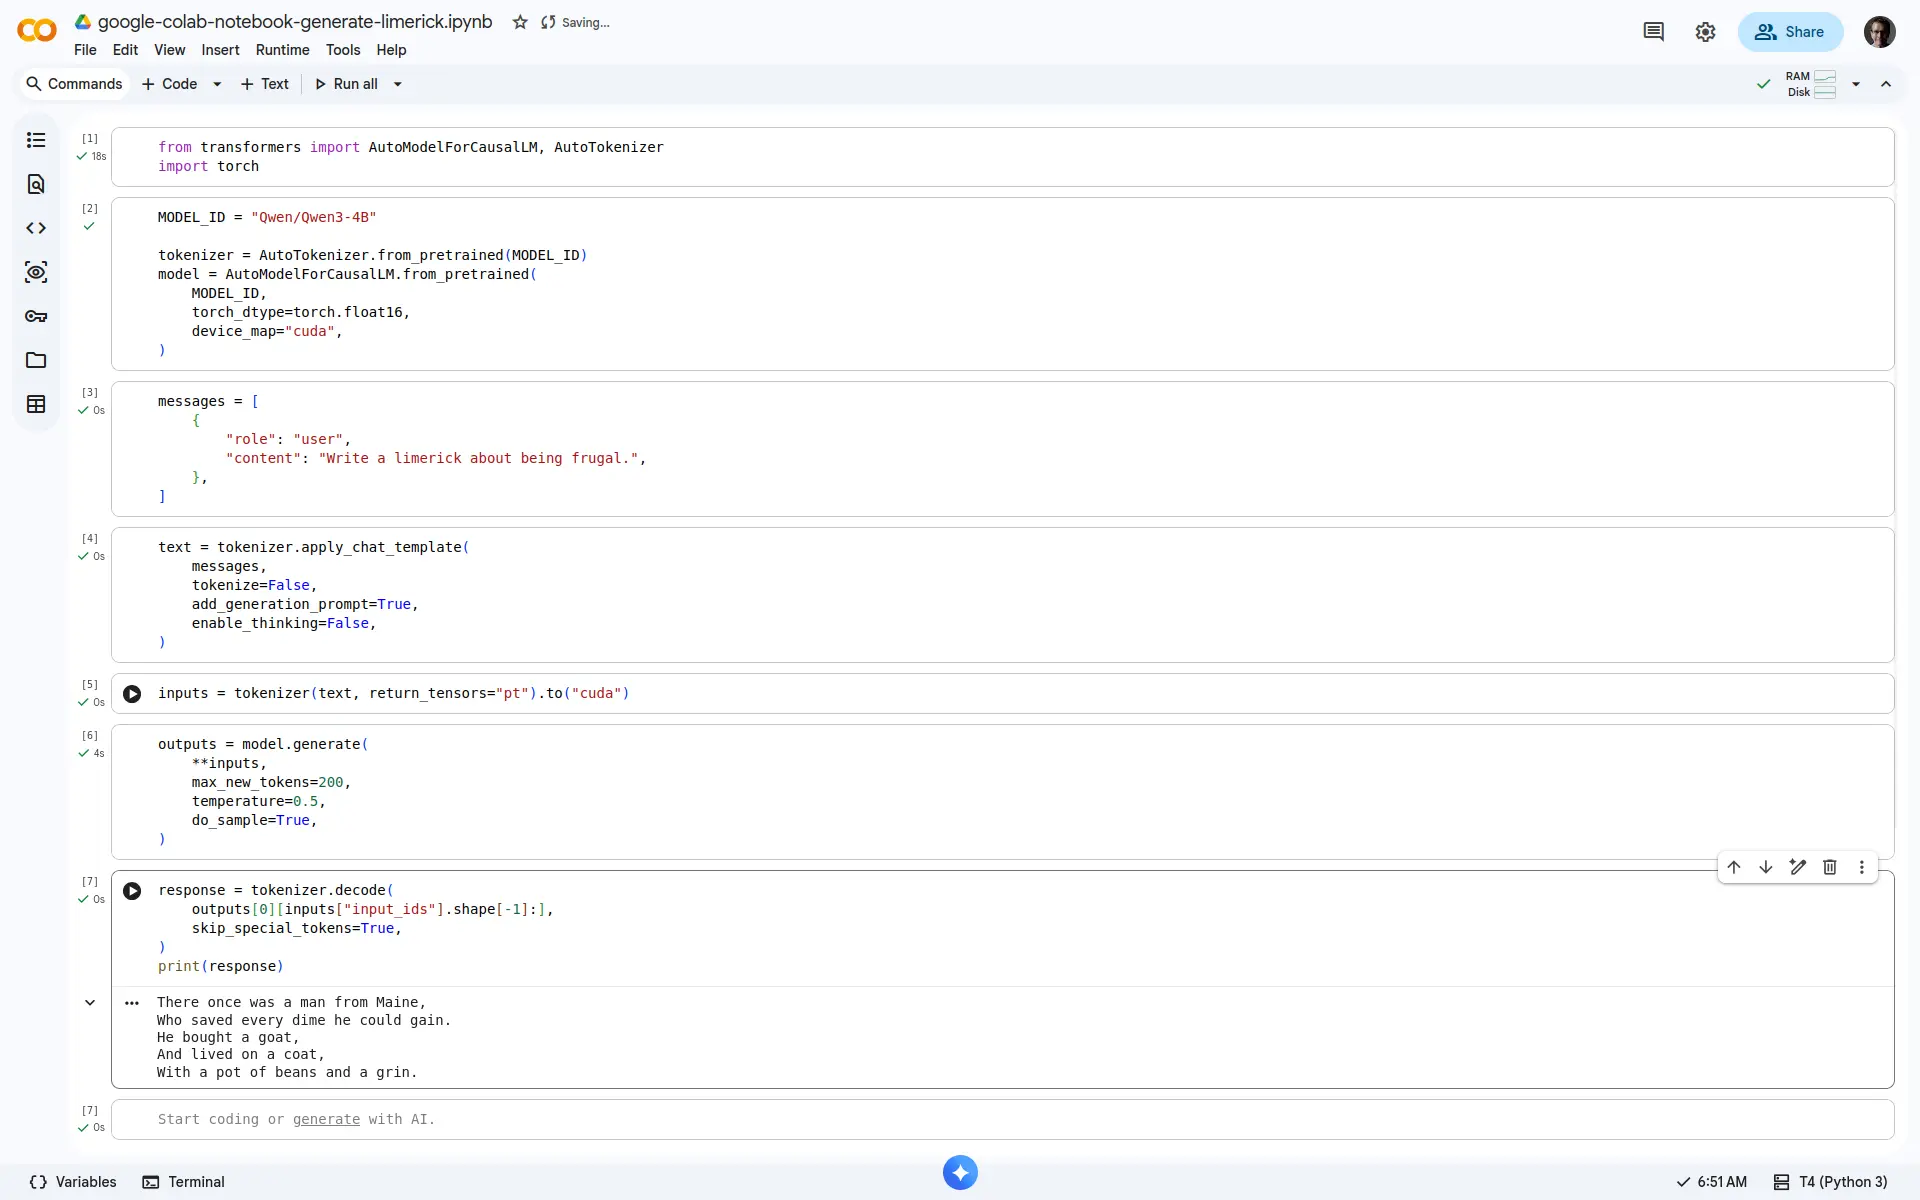
Since we’ve already downloaded the Qwen/Qwen3-4B model the from_pretrained() method simply has to create a model object. A chat template is then used to interact with the model.
There once was a man from Maine,
Who saved every dime he could gain.
He bought a goat,
And lived on a coat,
With a pot of beans and a grin.
It’s not great and it’s not really even a limerick (the rhyming scheme is not quite right). But it’s a decent effort for an unsophisticated model.
Both of the models we’ve tried so far have generated text. This notebook uses the stabilityai/sd-turbo model to generate an image from a text prompt.
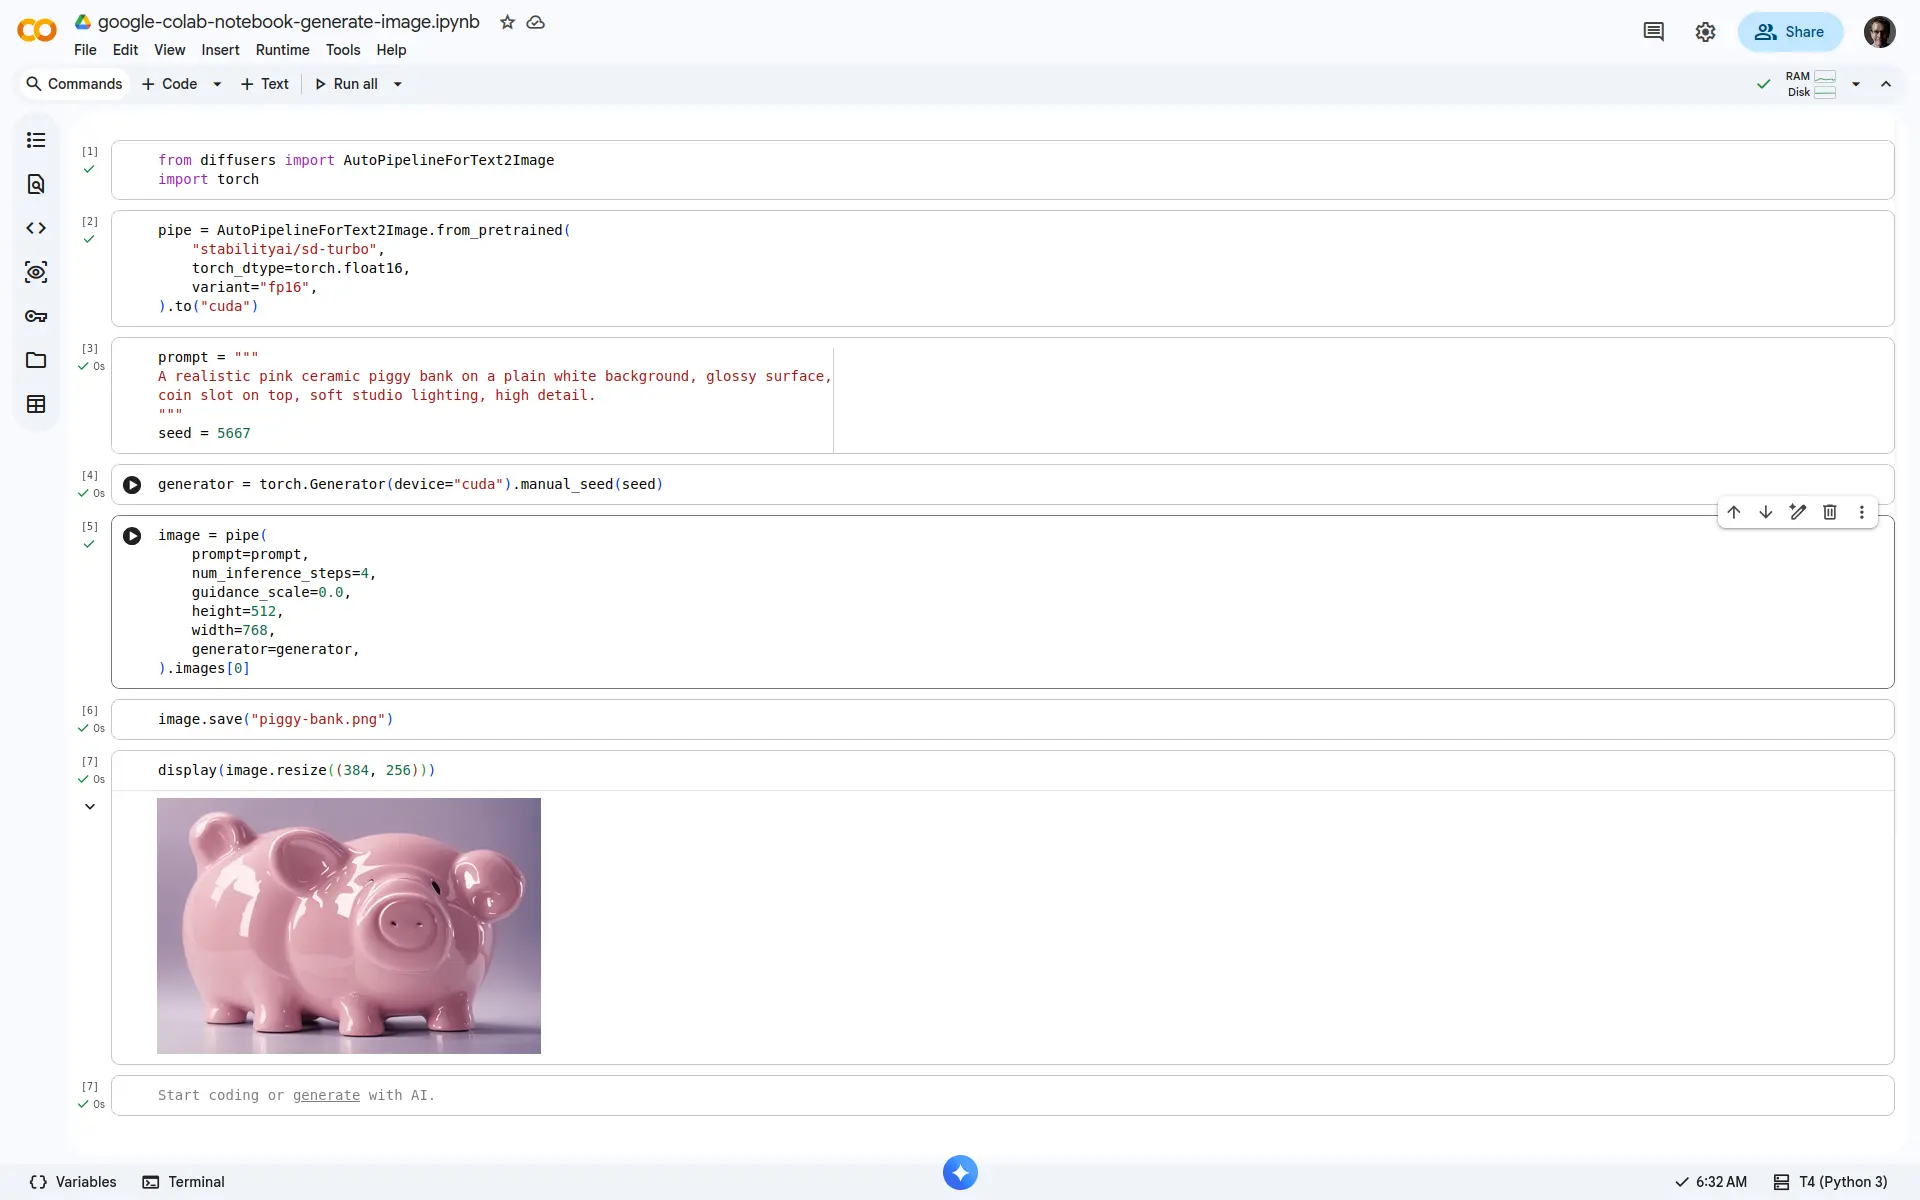

Certainly not fine art despite being somewhat surreal, but once again reasonable output given the size of the model.
Serve an LLM from a Google Colab Terminal
We’ve established that we can run models directly from a Colab notebook. However, it’s also possible to launch a server in the terminal and then interact with the model from the notebook.
In the Colab terminal use vLLM (installed earlier) to serve Qwen/Qwen3-4B.
vllm serve Qwen/Qwen3-4B \
  --served-model-name qwen3-4b \
  --max-model-len 8192
It’ll take a few minutes for the server to become available. And in the process it’ll generate a load of logs. Be patient. It’ll get there eventually.
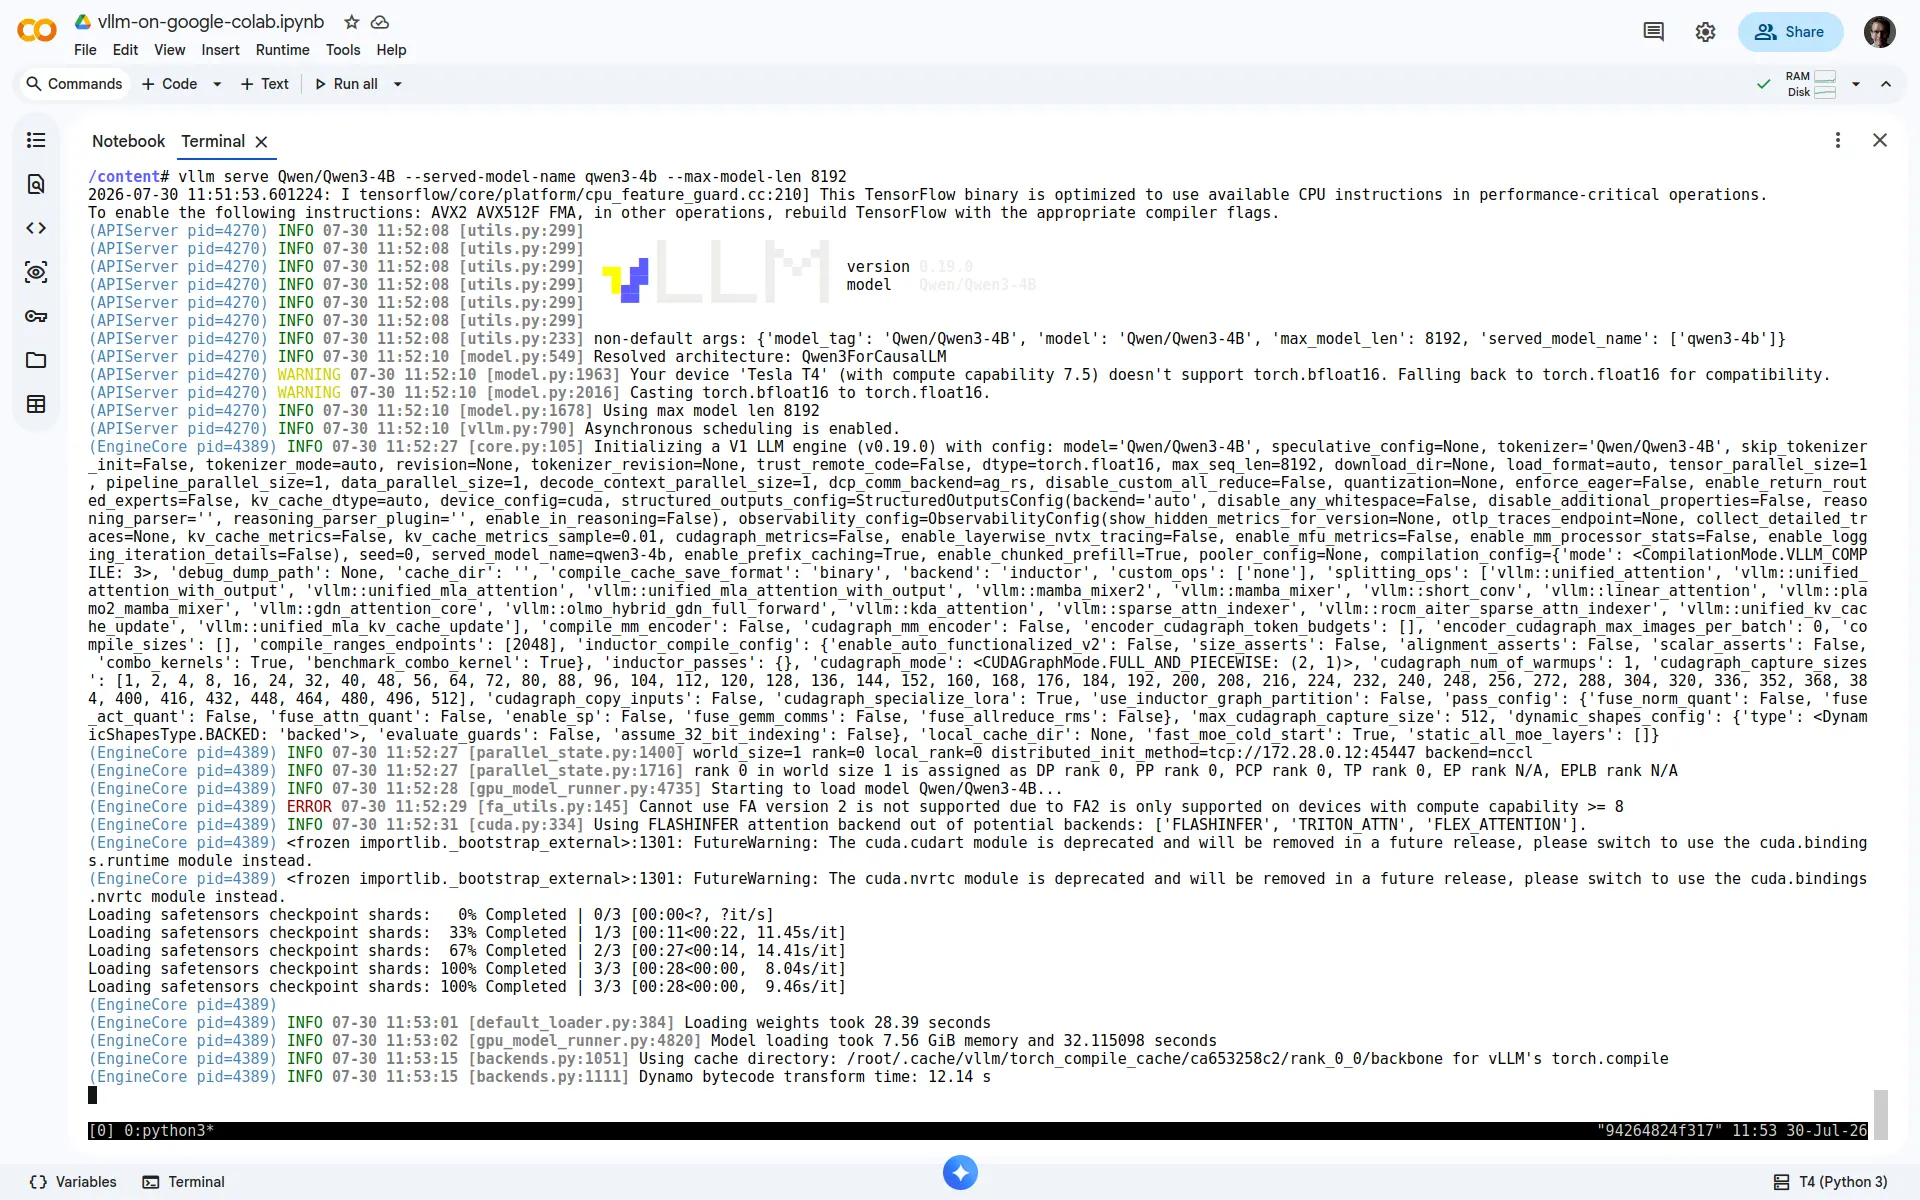
Once the server is ready to accept requests you can return to a Colab notebook. I prepared a notebook that uses Qwen/Qwen3-4B to create an Afrikaans haiku. I know, it’s an obscure demand, but that’s how I roll.
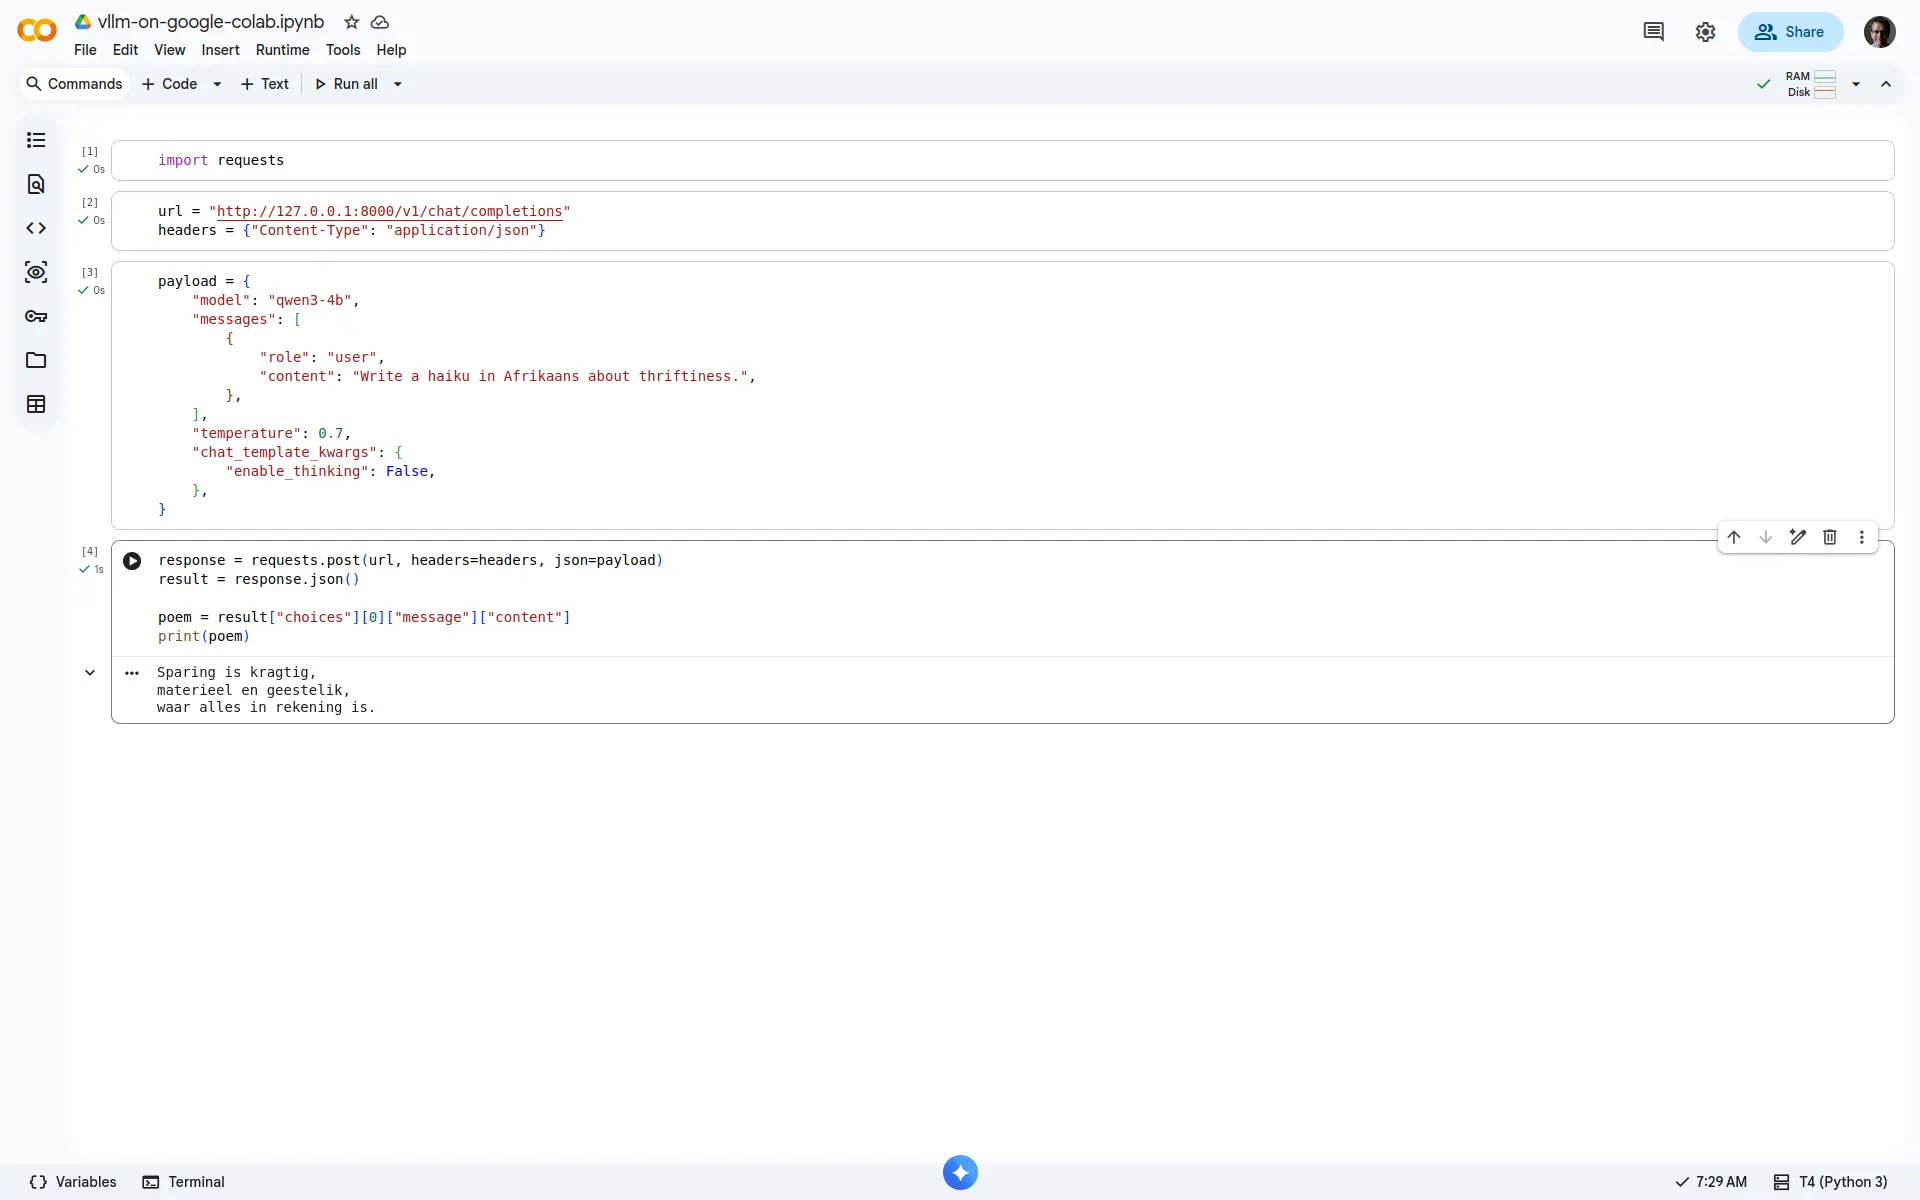
The result looks like a haiku. And it’s in Afrikaans. But the syllable count is wrong (5-8-8 rather than 5-7-5). Again though, not a bad effort given the unsophisticated model.
Sparing is kragtig,
materieel en geestelik,
waar alles in rekening is.
Running an Agent on Google Colab
Can we run an agent to talk to it? Let’s see.
There are lots of agents to choose from, but in the interests of just getting something up and running quickly I’ll use Aider.
I want to leave the server running, so I’ll make use of the fact that I’m already in a tmux session and open a second panel.
# Install the installer (is this a meta-install? 😀).
pip install aider-install
# Run the installer.
aider-install
The aider executable is installed into /root/.local/bin/, which is probably not already on the path. However, the installer helpfully adds a line to the root account’s ~/.bashrc that will prepend it to PATH. To activate that I closed the tmux panel and opened a new one.
Launch Aider. You can provide model details as CLI arguments or via environment variables.
aider --openai-api-base http://localhost:8000/v1 \
  --openai-api-key "" \
  --model openai/qwen3-4b \
  --no-show-model-warnings \
  --no-git
What’s the purpose of those CLI arguments?
--openai-api-base— Point Aider to the OpenAI compatible API on the vLLM server.--openai-api-key— The OpenAI API expects an API key. This is just a placeholder.--model— Specify the model name used when launching vLLM.--no-show-model-warnings— Suppress warnings.--no-git— Don’t use Git. You probably don’t want this. I used it to suppress a startup prompt.
The screenshot below shows my tmux session in Colab, with vLLM running in the top panel and Aider in the bottom panel.
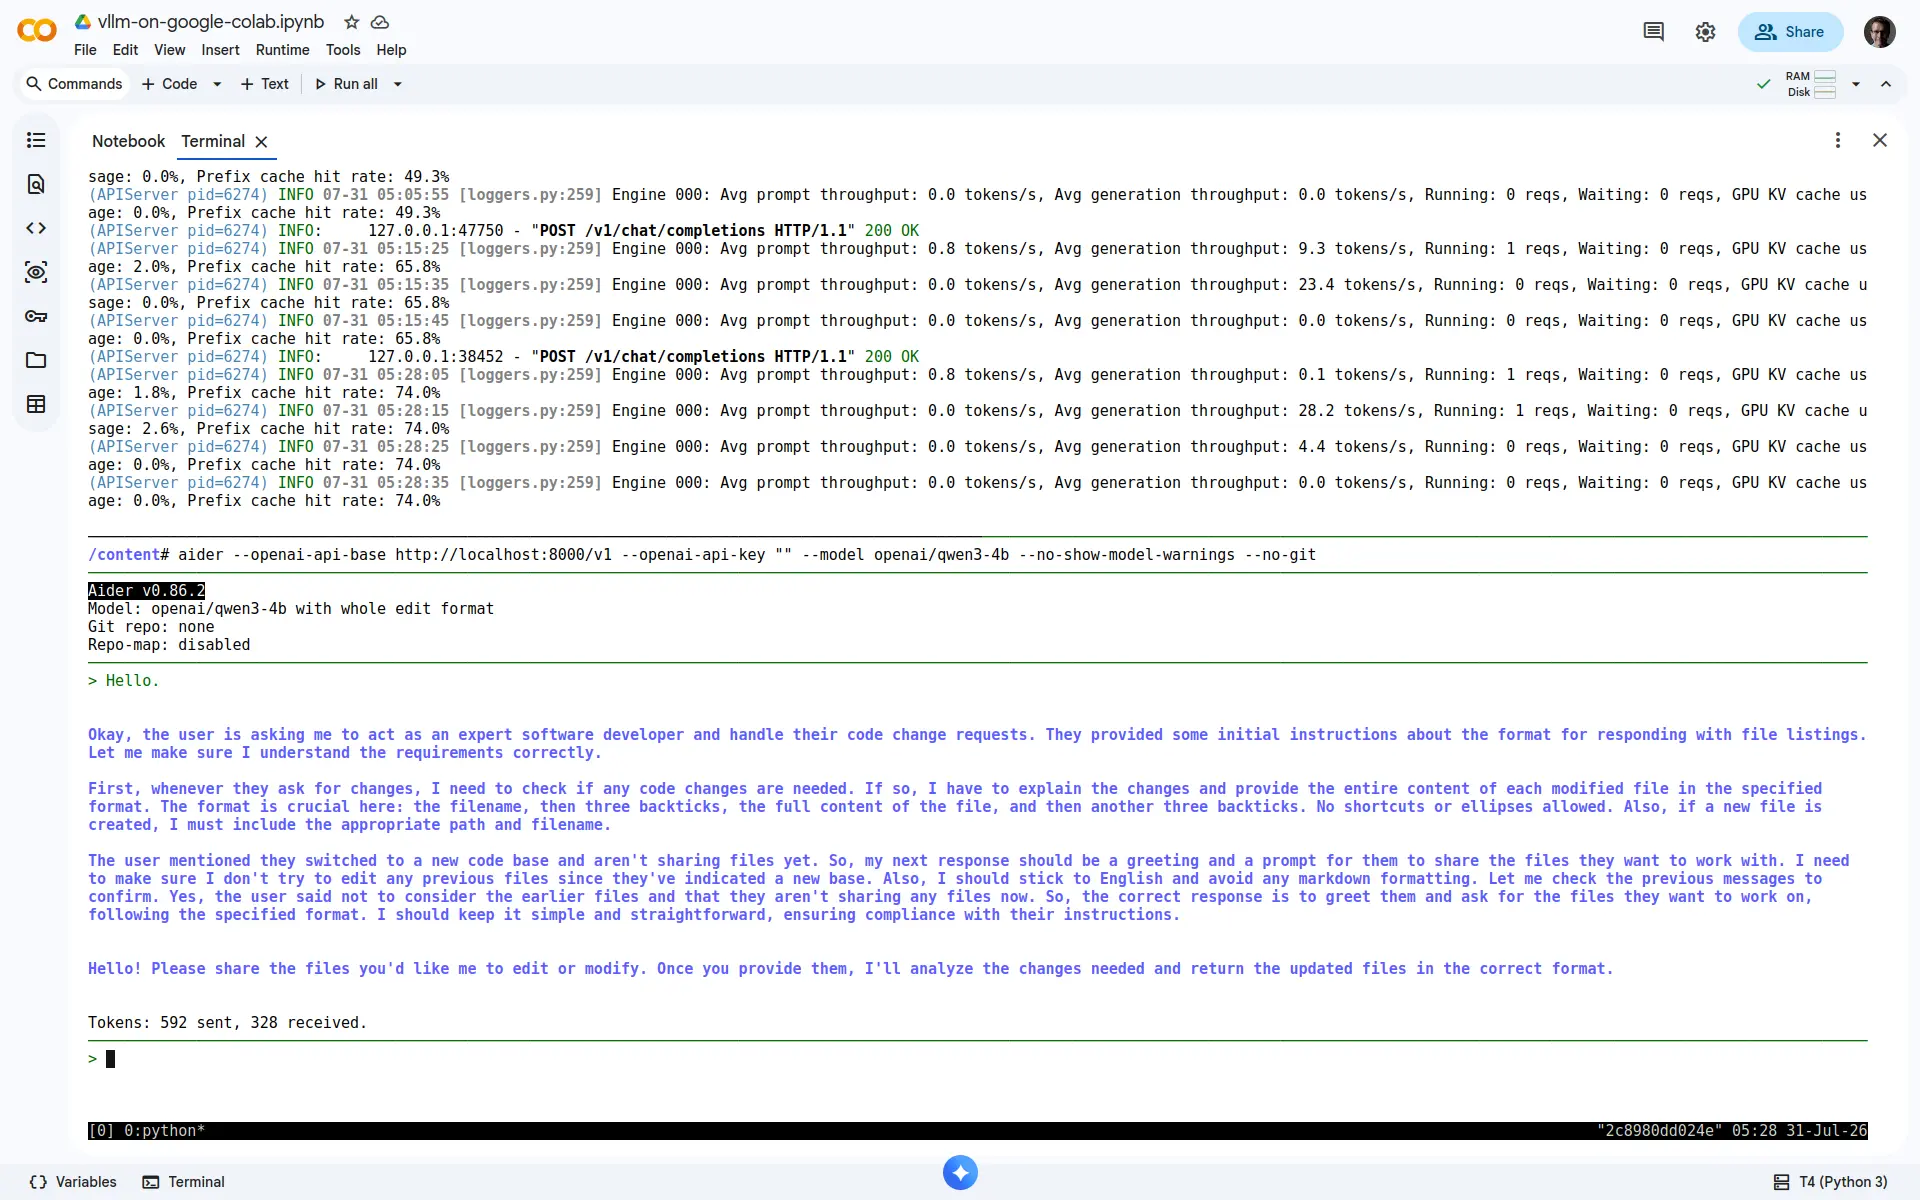
You could do the same with OpenCode, Pi, Claude Code or a host of others. Only the configuration steps would vary.
Conclusion
Google Colab prioritises interactive notebook programming. It also discourages various activities including file hosting, media serving, connecting to remote proxies, cryptocurrency mining and using multiple accounts to work around limits. Serving an LLM in a Colab session for use from a connected notebook should be consistent with Colab’s interactive compute requirement. This means that I can access a Tesla T4 GPU (provided capacity is available), and can do most (if not all) of what I would have done with the same hardware either locally or elsewhere in the cloud. All courtesy of the generous folk at Google. 🙏
In light of this, be a good citizen and use Colab for interactive work:
- checking whether a model loads;
- testing prompts;
- comparing quantisation settings;
- running tests or working through a tutorial; or
- anything else that wouldn’t be considered abuse of Google’s generosity.
Treat Colab as a disposable environment with a GPU attached. The runtime is temporary. Your notebook is not. Installed packages and data will disappear into the aether when your session ends. But the content of your notebook will be persisted on Google Drive (or can be downloaded), so you can spin up another session and pick up where you were before. 🚀